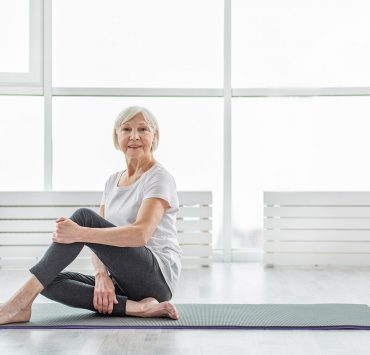
Tension in the back is an ailment that most people face at some point in their lives. Despite the prevalence of back pain among people in today’s society, it isn’t always easy to pinpoint the best way to release the aches. While many people turn to physical therapy for a cure, a study has shown that targeted yoga poses can be just as effective to ease the tension of minor, non-injury related back pains.
It is important to note that not all yoga classes will be effective in treating back pain. Rob Saper, author of the study and Director of Integrative Medicine at Boston Medical Center, commented that it’s important to find specific poses that will affect the correct areas.
If you are looking for a practical solution that you can practice at home, try out some of these yoga and pilates moves to help treat your pain, while also releasing any pent up stress.
Apanasana — Knees to Chest Pose

The Knees to Chest Pose, or Apanasana, targets your lower back muscles, as well as your glutes. This gentle pose is a great way to warm up your body before going into deeper postures.
Instructions:
Begin by lying on your back, with your feet flat on the floor and knees bent. On an exhale, bring your knees to your chest, placing your hands below your knees. If your flexibility allows for it, you may also wrap your arms around your knees, holding opposite elbows.
Ensure that your back is fully flat on the mat. You may feel an urge to lift your glutes and hips off the mat, so be mindful of lengthening your spine and keeping them grounded. Your shoulders may also want to rise towards your ears, so release tension and focus on keeping them flat to your mat, along with your spine.
If it is comfortable, you may rock side to side or back and forth for a light massage on your spine and low back area.
Pelvic Tilt to Pelvic Curl

The pelvic tilt and pelvic curl moves are often used at the beginning of pilates classes to help warm up the spine and encourage abdominal support of the back.
Instructions:
Lay on the floor with your knees bent and soles of your feet on the ground and hips-distance apart.
As you exhale, begin a pelvic tilt by engaging your abdominal muscles and pulling your belly button towards your spine. You will feel your lower spine being pushed into the floor, and your pubic bone should be slightly higher than your hips. This is a subtle movement that is only slightly visible to the eye.
On the inhale, move into a pelvic curl. As you press into the soles of your feet, lift your hips towards the ceiling, followed by your lower back and then mid back, creating a straight diagonal line from your hips to shoulders. Your shoulder blades will remain on the ground.
As you exhale, roll your spine back onto the ground, from mid back to low back to hips. End lying on your back with your knees bent, as you were at the beginning of the exercise. Repeat the movement 3 to 5 times.
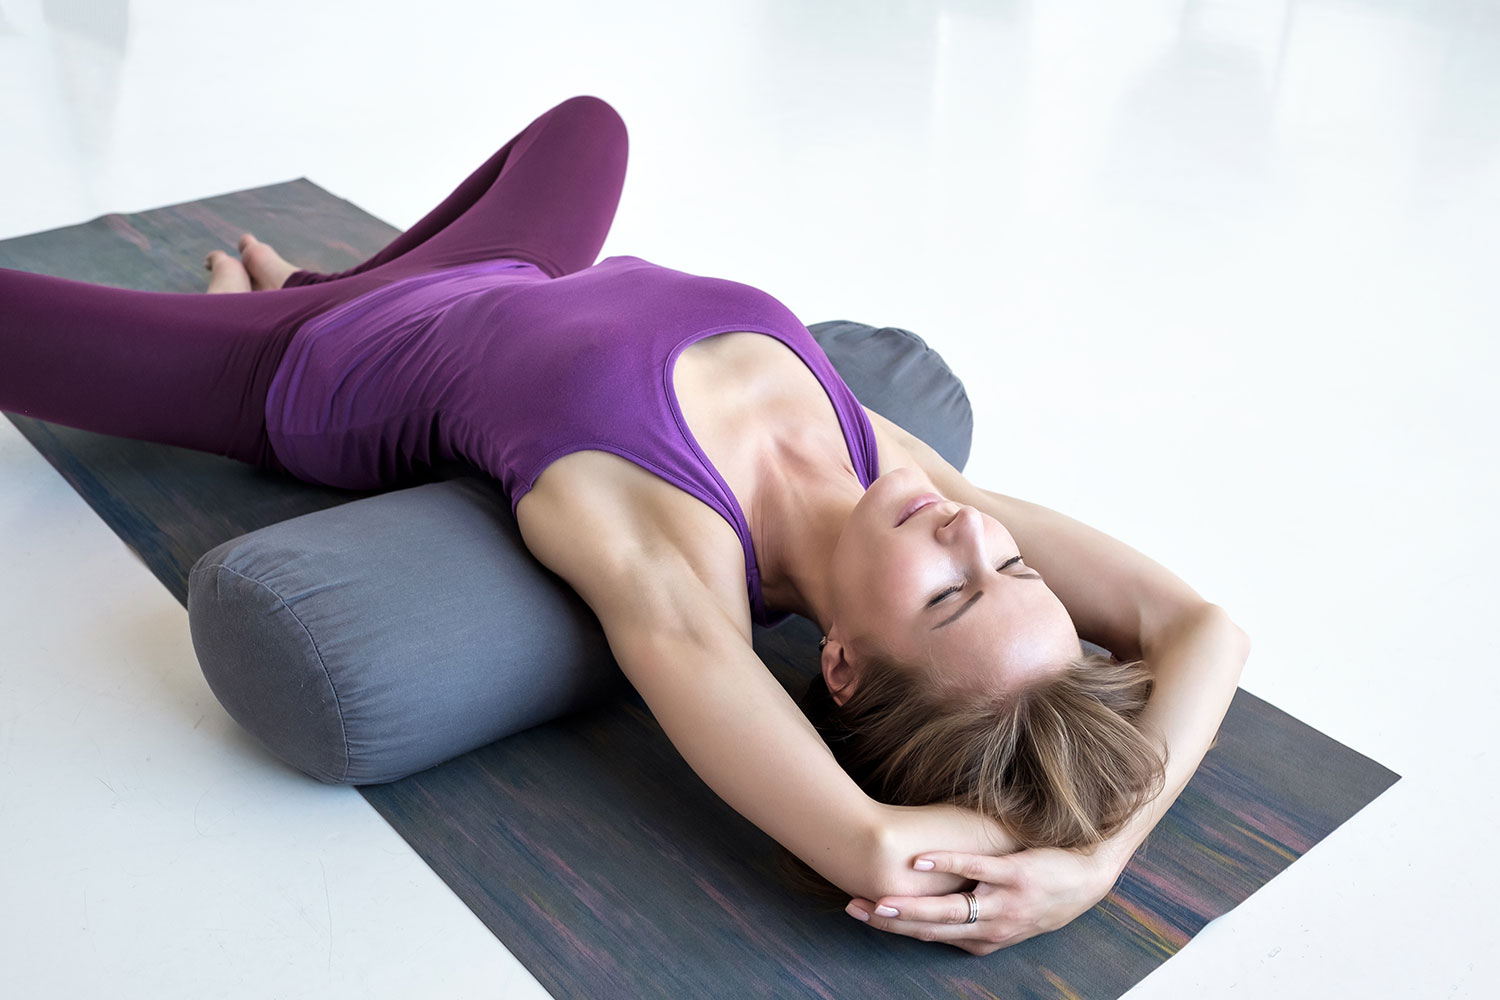
Supta Baddha Konasana — Reclining Bound Angle Pose

The Reclining Bound Angle Pose, or Supta Baddha Konasana, is a great way to get deep into the hips to release them, and relax the low spine.
Instructions:
As you sit on the floor, bend your knees, letting them drop to the side, and bring the soles of your feet together to touch. Carefully roll down to your back, using your hands to guide you. Once laying on the floor, keep your back flat against the mat, and lengthen your tailbone towards your heels. You can rest your hands on your stomach or at your sides.
If you have tighter hips, this pose can be challenging. For a modification, Physical Therapist and Yoga Teacher Julie Gudmestad recommends practicing the pose with your pelvis against a wall, and your feet up above, also pressing against the wall. This helps relieve some of the stress on the hips, as well as further targets your lower back by pushing it more into the ground.
Supta Matsyendrasana — Supine Twist Pose

The Supine Twist, or Supta Matsyendrasana, is a gentle way to stretch your whole back and lengthen your spine, while also giving extra attention to your shoulders and low back.
Instructions:
Begin laying down, with your arms extended horizontally. Bend your knees and place the soles of your feet on the ground, close to your glutes.
Keeping your legs together and bent, swing them to the left side towards the ground, with your right leg on top of the left. Turn your head to the opposite side, letting your gaze fall towards your right hand. After holding for a minute or longer, return your gaze to the center, and repeat on the opposite side.
In this twist, you may feel your opposite shoulder wanting to lift, so be mindful of keeping it grounded and away from your ears.
Marjaryasana — Cat/Cow Pose

Cat/Cow Pose, or Marjaryasana, is another warm-up pose. It promotes flexibility in your back by stretching the entire spine.
Instructions:
Begin on all fours, with palms and knees on the ground. Ensure your hands are stacked underneath your shoulders, and your knees underneath your hips.
Move into Cat on your exhale. Round your spine up towards the ceiling while tilting your tailbone down, and tuck your chin down towards your chest. While your head may be tilting down, still leave space between your chin and your chest.
On your next inhale, move into cow pose. Raise your head and face forward, and tilt your tailbone up, allowing a curve in your back. Ensure you don’t til your head back too far or over arch your back, as it can result in strain.
Continue slowly alternating between Cat and Cow pose a handful of times, breath to movement. Give yourself time to fully feel the stretch as you move.
Balasana — Child’s Pose

Child’s Pose, or Balasana, is an excellent restorative pose that stretches and opens up your back area. It is also a great way to turn your focus inward and calm your mind after a stressful day.
Instructions:
Begin by kneeling on the floor and sitting back onto your heels. Separate your knees from each other, while your big toes remain touching.
On an exhale, bend forward from your hips and bring your forehead to the ground, with your torso resting in between your knees. Extend your arms out in front of you, with your palms resting on the ground. Ensure that you are releasing your tailbone towards your heels, and continue to lengthen your spine as you deeply breathe in this position.
Supta Padangusthasana — Reclining Hand to Big Toe Pose

Reclining Hand to Big Toe Pose, or Supta Padangusthasana, allows you to stretch your hamstrings, thighs, and hips while releasing your lower back.
Instructions:
Lie on the floor, with your legs extended. On an exhale, bend one knee and bring it into your chest. Ensure that the opposite leg remains active by flexing the foot and extending through the heel.
Loop a strap around the arch of the foot of your bent leg, and keep the strap ends in both hands. As you inhale, straighten the leg up. Once the leg is extended, adjust your hands on the strap so your arms remain straight, but keep your shoulders on the ground.
As you extend your leg, you can deepen the stretch by bringing your foot slightly towards your head. Remember to keep the grounded leg and foot active by extending through the heel. Once you have breathed through this pose for a couple minutes, repeat with the other leg.
Some may need the strap for this pose, but if your hamstrings are more flexible, you may be able to reach your big toe without the strap. Only choose this option if your shoulders can remain on the ground. Julie Gudmestad also recommends modifying by placing your upwards extended leg against a wall, and your grounded leg through a doorway, giving your extended leg more support.
If the pose feels too intense, you can also modify by bending the grounded leg and placing the sole of your foot on the ground. You can also forgo the strap and simply wrap your hands around the thigh of the extended leg, with your grounded leg either bent or straight.
Salabhasana — Locust Pose

Locust Pose, or Salabhasana, is an excellent posture to target back tension, as it not only stretches your shoulders and back, but also strengthens those muscles to help ease pain long term.
Instructions:
Begin by laying on your stomach, with your chin and forehead on the mat. Your arms will be at your sides with your palms facing up. Ensure that your big toes are turning towards each other.
On an exhale, lift your legs, head, upper torso, and arms off the floor. You’re weight will be resting on your belly, ribs, and pelvis. In this position, be mindful of keeping your big toes turning towards each other. Continue to lengthen your spine.
It may be tempting to tilt your head backwards. However, in order to prevent injury or strain, keep your gaze a few inches in front of you on the ground to maintain a long neck.
Once you have remained in the pose for about 30 seconds to a minute, release back down to the ground, and repeat a couple more times.
Salamba Bhujangasana — Sphinx Pose

Sphinx Pose, or Salamba Bhujangasana, is a gentle backbend that strengthens the spine, as well as opens up the shoulders and chest.
Instructions:
Begin by laying on your stomach, with your legs hips-width apart behind you and your arms at your sides. Bring your arms forward and prop up onto your elbows, which should be aligned under your shoulders. Your forearms will be forward and parallel to each other, with your palms on the ground.
As you inhale, press down into your forearms and lift your chest and head up. Keep your legs engaged, and press your pubic bone into the ground. Actively lengthen your tailbone back towards your feet. Your shoulders should remain rolling down your back, and be mindful of not letting them inch up towards your ears.
Hold this position for a few breaths. Release on an exhale, and roll your torso, chest, and head back down to the floor. Lengthen your arms back to your sides, and repeat the pose a couple more times.
Bharadvajasana — Bharadvaja’s Twist Pose

Bharadvaja’s Twist, or Bharadvajasana, provides stretching and strengthening to the spines and shoulders, and also helps release tension in the hips.
Instructions:
Begin seated with your legs extended in front of you and your spine elongated. Shift your weight to your left glute, bend your knees, and bring your heels to the outside of your right hip. Allow your right ankle to rest on the arch of your left foot.
Inhale and lengthen your spine upwards. As you exhale, twist your torso over to the left, continuing to lengthen through your spine. Put your left hand at the side or behind your left hip, and place your right hand on your left thigh.
Continue to breathe in this posture, ensuring you are extending your spine through the crown of your head. As you exhale, deepen the twist and walk your left hand further behind you. If possible, you may choose to take a bind by wrapping your left arm behind your back and grabbing your right bicep.
Once you have taken a few breaths on this side, switch to the opposite side. If you are looking for a deeper stretch, you may choose to place the bottom foot into the crook of your hip. You may also choose to modify by placing a block or towel underneath your bottom knee.
Utthita Hasta Padangustasana — Extended Hand to Big Toe Pose

Extended Hand to Big Toe Pose, or Utthita Hasta Padangustasana, is the standing version of Supta Padangusthasana (or Reclining Hand to Big Toe Pose). Like that pose, it stretches your hamstrings, thighs, and hips while releasing any tension in your low back, but adds the component of balance and core strengthening.
Instructions:
Begin by standing on your mat, with your arms at your side and core engaged. Bring your left knee up to your torso. Lengthen your left arm over your left thigh and grab hold of the left big toe, using your index finger and thumb.
On an inhale, extend your left leg in front of you, straightening your knee to the best of your ability. If you are able to remain steady here, you may extend your leg out to the left. Hold the pose for 30 seconds, and bring your leg back to center on an inhale. Lower your foot on an exhale. Repeat on the opposite side.
If your hamstrings are tight, you may choose to use a strap. Wrap it around the arch of your extended foot, and hold onto the ends with your hand, rather than grasping the big toe. Julie Gudmestad also recommends modifying by using a chair. Place the extended leg on the back of the chair, which will allow you to focus less on the balance aspect and more on the stretch.
As noted, taking just any yoga class won’t necessarily help with your back pain. Include some of these targeted poses into your daily practice, and you’ll find the tension in your back diminishing. Once you find the poses that work best for you, remember to practice often and take these poses slowly. Really focus on the stretching to reap the full benefits from the time you dedicate to your practice.