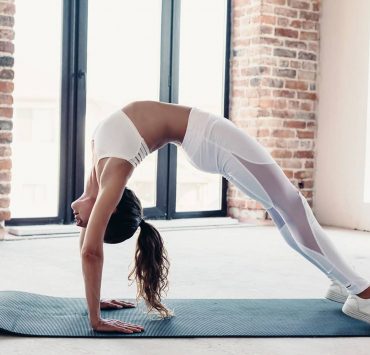
Bikram Yoga is a popular style of yoga. And it is meant to make you sweat. It is traditionally practiced in a room heated to 104 degrees Fahrenheit. That room is also set to 60 percent humidity.
Bikram Yoga was founded by guru Bikram Boudhury in 1974.
It comprises 26 postures and is practiced in a systematic sequence. The aim of the practice is to gain focus and discipline.
It also detoxifies the body and cultivates strength and flexibility.
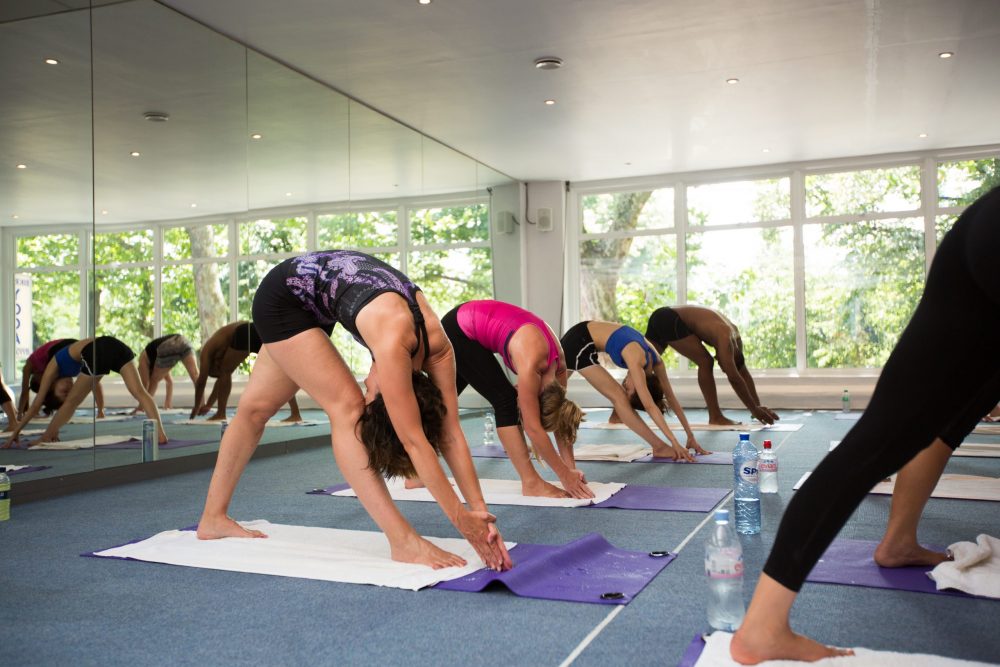
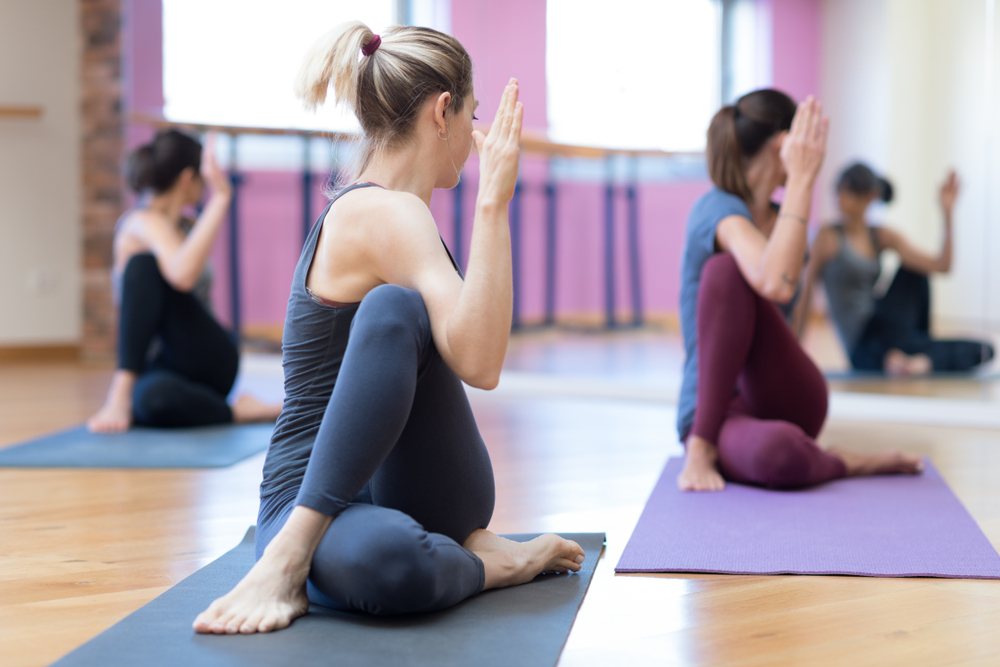
Sessions are practiced in a mirrored room. The instructor is at the front, calling out instructions. Bikram himself has jokingly called these yoga rooms “torture chambers.” But the practice has many benefits.
It is open to beginners and advanced yoga students alike.
History of Bikram Yoga
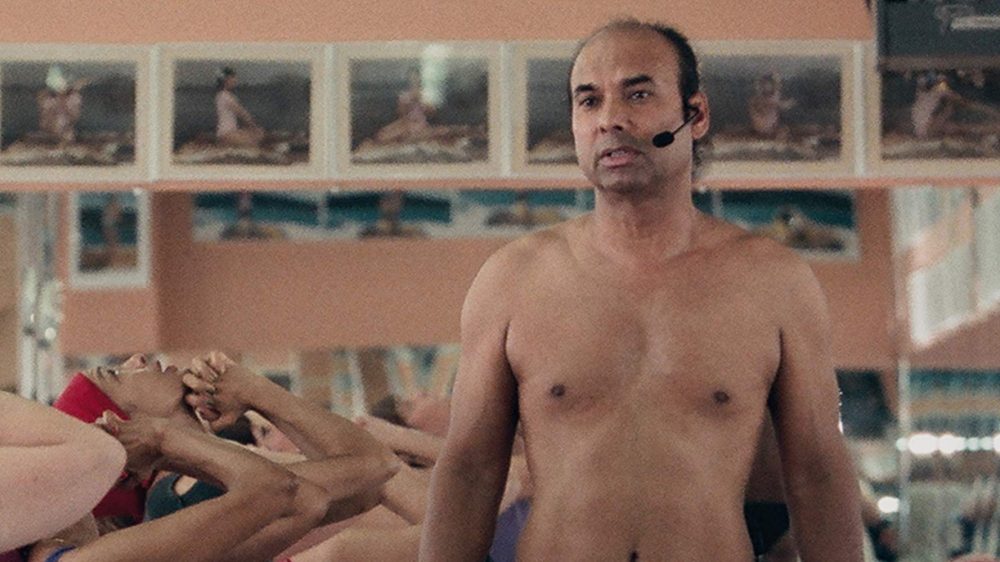
In his youth, Bikram Choudhury was a competitive yoga practitioner. He was born in Calcutta, India in 1946. He studied yoga under guru Bishnu Ghosh from a young age. And he became the youngest contestant ever to win the National India Yoga Competition at age 11.
He remained undefeated for the next three years.
Then, he traveled throughout India with Ghogh. Together, they demonstrated weight-lifting techniques. In 1971, he visited the US for the first time.
His trip was sponsored by the American Medical Association. They wanted Bikram to demonstrate how yoga can treat those with chronic illnesses.
In 1974, Bikram founded the Yoga College of India in Beverly Hills.
Today, he is a self-proclaimed “guru to the stars.” He continues to train and certify hundreds of new teachers each year around the world.
Benefits of Bikram Yoga
The heat in a Bikram class is supposed to mimic the natural heat of India. This is where Bikram first learned to practice and teach. The warmth and humidity also help to loosen the muscles. This allows for greater flexibility and depth in poses.
Sweating also helps detoxify and cleanse the body. It flushes out all material waste.
Practicing in a heated room increases the practitioner’s heart rate. It can strengthen the heart and improve circulation throughout the body. It also encourages healthy circulation through compression and extension.
Each pose stretches or compresses a part of the body. It temporarily restricts circulation. Then, when the pose is released, fresh blood is pumped into that area.
This process is called extension.
It is believed that the flow of fresh blood helps to cleanse the body. It can detoxify infections, bacteria, and toxins.
A good example of compression and extension is Locust Pose. Practitioners press their body weight onto their forearms. To finish this pose, they release their arms.
Additionally, Bikram Yoga can expand lung capacity. It can improve balance, strengthen muscles, and promote kidney function. It has also balanced sugar levels and developed the practitioner’s patience.
Aims of Bikram Yoga

The Bikram Yoga Sequence aims to positively affect every area of the body. It stimulates every organ, vein, ligament, and muscle with newly oxygenated blood.
The heated room combined with the asana creates a scientifically designed yoga class.
It allows muscles and ligaments to warm and stretch. The order of targeted body parts within the sequence is also important. This order is believed to be the proper way that the body should be stretched.
Bikram asserts that these postures must be done accurately. This will ensure the intended benefits.
Teachers are trained to push students until they reach their best expression.
Components of a Bikram Practice
A Bikram Yoga practice sequence is 90 minutes long. It consists of 2 breathing exercises and 24 poses. Each pose and exercise is performed twice.
Pranayama and asanas are always practiced in the same order.
Classes begin with pranayama. They are followed by 12 standing poses and then 12 floor poses. Class closes with a final pranayama.
The instructor stands at the front of the room. They call out precise instructions for each pose.
Standing sequences include five balancing poses. This builds focus and concentration. Floor sequences include backbends, forward bends, and twists.
The overall sequence is designed to work every part of the physical body. This includes external muscles, joints, bones, and internal organs in that order.
Bikram Yoga Sequence
#1 Pranayama – Deep Breathing
Pranayama increases focus and expands the lungs. It enables maximum oxygen to reach the muscles and organs. It also improves blood circulation.
Breathing prepares you for the following exercises by easing and calming the mind.
It can energize and detoxify the body.
Start by standing up straight. Keep your spine erect and legs together. Interlock your fingers. Place them under your chin and along the arc of your neck. Keep your elbows together.
Inhale. Pull your arms with your wrists slightly touching your ears. Keep your head straight. Exhale slowly and deeply. Tilt your head back. Let your hands follow the movement of your head.
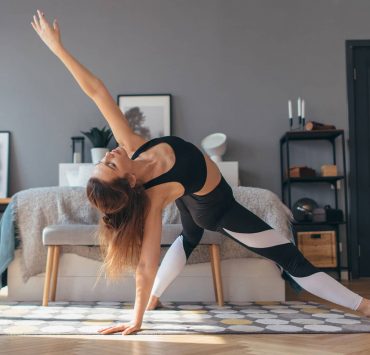
#2 Ardha Chandrasana – Half Moon Pose
Half Moon Pose strengthens the core and increases the spine’s flexibility. It also improves kidney functioning. This pose firms the body and tones the hips, buttocks, thighs, and abdomen.
Stand up straight and lift your arms up. Join your palms to form a prayer mudra above your head. Don’t bend your elbows. Keep your hands straight, flexed, and firm.
In this position, bend your right hip. Let your torso fall to the right. Keep your legs straight while you do this.
Then repeat on the left side.
#3 Utkatasana – Awkward Pose
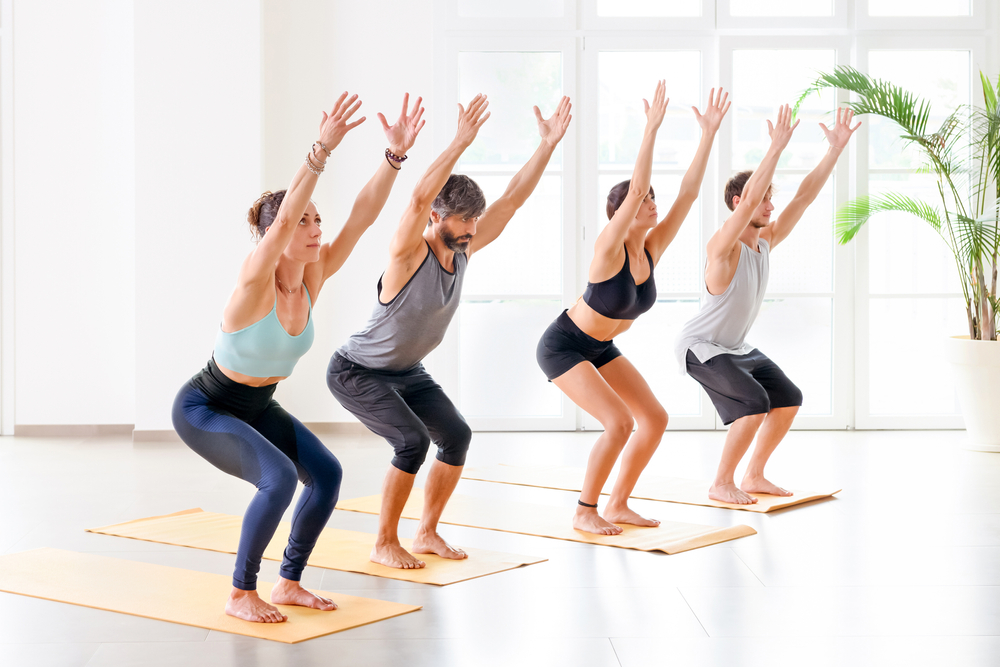
Awkward Pose tones and shapes the legs. It can cure slipped discs and other spine-related problems. It stretches the hips, spine, and chest muscles.
It also strengthens the torso, tones the legs, and relieves joint and back pains.
Stand up straight. Keep your feet arm-length apart. Stretch your arms forward with palms facing down. Keep your arms straight. Bend at the knees and push your body down. Imagine you are sitting on an imaginary chair.
Do not bend your knees beyond your feet. Hold this pose.
#4 Garudasana – Eagle Pose
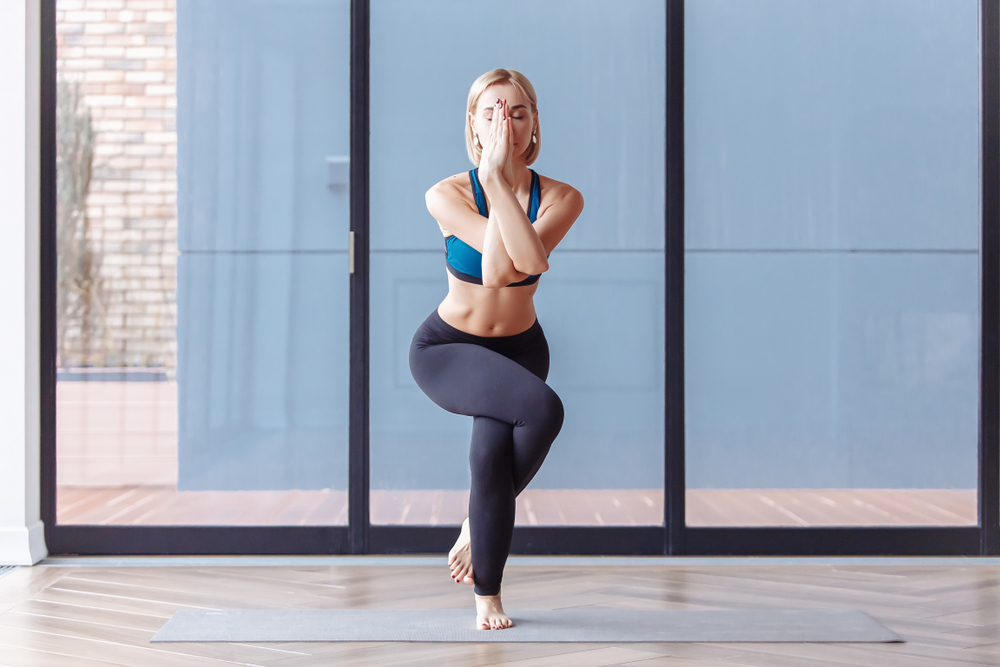
Eagle Pose opens up the largest joints in the skeletal system. It improves flexibility in the hips, knees, and ankles. Garudasana enables fresh blood to flow through the kidneys and reproductive organs.
It also increases focus and improves balance.
Stand straight and bend your right knee. Wrap your left knee over your right knee. They should now be stacked on top of each other.
Place your left leg on the posterior of your right shin. Raise your arms forward at shoulder level. Bend your elbows at 90 degrees. Wrap your right hand over your left.
Repeat on the other side.
#5 Dandayamana-Janushirasana – Standing Head to Knee Pose
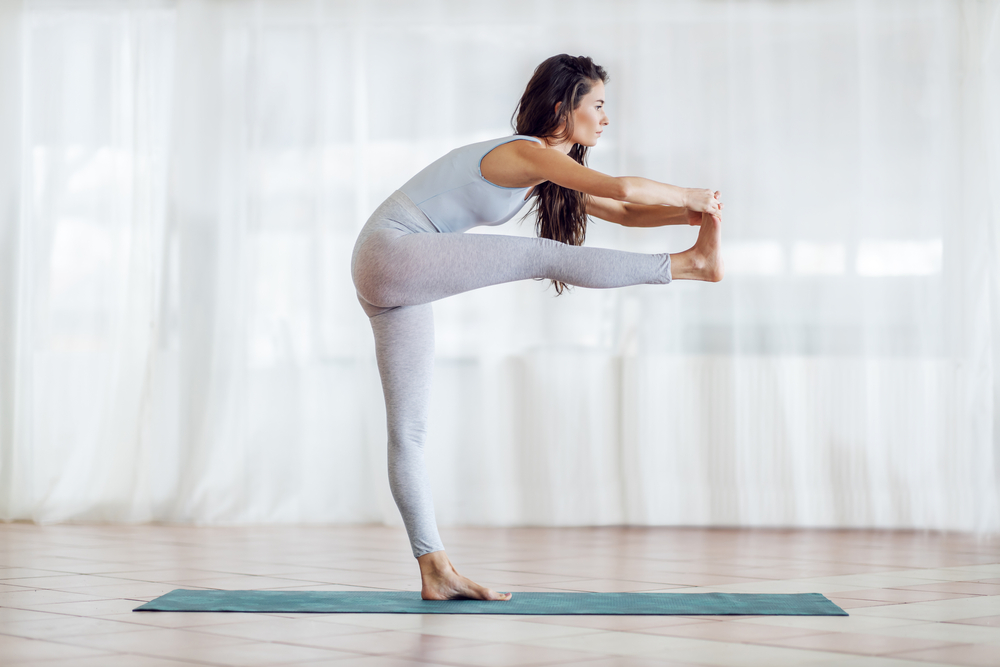
This pose strengthens the hamstrings and leg muscles. It improves flexibility in the sciatic nerves and tones the back, biceps, and triceps. It can also improve circulation, build mental strength, and tighten abdominal muscles.
Stand straight with your feet together. Form a cup with your palms by interlocking your fingers. Bend at the waist.
Lift your right leg up towards your chest by bending at the knee. Cup your palm around the sole of your foot. Slowly straighten your right leg, taking your hands with it. Bend your torso further.
Make your chest touch the knee of your right leg.
Make sure to bend your elbows slightly. This will accommodate the stance. Hold here.
#6 Dandayamana-Dhanurasana – Standing Bow Pose

Standing Bow Pose develops balance and firms the upper thighs. It also improves the strength and flexibility of the lower spine. It can build patience and concentration and clear cardiovascular problems.
It does this by stimulating blood vessels. This supplies fresh blood to the entire body.
Stand straight. Lift one of your legs with your hand from inside your ankle. Stretch your other arm out to the sky. Make sure your palm is facing forward. Slowly extend the leg you lifted upwards. Make sure your torso is going slightly forward.
Keep your hips and foot of the leg on the ground in a straight line. Kick the other leg further up until you can hold that foot with your arm.
Stretch higher. Your upper body should bend more forward.
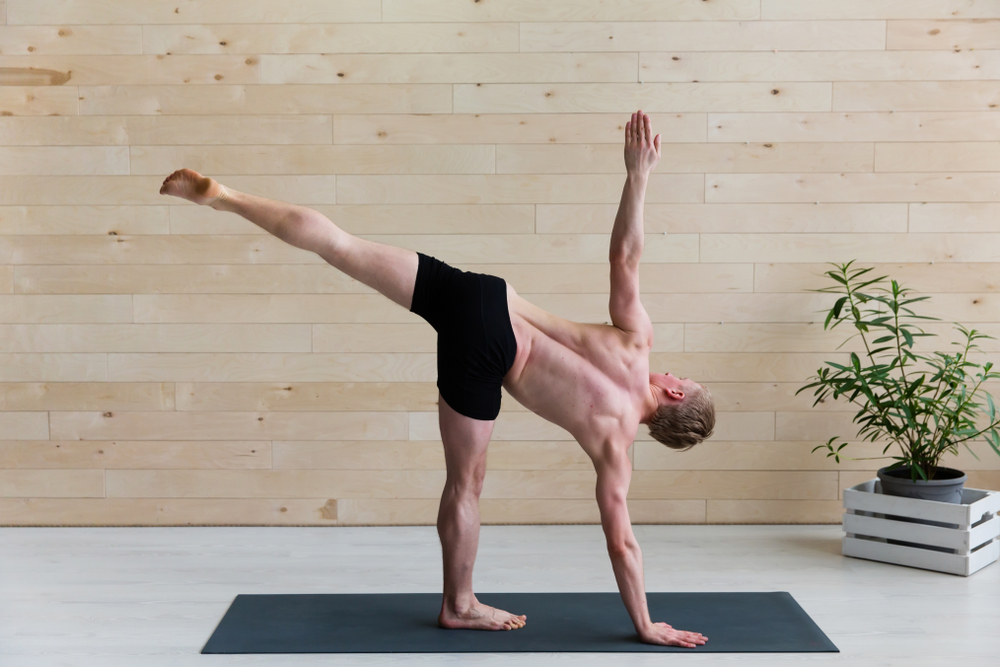
#7 Tuladandasana – Balancing Stick Pose
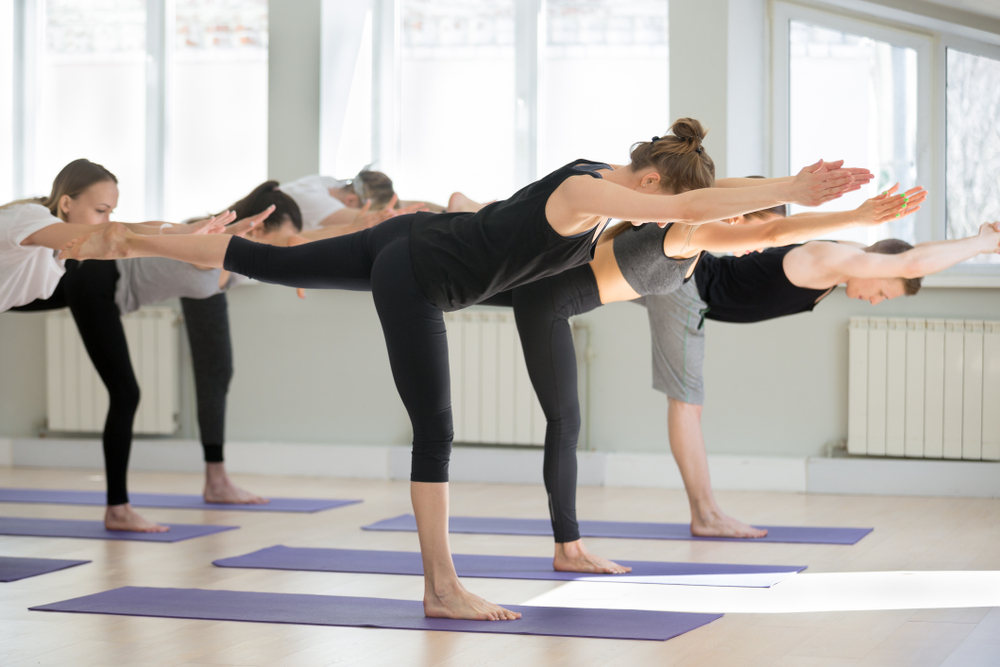
This pose stretches the heart muscles, rejuvenates the brain, and strengthens concentration. It strengthens core and back muscles and gently stretches the entire spinal column.
It can also increase stamina and help burn calories.
Stand straight and raise your arms to the sky. Clasp your hands. Leave your index fingers pointing to the sky. Lift your left foot off of the floor while keeping your spine straight. Take your left leg further up.
You will form a “T” with your outstretched left leg and arms. Hold this pose.
#8 Dandayamana-Bibhaktapada-Paschimotthanasana – Standing Separate Leg Stretching Pose
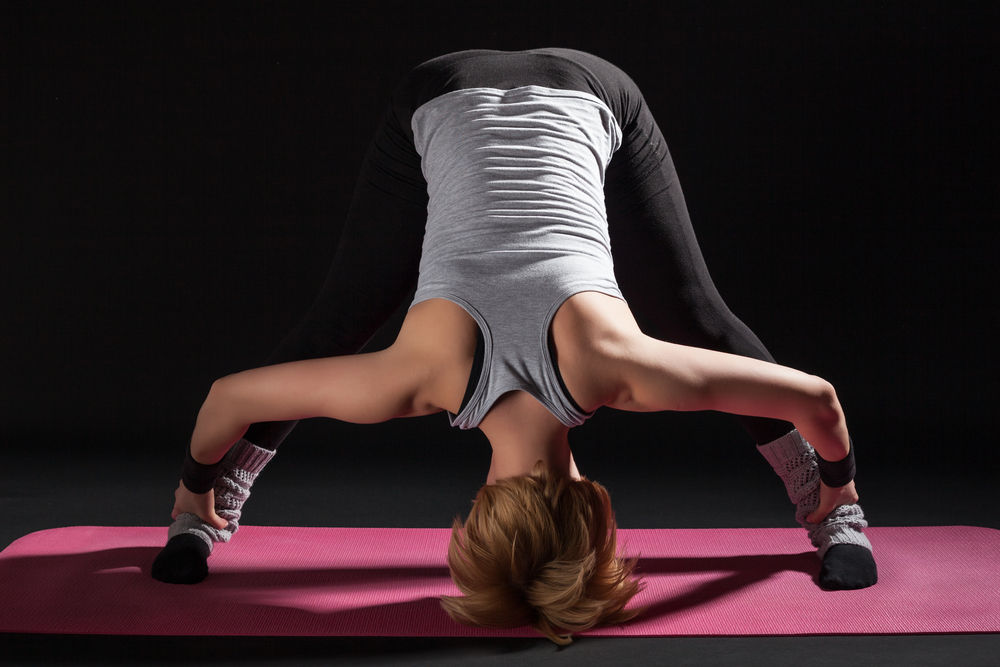
In this pose, you will strengthen and stretch the sciatic nerves. It massages your abdominal organs and small and large intestines. It also increases ankle and hip flexibility and releases tension in the lower back.
Overall, it creates emotional stability.
Stand straight. Take a big step to the right with your right leg. Stretch your leg to the right as wide as possible. Stretch your arms on your respective sides. Bend forwards towards the ground between your legs.
Reach your hands towards your feet. Clasp around the ankles. Use this grip to push the torso down further.
Stop when your head touches the ground.
Keep your arms, legs, and spine straight. Hold here.
#9 Trikonasana – Triangle Pose
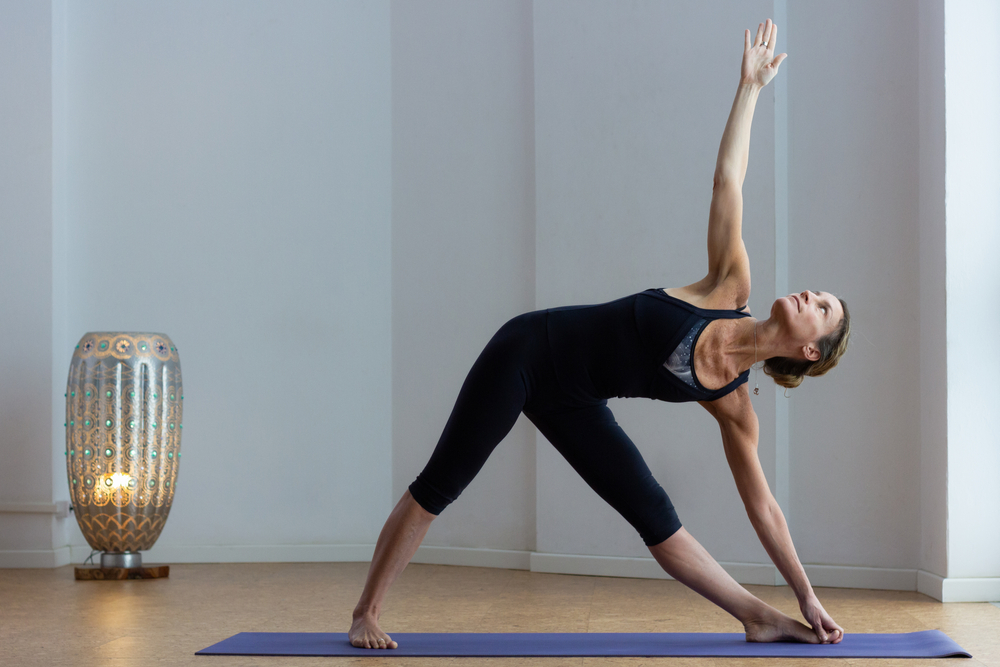
Triangle Pose revitalizes the veins, tissues, and nerves. It reduces rheumatism and lower back pain. And it strengthens the knees, ankles, legs, chest, and arms. It can also cure anxiety and improve digestion and the coordination between the heart and lungs.
Stand straight with your feet arm-distance apart. Keep the waist straight and bend towards the right. Lift your left hand up. Let your right hand touch the ground. You should form a straight line.
Your right hand should touch the tips of your right toes. Keep your palms facing out. Keep your right foot facing towards the right. Bend your right knee as much as possible. Stretch out of your left leg.
Your legs should be flexed and taught.
Turn your head to the left and look up at your left hand. Hold here.
#10 Dandayamana-Bibhaktapada-Janushirasana – Standing Separate Head to Knee Pose
In this pose, you will tone the abdomen, waist, hips, thighs, and buttocks. It stimulates the thyroid gland and regulates your metabolism and immune system. Some believe this pose can help those suffering from depression. It has also been said to cure constipation, low blood pressure, and menstrual problems.
Stand straight with your feet together. Raise your arms overhead. Join your hands together in a firm clasp. Move your right leg towards the right. Keep it about two to three feet away from the left leg. Turn the right foot towards the right.
Now, tuck your chin into your chest. Bend your torso towards your right leg. Stop when your head touches your right knee. Make sure your legs and hands are straight while you do this.
Hold here. Then repeat on the other side.
#11 Vrikshasana – Tree Pose
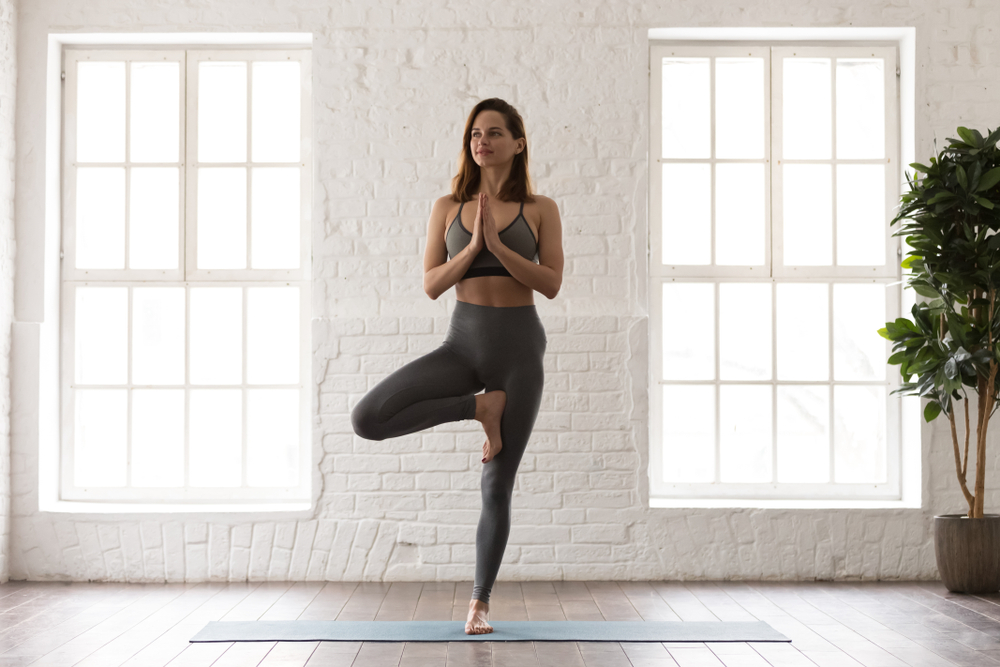
Tree Pose improves posture and balance. It increases flexibility in the hips joints, knees, and ankles. It can also prevent hernias and aid neuromuscular coordination. Additionally, it strengthens the eyes and shoulders and reduces flat feet.
It also increases patience.
Stand straight with your feet together. Keep your arms along the sides of your body. Get your palms together in a prayer mudra. Place it in front of your chest.
Raise your right foot. Bend at the knee and place on the upper thigh of your left leg. Square your shoulders and keep your left leg straight. Hold here.
#12 Padangustasana – Toe Stand Pose
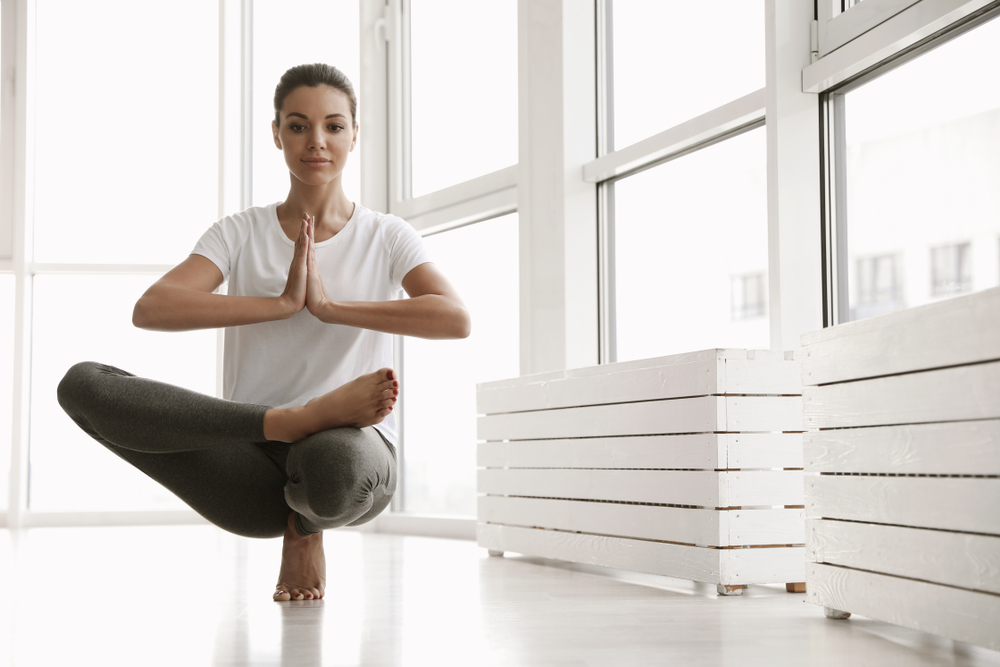
Toe Stand Pose strengthens and opens the knees. It cures hemorrhoid problems and develops mental strength. It will strengthen your joints, abdominal muscles, hips, ankles, and toes. And it will increase your focus and improve your posture.
Toe Stand Pose also keeps you calm and balanced.
Stand straight with your arms by your sides. Bend your right knee towards your chest. Bring your right foot to rest on your left knee. Make sure the sole of your right foot is facing upwards.
Bend down on your standing left leg. Bring your buttocks to rest on the heel of your left foot. The thigh of your left leg should be parallel to the ground. Bring your hands together in a prayer mudra. Place it in front of your chest and hold it here.
#13 Savasana – Corpse Pose
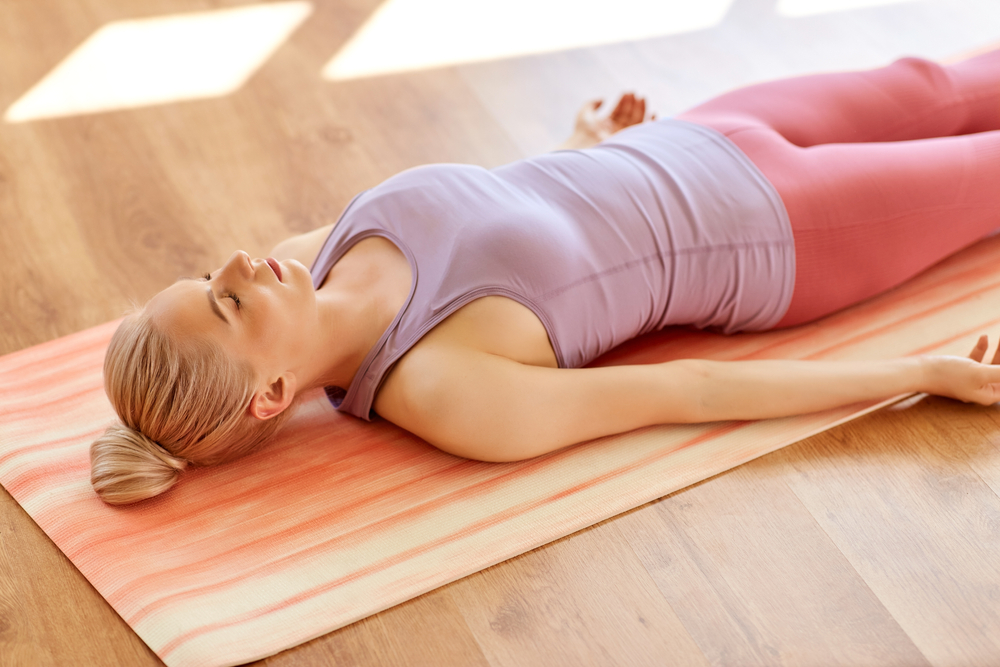
Corpse Pose relaxes and cleanses the body internally. It releases stress, depression, tension, and fatigue. It also relaxes the muscles and cures insomnia. Corpse Pose can improve mental health and concentration. It stimulates blood circulation and helps in curing constipation, diabetes, and asthma.
Lie down on your back. Keep your legs slightly apart. Place your arms along both sides of your body. Let your palms face upwards and relax.
Close your eyes. Breathe deeply through your nose. Consciously relax your body from head to toe as you breathe.
Hold this pose until you feel completely relaxed.
At this point, you are halfway through the Bikram Yoga regimen.
Relax in Savasana. Drink water. And gear up for the next 13 poses.
#14 Pavanamuktasana – Wind-Relieving Pose
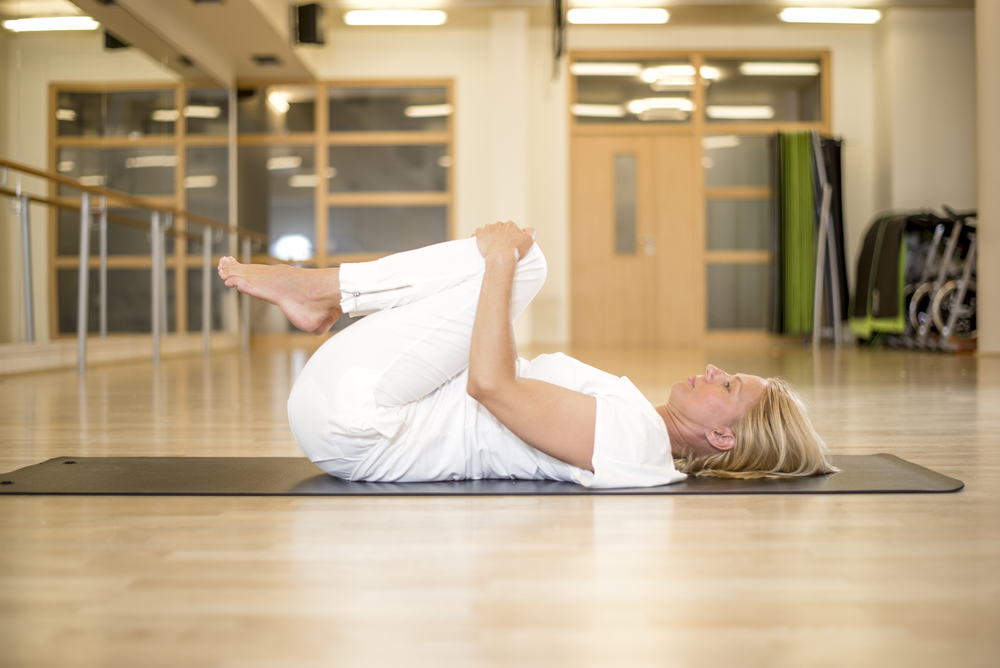
This pose compresses and massages the digestive system. It strengthens the arms, improves hip flexibility, and tones the abdomen and thighs. It can also release gas and aid digestion.
Wind-Relieving Pose eases tension in the lower back. It also enhances blood circulation in the hip joints.
Lie down on your back. Keep your feet together and arms along the sides of your body. Clasp your hands and wrap them around your right knee. Bring it in towards your chest. Press your thigh on your abdomen.
Keep your neck and left leg straight. Square your shoulders and hold.
#15 Padahastasana – Sit Up Pose
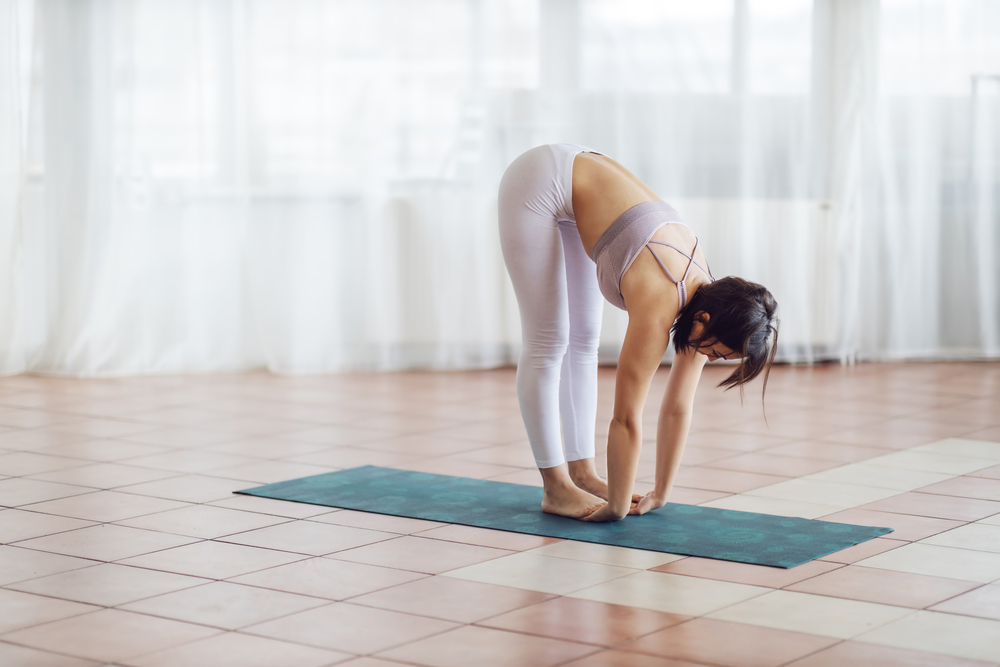
In this pose, you will increase flexibility and stretch the spine. Sit Up Pose firms the lower body and improves blood circulation in the legs. It stretches the shoulders and hamstrings and strengthens the biceps and calf muscles. It also stimulates the kidneys and pancreas.
Sit down on your buttocks. Keep your legs stretched out in front of your torso. Leave your arms hanging on both sides of your torso. Keep your back erect and feet together.
Bend your torso towards your knees. Place your head on your knees. Reach for your toes with your hands and clasp them. Flex your arms at your elbows.
Place them on the ground beside your calf muscles on both sides.
#16 Bhujangasana – Cobra Pose
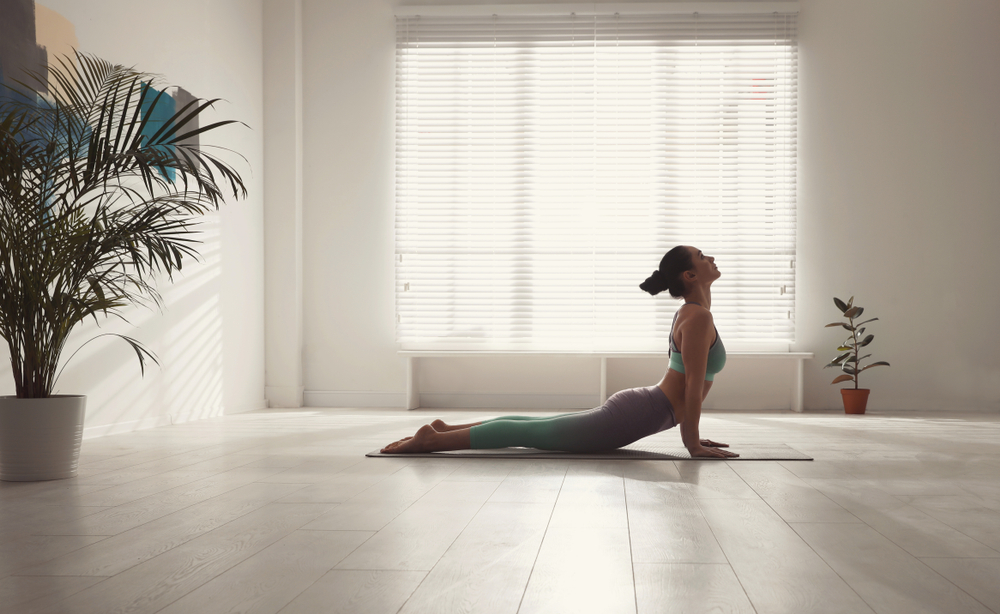
Cobra Pose improves appetite and digestion. It relieves menstrual disorders and regulates blood pressure. It can also enhance liver and spleen function and makes the spine stronger and more flexible.
This pose balances your weight by regulating your metabolism.
Lie down on your stomach. Keep your toes together and arms gently placed on both sides of the torso. Place your palms on both sides near your chest. Make sure there are facing downwards.
Gently press into the ground. Apply pressure on your palms and lift your head, chest, and stomach off of the floor. Bend your arms at your elbows just a little.
Square your shoulders. Keep them away from your ears and hold.
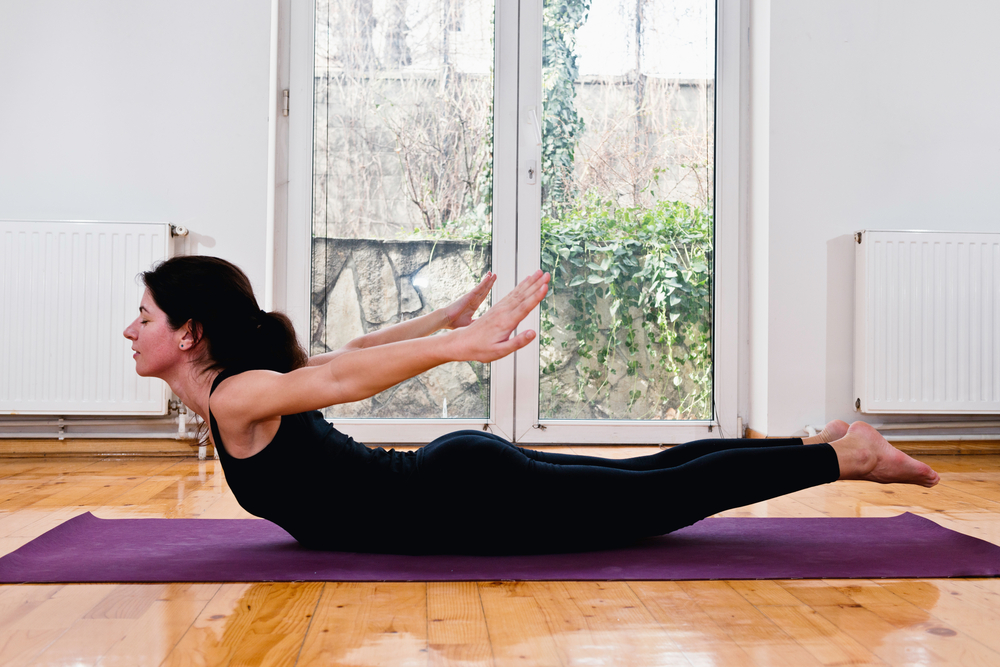
#17 Salabhasana – Locust Pose
Locust Pose works perfectly for slipped discs and sciatica. It strengthens the upper spine and relieves tennis elbow. It also helps in removing varicose veins on the legs.
Locust Pose firms the buttocks and hips. And it encourages perseverance.
Lie down on your stomach. Keep your chin on the floor. Let your heels touch each other. Snug your arms under your abdomen. Your palms should be facing downward. Spread your fingers and point them towards your knees.
Lift your right and left legs separately. Release your chin and place your mouth on the ground. Get your legs together and apply pressure on your hands.
Lift both legs as if they are one and hold.
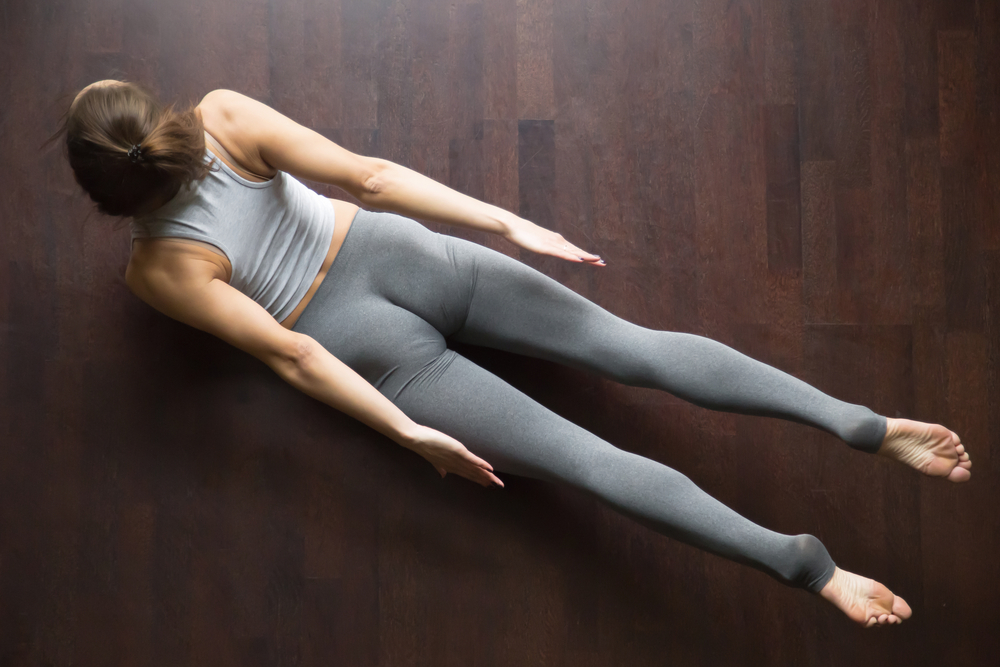
#18 Poorna Salabhasana – Full Locust Pose
Full Locust Pose works well for spondylosis and slipped discs. It increases the elasticity of the rib cage and tones the arms, thighs, abdominal muscles, and hips. This pose prevents lower backache and relieves rheumatism and menstrual problems.
It also corrects bad posture.
Lie flat on your stomach. Stretch your arms out at your sides. Keep your palms facing downwards. Keep your legs together. Lift your head, chest, and torso off of the floor.
Lift your arms as well and stretch outward with your palms facing down. Lift your legs off the floor. Hold here.
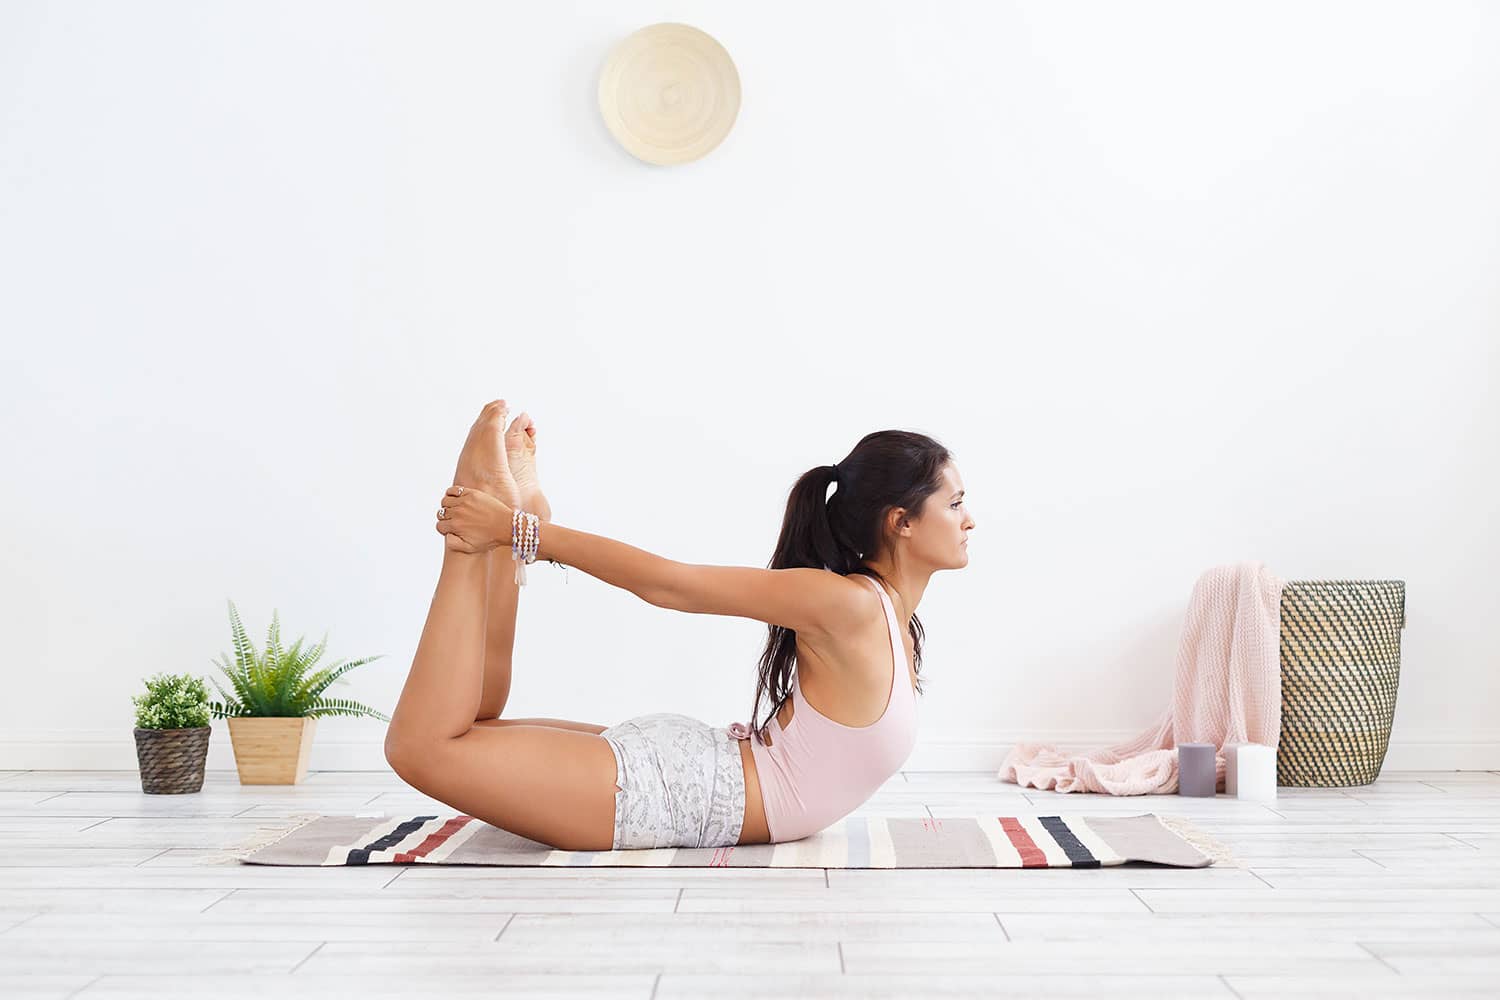
#19 Dhanurasana – Bow Pose
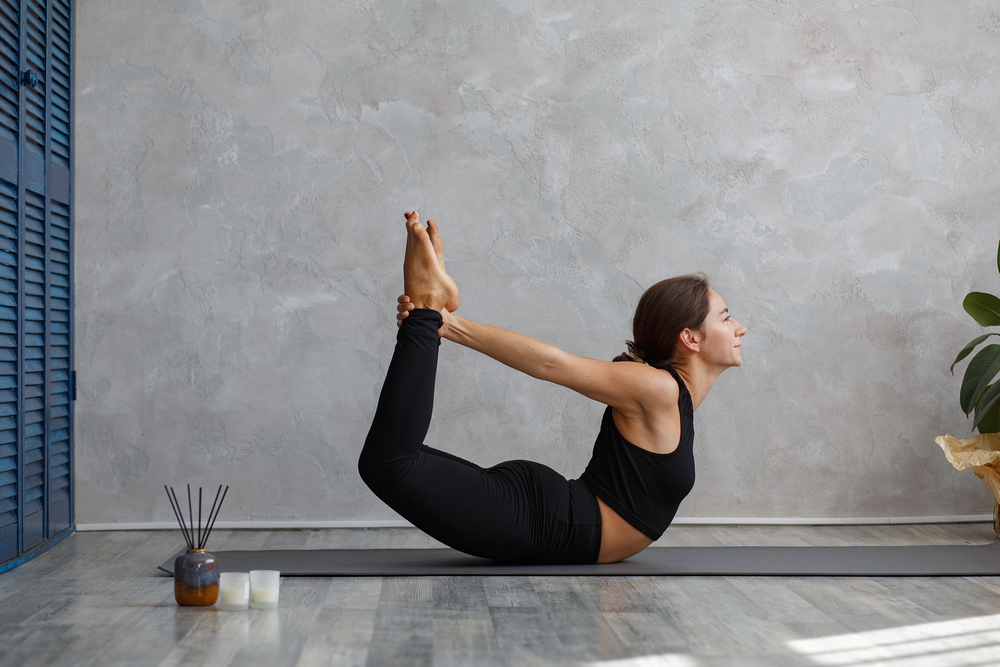
Bow Pose expands the lungs and strengthens and revitalizes spinal nerves. It improves the functioning of the large and small intestines and relieves constipation.
Additionally, Bow Pose improves digestion and treats bronchitis and diabetes. It can also help the liver, kidneys, and spleen function better.
Start by lying down on your stomach. Keep your arms along the sides of your body. Keep your legs hip-width apart and bend your knees. Stretch out your arms to hold on to your ankles. Lift your chest and legs off of the floor.
Pull your legs back by applying pressure on your ankles with your hands.
Look straight and hold this pose.
#20 Supta Vajrasana – Fixed Firm Pose
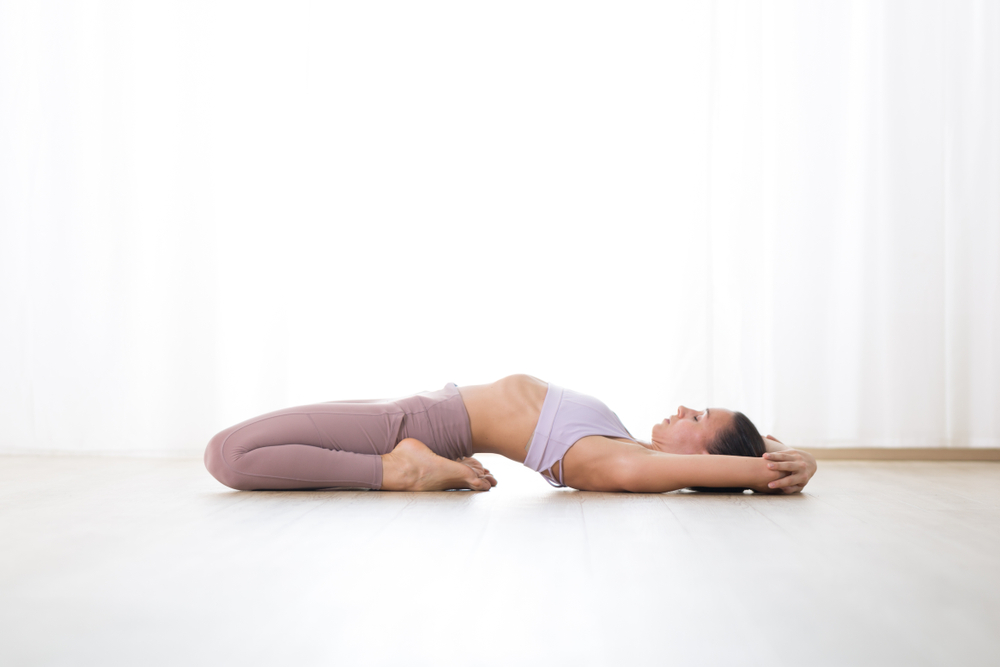
This pose can prevent hernias and stimulates the thyroid glands. It stretches and expands the rib cage and loosens the legs. It can also regulate the adrenal glands, eliminating anger and increasing courage.
Fixed Firm Pose relieves constipation and relaxes the mind.
Sit in Vajrasana and place your palms beside your buttocks. Keep your fingers facing forward. Bend backward and keep your right forearm and elbow on the floor. Then place your left forearm and elbow on the floor.
Bear the weight of your torso on your elbows and look ahead. Reach for your toes with your fingers. Grasp them and hold this pose.
#21 Ardha Kurmasana – Half Tortoise
Half Tortoise releases tension in the neck and shoulders. It enhances memory and mental clarity. It is also good for asthma and irritable bowel syndrome. This pose tones the thighs and abdomen.
And it gives a relaxing stretch to the spine while increasing flexibility in the hips.
Start by sitting in Vajrasana. Lift your arms toward the sky. Bring your palms together and entwine both thumbs. Keep your arms straight and stretched with your biceps touching your ears.
Bend down at your waist, bringing your entire torso towards the ground.
Get your forehead and little fingers to touch the ground. Hold here.
#22 Ustrasana – Camel Pose
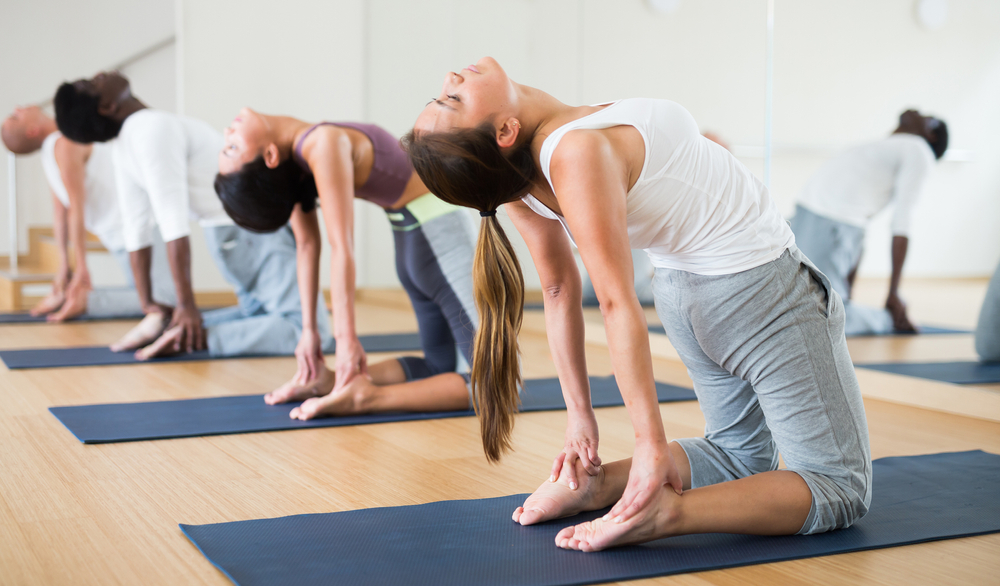
Camel Pose stimulates the nerves and improves flexibility in the neck. It cures backaches, stretches the throat, and is good for the thyroid gland.
Additionally, this pose opens up the chest, improves posture, and relieves menstrual pain.
Kneel down on the mat and place your hands on your hips. Keep your shoulders and knees in a straight line. The soles of your feet should be facing upwards towards the ceiling.
Bend backward gently. Reach for the soles of your feet with your fingers. Keep your arms straight and look upwards.
Hold this pose.
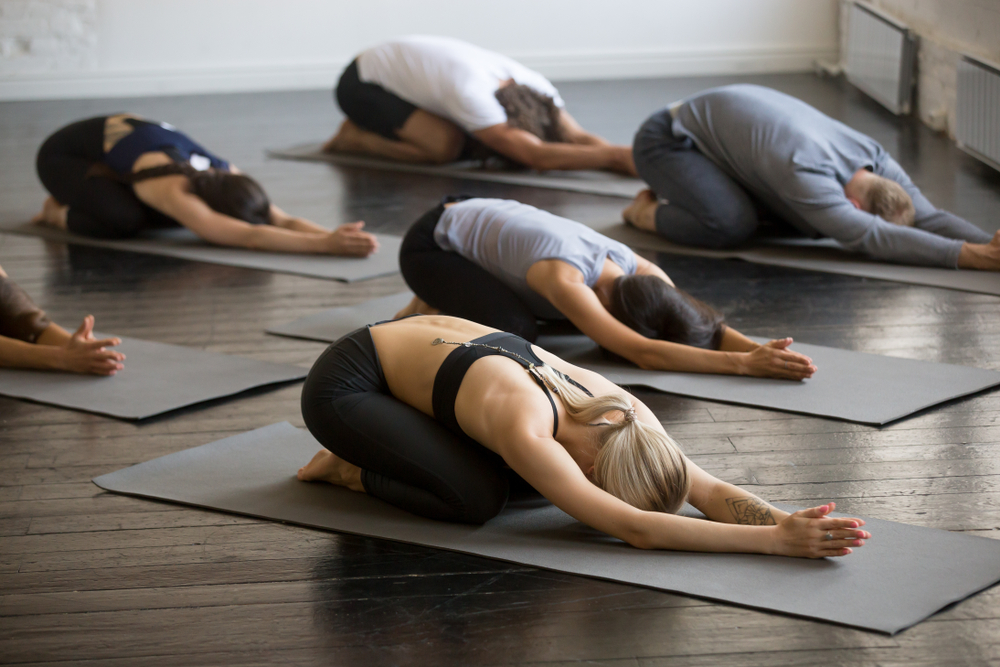
#23 Sasankasana – Rabbit Pose
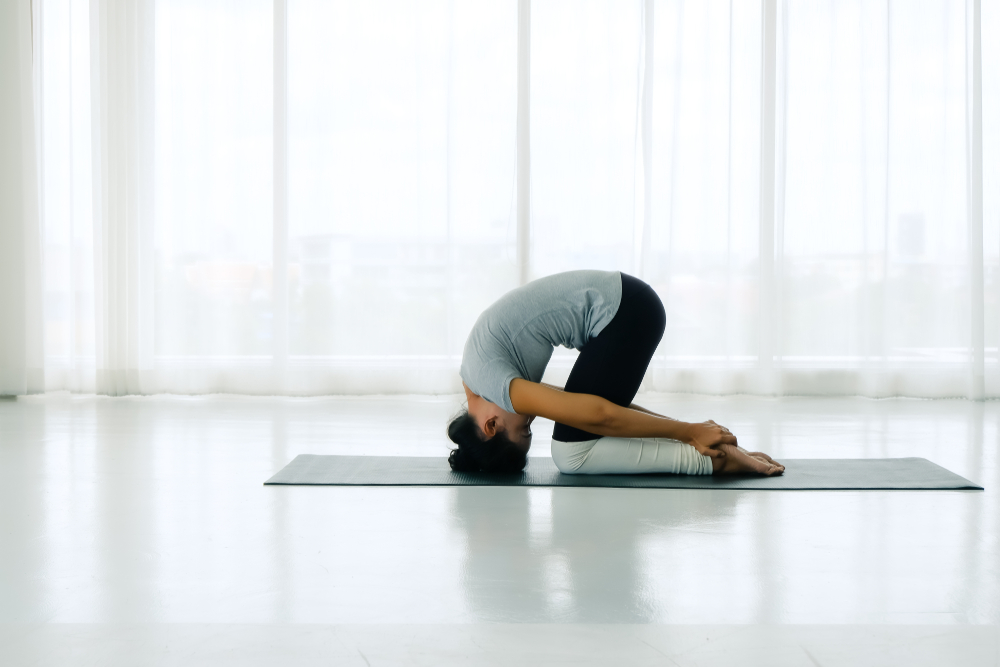
This pose increases the mobility and elasticity of back muscles and the spine. It sends fresh blood and oxygen to the nerves. It also relieves tension in the neck and shoulders. Rabbit Pose helps reduce sinus and cold discomfort and rejuvenates the thyroid gland.
Sit in Vajrasana. Raise your buttocks off the heels of your foot. Leave your arms along the sides of your body and keep your back straight.
Bend forward from the waist and arch your back. Place your forehead on your lower thighs and keep your arms stretched out and backward. Reach out towards the soles of your feet. Place your thumbs on your ankles.
Your other four fingers should gently touch the soles of your feet.
Hold this pose.
#24 Janushirasana-Paschimottanasana – Sitting Head to Knee Stretching Pose
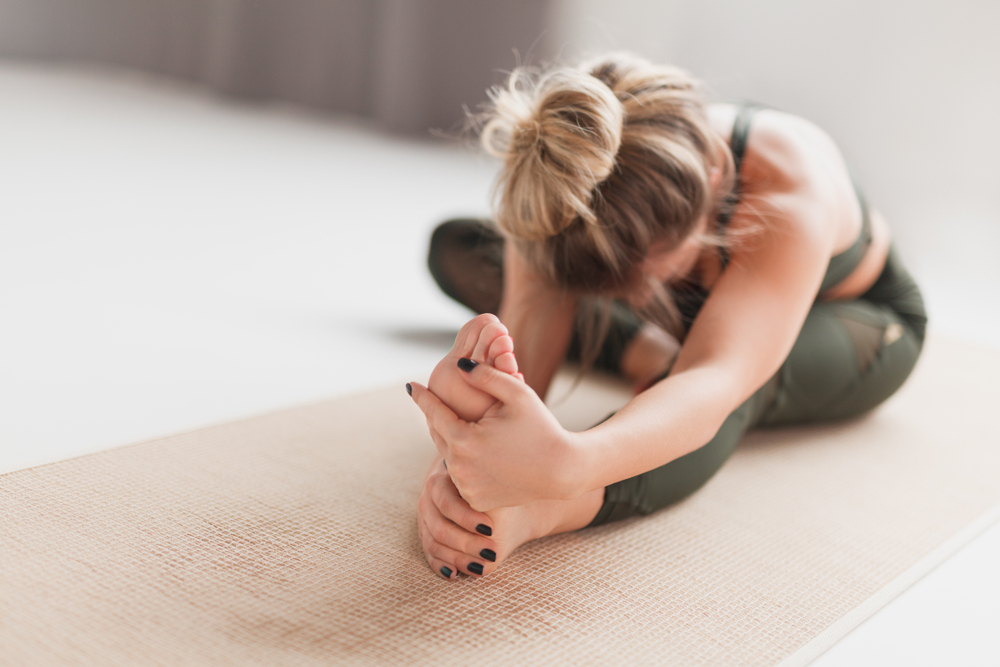
This pose increases blood circulation to the liver, pancreas, thyroid, and intestines. It keeps allergies at bay, is good for digestion, and cures chronic diarrhea.
It can also balance blood sugar levels and enhance kidney functions.
Sit down on your buttocks with your legs stretched out in front of you. Bend your left leg and place your heel near your anus. Rest the sole of your foot in the inner upper right thigh. Stretch your arms overhead and bend forwards towards your right leg.
Clasp the big toe of your right foot with both hands. Keep your arms bent at the elbows. Place the crown of your head on your right knee.
Hold this pose.
#25 Ardha Matsyendrasana – Spine Twisting Pose
Spine Twisting Pose improves the elasticity of the spine and prevents slipped discs and arthritis. It calms the nervous system and relieves tension trapped in the back. Additionally, it increases the supply of oxygen to the lunges.
And it also detoxifies the internal organs and improves reproductive health.
Sit straight on your buttocks. Keep your legs stretched out in front of you with your feet together. Bend your left leg. Take it over your right leg and place your left foot near your right thigh.
Bend your right leg and get it closer to the pelvis. The sole of your right foot should press up against your left buttock.
Bend your torso towards the left and keep your gaze over your left shoulder. Keep the spine erect. Take your left arm behind you and place the palm on your back. Stretch out of your right arm.
Clasp your right knee with your right hand. And hold this pose.
#26 Kapalbhati Pranayama – Skull Shining Breathing Technique
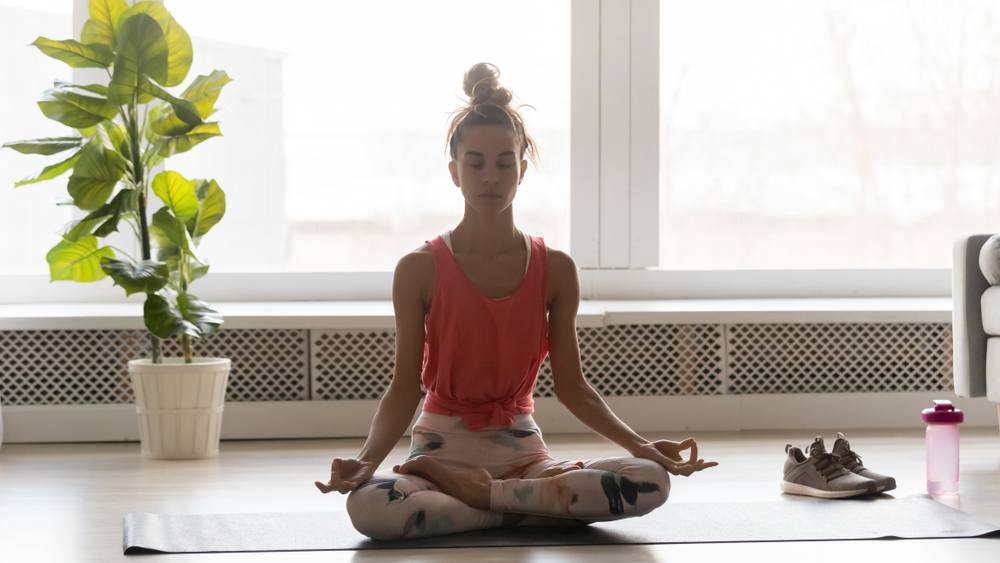
Skull Shining Breath stimulates digestion and dissolves toxins and other waste matter in the body. It uplifts and rejuvenates the brain while making the face glow with regular practice.
Additionally, it cures asthma, sinus discomfort, and hair loss.
Sit down in Sukhasana and place your palms on your knees. Form the meditation mudra with your hands. Inhale deeply and slowly through the nose. Pull your stomach in towards your back.
Relax from the contraction. Then exhale in an outburst and follow up by automatically inhaling.
Doing this 20 times counts as one round of Skull Shining Breath.
Relax deeply in Sukhasana at the end of each round.
Close your eyes and listen to your body.
Final Thoughts
Bikram Yoga is a great way to expand your yoga practice. It is a unique experience that many have found multiple benefits.
Be sure to listen to your body throughout this practice.
And go at your own pace.