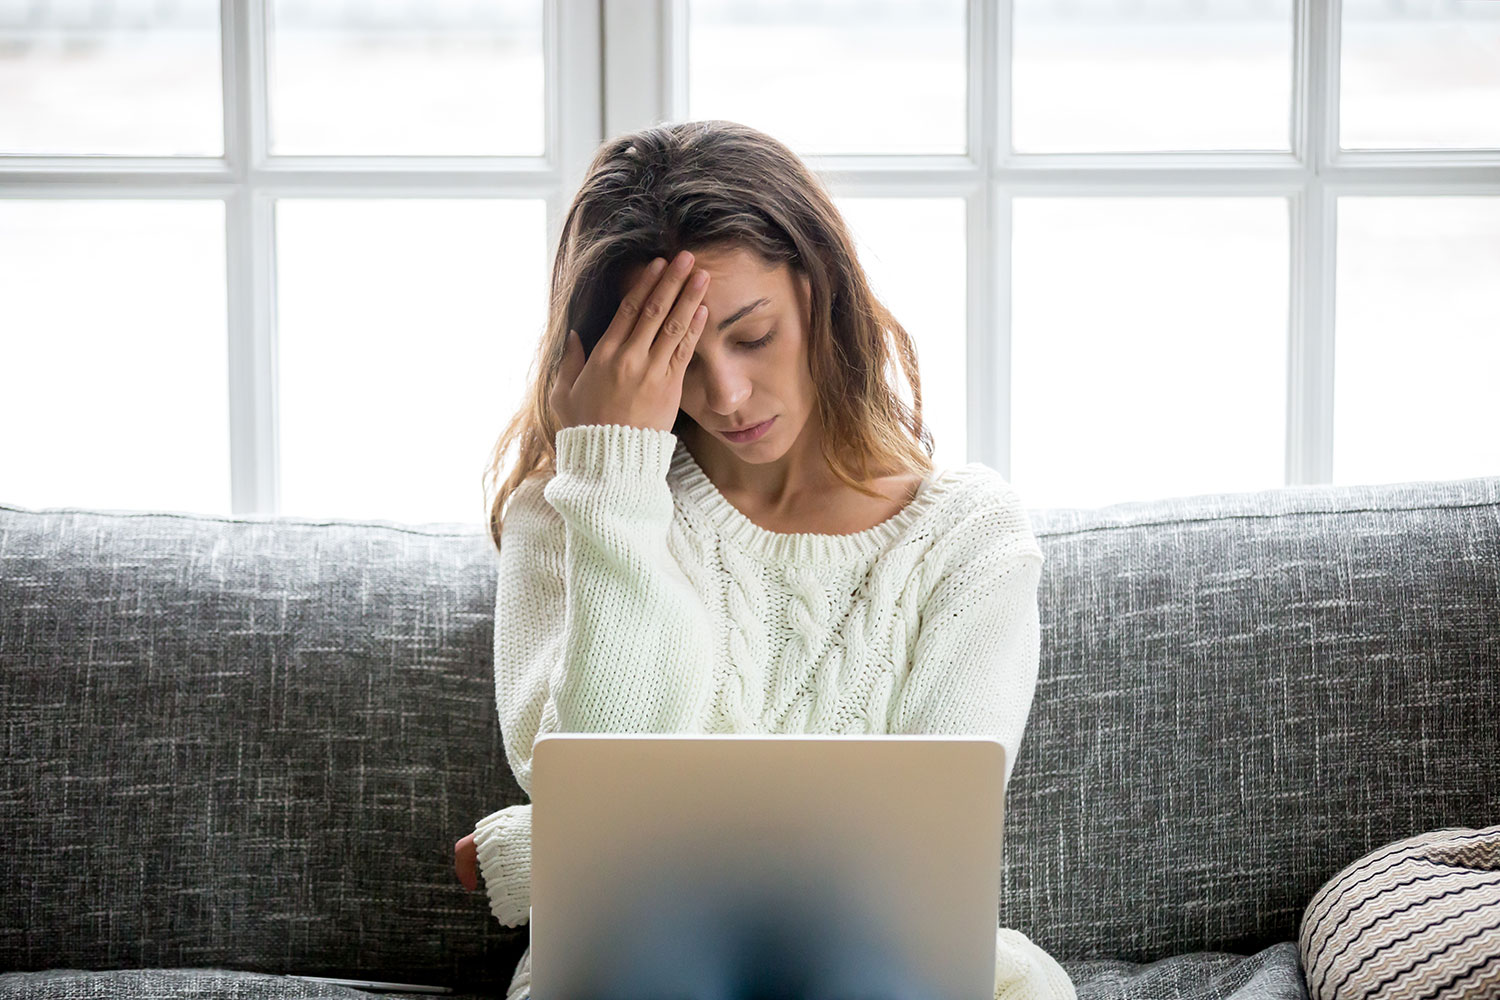
Funny thing about this article: This morning, I woke up with my heart pounding, hands shaking, and my mind whirling. Anxiety. I sure was experiencing it. Thankfully, this prompted me to do two hours of yoga, which cleared it right up.
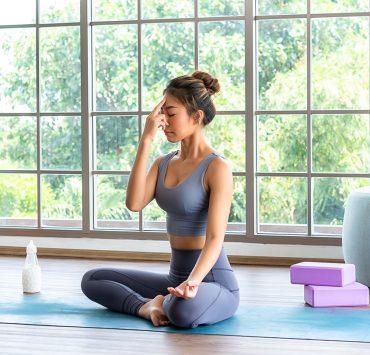
We’ve all been there, whether it’s work, family, or the ominous, unfocused pressures of today’s society. Yoga is an excellent tool in reducing stress, tension, and their cousin anxiety because it brings us in tune with our body at this present moment.
Approaching your stress and tension with yoga with compassion will nurture you, and help you live, laugh, and love more deeply.
How Yoga Poses Can Impact Stress & Tension in the Body
Yoga helps us center our minds, which creates a calming effect on the nervous system. This can have positive effects on our health over time, as shown by the the National Center for Biotechnology Information’s 2017 study on yoga & stress. They found that yoga practitioners showed significant decreases in stress, anxiety […] and significant increases in well-being when compared to a non-practicing group over a period of 8 weeks.
In my experience, a stress-reducing yoga pose is one that you can release into for a longer period. This can include both passive (relaxed) and active poses.
For example, try standing in Tadasana next to your desk or couch. Focus all your attention on your feet for two minutes. See how your mind quiets and your heart beats more slowly?
This list of poses includes both active poses and passive poses for this reason. It’s influenced by restorative & yin yoga, sort of a “best of both worlds” approach.
How to Practice these Yoga Poses

You’ll get the best results by using props to facilitate your practice. Allowing your body to release into props will help it relax.
Props include:
Warm clothes & a blanket to keep yourself warm, including a blanket on the mat, when necessary
At least one bolster or a firm, large pillow
A yoga strap or a cloth belt
Yoga blanket or one or two bathroom towels
Yoga blocks
Hold each pose for at least two minutes per side.
Focus on the experience of the breath in the body throughout the pose. Allow your body to release. Know that the tension will get worse just before it relaxes.
The poses target large muscle groups, like the quads, hips, and shoulders, where we tend to hold tension. You may discover that you hold tension in some areas more than others as you explore.
Try these poses in the evening to prepare you for bed.
Matasyasana — Supported Fish Pose

Props:
Two blocks
Matasyasana is a traditional yoga pose. This supported version is excellent for releasing tension in the neck, across the chest, and in the shoulders.
This pose is a powerful potion for beating computer hunch.
Instructions:
Place two blocks near the short edge of the mat, both with their long edges facing the mat’s short edge. Keep the block near the edge on the low height and the one inside on the middle height.
Sit so that your tailbone faces towards the blocks with knees pointing towards ceiling. Lean back onto your elbows and slowly bring yourself onto the blocks. The inner block should rest at the bottom of your shoulder blade. Your head rests on the other one. Stretch your legs straight, one by one.
Supta Matsyendrasana — Supine Twist Forward Fold with Bolster Pose

Props:
One blanket/towel, one bolster/pillow
This supine twist releases the muscles along both sides of the spine.
Lying on the stomach can help reduce stress, too, and create a feeling of calm and warmth in the body. Ensure that you are fully supported by your pillow or bolster to gain maximum benefits.
Instructions:
Place the pillow/bolster’s short edge near the short edge of your mat. Fold the towel in 4 and put it on the far edge of the bolster.
Sit your right hip next to the inner short edge of the bolster, facing the long edge of your mat. Use your fingers to measure about 4 fingers’ distance between your hip and the side of the bolster.
Bring your ankles towards your left hip while allowing your knees to relax towards the floor.
Turn your abdomen towards the bolster and place one hand to each side of it. Slowly lower until your entire abdomen is supported. Rest your head on the blanket with your face turned to one side.
Other Side:
Slowly push up, then turn your entire body so that your left hip is adjacent to bolster.
Utthan Pristhasana — Lizard Pose

Props:
Blanket, block
This pose is a huge release for the quads & hip flexors. Your body will release as you rest, so don’t push yourself to your maximum at the beginning.
Instructions:
Fold your blanket/towel in half and put at the center of your mat.
Come to tabletop with your knees on the blanket.
Bring the right foot forward to the outside of your right hand. Then, move it forward half a hand more.
Keep supporting your trunk with your hands. If you can, bring your elbows to the floor.
Press through the right foot to protect the knee. Allow your back leg to release while pressing down on the top of the back foot.
To come out, come back to your hands, then stretch the right leg all the way back to release the stretch.
Agnistambhasana — Fire Log Pose

Props:
Blanket, blocks
This pose is a hip opener.
Be sure to use the blocks under each knee if your knees are “floating” in the air. This is a normal indicator of tight hips. They’ll only release if they’re supported fully.
Instructions:
Fold the blanket in half. Put your sitbones on the blanket with legs off.
Use your hands to bring your right calf parallel with the front of the mat. Place your left leg on top of it. If needed, put blocks under both knees.
To do other side, use hands to lift the legs. Then place the left leg on the mat & the right leg on top.
Variation 1:
Place the hands in a cup shape on either side of the hips. Press down through fingertips to lift chest.
Variation 2:
Bring hands in front of shins and lean forward.
Kapotasana — Pigeon Pose

This is a powerful hip opener. Make sure to put a prop underneath your hip if you see if floating from the ground.
Make sure to keep the back leg active in this pose to receive the full stress-relieving benefits.
Don’t perform this pose if you feel any discomfort in the front knee.
Props:
Blanket, two blocks
Lay the blanket along your mat.
Come to a high plank. Push backwards through both heels to activate the legs.
Bring your right knee forward to just behind your right hand. Rest your shin on the ground with heel in line with the center of the pubis. Flex the foot.
Keeping the back leg active, slowly lower down so that the weight of the trunk comes to the front leg. Bring your hands to the floor & rest on your elbow.
Bring the top of the back foot to the floor. Press down.
Add a blanket, block, or other prop underneath the right hip if it is floating off the floor.
To come out, use your arms to support the trunk, then bring the right leg all the way back.
Adho Mukho Virasana — Hero’s Pose with Bolster Pose

Props:
Two blankets, one bolster
This pose will release the entire length of the back. Plus, resting the forehead will help to quiet the mind. Make sure to actively relax the shoulders to help the body relax.
This pose is great before bed or after a backbend practice.
Instructions:
Roll one blanket into a long, thin roll. Turn it into a U-shape and rest it adjacent to the short edge of your mat, so that it looks like it’s smiling at you.
Fold the other one in half. Place the half blanket in the middle of your mat.
Sit on your shins on the half blanket, facing the smile.
Bring the big toes to touch while separating the knees to almost mat-width apart.
Place the bolster between your heels and your glutes.
Place your hands on the floor in front of you. Lean on them to bring your torso towards the floor. Rest the middle of your forehead on the smile – you may need to bring it closer or further.
Stretch one arm overhead, palm facedown, bringing the elbow to touch the smiling blanket. Bring the other arm in the same manner.
Stretch the fingers in all directions.
Variation:
If your hips are “floating” off the back bolster, you likely need more height. Add another bolster or a folded blanket to prop it up.
Supta Baddha Konasana — Supported Reclining Bound Angle Pose

Props:
Strap, bolster, blanket, 2 blocks
This pose releases the inner leg lines or adductor muscles. It’s very helpful for women during their period as a way to release painful cramps.
Be sure to consciously relax your belly throughout this pose.
Instructions:
Place the bolster with the short edge next to the short edge of your mat. Fold the blanket in 4 and place it on the edge of the bolster near the edge of the mat.
Sit with your back to the bolster. Use your hand to measure 4 fingers distance between sacrum and edge of bolster. Point your knees towards the ceiling.
Make a loop in the strap. Take the strap over your head and legs, all the way down to the floor. Then, bring it up so that it rests on the sacrum.
Bring your knees outward; as your feet turn out, bring your strap underneath them. It will “catch” your legs as they go outward. If needed, put 1 block under each thigh for more support.
Lean backwards onto the bolster.
Rest your head on the blanket.
Setu Bandha Sarvangasana – Restorative Pose

Props:
Bolster, strap, block
This pose will put you right to sleep. It’s a wonderful antidote to stress and tense chest/shoulder muscles.
Instructions:
Bring your mat so that the short edge is against a wall. Put the block on the middle height snug to the wall.
Place the bolster along the other short side of the mat.
Sit on the bolster, facing the wall.
Make a loop in the strap. Bring it over your legs and tighten it 4 fingers above the knees.
Place your feet on the block, knees bent. Use your arms on the floor to lie back onto the bolster. Push against the wall to straighten your legs, allowing your shoulders to come off the bolster onto the floor. Bring your arms into a T shape.
Paschimottanasana — Seated Forward Fold Pose with Bolster

Props:
Bolster
You’ll be able to relax fully in the supported version of this pose.
Instructions:
Sit on the mat with your legs straight.
Place the bolster along your legs.
Bring the hands to each side of the bolster. Bring your body down so that your abdomen rests on bolster.
Viparita Karani — Legs Up The Wall Pose

Props:
Bolster
This pose is a cure-all for stress, tension, or a feeling of oncoming sickness.
Instructions:
Place your mat short edge to wall.
Place bolster long edge to wall.
Sit sideways on bolster so that your hip is along the wall.
Swing your legs straight up the wall, feet together, knees straight.
Use your arms to lie so that your back is on the mat, sacrum resting on bolster.
Getting Maximum Benefits from Your Practice
Your stress-reducing yoga practice will be ten times more effective if you focus on your breath throughout. This basic tenet of mindfulness will help you stay present in your body.
Know that your yoga practice supports you through good times & ill. Try these poses out for stress reduction and see how your life changes. You’ll be glad you did.