After spending nearly two decades as a relationship therapist, Patricia…
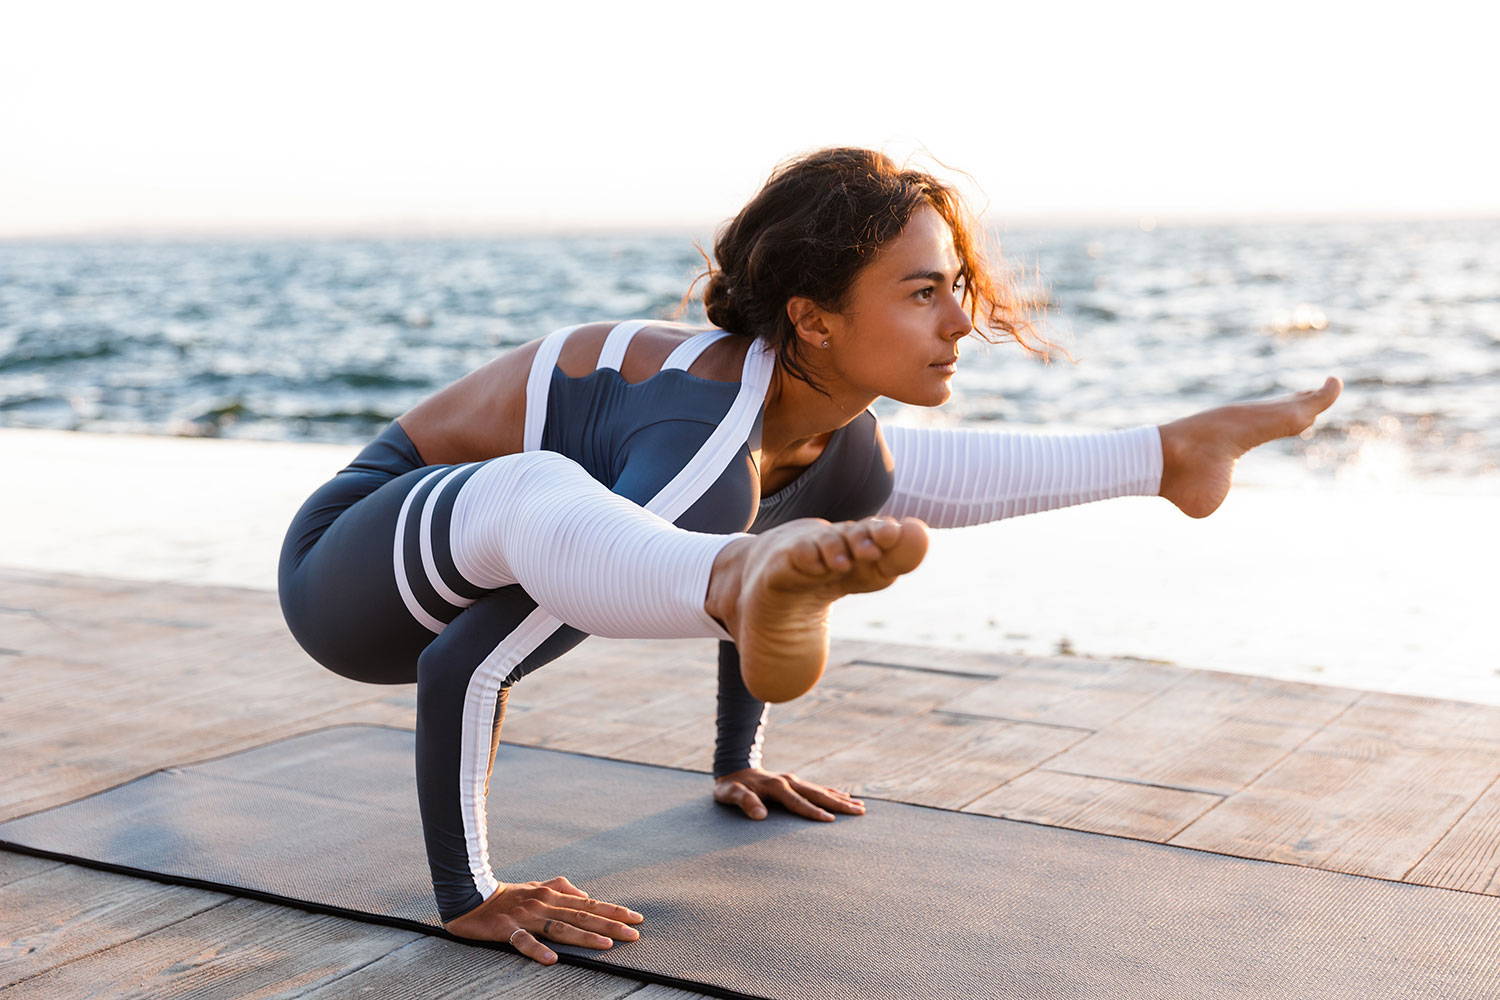
What comes to your mind when I say ‘fat-burning workouts?’ I bet yoga wasn’t the first to pop up, but I’m about to show you how it can be used to shed a few pounds. This sequence of poses is designed to target all muscle groups while giving your metabolism the boost it needs. In addition to working up a sweat, you’ll be feeling stronger and more flexible by the end.
I know you’re probably dying to get going, but before you embark on this fat burning yoga workout, it’s vital to include a quick warmup to reduce the risk of injury and prepare your muscles. Start with a few slow, mindful sun salutations or perhaps some neck and shoulder stretches. Take your time here to check in with the body and notice any areas of resistance or tension. Use this information as you go through the workout to know when it’s appropriate to ease off and when you can push further.
Utkatasana — Chair Pose

Okay, let’s jump right in with the pose we all love to hate – chair pose! Stand tall at the head of your mat with big toes touching and about an inch between the heels. Inhale your arms up by your ears as you sink deep into the hips. Sit back as far as you can while keeping the belly engaged. Hold power in your frame as you continue to breathe here for five cycles. When your legs catch fire and start trembling – keep going. The real magic begins the moment you’re ready to give up. You can add an extra level of difficulty by including a twist! Follow this posture with a forward fold, letting your whole body go heavy towards the floor. Take some time here to unwind and catch your breath before moving on.
Phalakasana — Plank Pose

Phew! OK, let’s keep moving and fire up the core in plank pose. Picking up where we left off in a standing forward fold, plant both palms under your shoulders and slowly step back to plank. Press down through your hands to broaden the upper back and avoid dumping weight into the chest cavity. Pull your abdomen in as you engaging the back of the legs and keeping your bun down. Bring some length to the back of the neck by shifting your gaze away from the floor to about 6 inches ahead of your hands. Feel the line of energy being created from your head to your toes and breathe in this power for 20-30 seconds. If you need a little more burn here, try including alternating arm and leg lifts. Sink back into child’s pose for a moment of rest.
Vasisthasana — Side Plank Pose

Alright, that’s enough relaxing – It’s time shift back into gear for side plank pose. Move back into a standard plank pose and slowly shift weight into your left hand as you place the right foot over the left. Reach your right hand up towards the ceiling as you pull your belly in and stack the hips. If this is a little too intense, try using the bottom leg as a kickstand. If you’re craving a bit more burn, try lifting the top leg. Listen to your body to find the modification that’s right for you. Stay on this side for 20-30 seconds before coming through the center and switching sides. After completing the second side, return to child’s pose for a quick breather.
Adho Mukha Svanasana — Downward Facing Dog Pose

When you feel ready, move from child’s pose to downward facing dog by pressing through the hands and lengthening the legs. Reach your heels towards the floor while letting the head and neck go heavy. Instead of giving the body rest in this pose, activate every muscle group by drawing energy towards the midline. You can make this pose extra challenging by trying it on a wood floor with socks – This really demonstrates how important it is to keep the whole body engaged. Take 5-10 full breaths here before moving on to the next pose.
Virabhadrasana I — Warrior I Pose

Tally-ho! It’s time to feel the burn in those legs with a warrior sequence. Starting in a downward facing dog, inhale your right knee towards your chest and plant the foot between your hands. Turn your back foot out at a 45-degree angle as you inhale both arms overhead. Square the hips forward and bend deep in your right knee. Breathe through 3-5 cycles of breath before heading over to the other side (maybe squeeze in a vinyasa if you’re feeling extra ambitious!). After the second side, land in a downward facing dog for a few breaths.
Virabhadrasana II — Warrior II Pose

You’ll move into warrior II from a downward facing dog. Inhale your right knee towards the chest and plant the foot between your hands. Turn your left foot flat, so the front heel aligns with the back arch. On a breath in, windmill the arms up into a T-shape. Bend deep into your right knee and keep the torso stacked over the hips. Keep gazing over your right fingertips and relish in your real strength in this powerful pose. Take 3-5 breaths on each side, maybe running through a vinyasa between sides, before returning to a downward facing dog.
Utthita Parsvakonasana — Extended Side Angle Pose

Starting in your down dog, set up for side angle pose the same way you did for warrior II with your right foot forward. Bend your right elbow and rest it above your right knee as you reach the left arm overhead. Create a long line of energy from the left fingertips to the left foot and breathe into this expansion. Stay here for 3-5 cycles of breath. Flow through a vinyasa and start the other side from downward facing dog.
Trikonasana — Triangle Pose

Alright, I hope you’re ready for another challenging posture! Set up for triangle pose just as you did the last two – Starting from downward facing dog with the right foot forward. This time bring the arms up in a T-shape with both legs straight. Take a deep breath in with your gaze over the right fingertips. As you exhale, reach your hand forward as far as you can before dropping it down to your front leg or a block. Reach the left hand straight up and draw the abdomen in to support this shape. If you’re craving a little extra burn for the core, try reaching both arms up by your ears. Flow through a vinyasa to the other side then come back to standing with feet wide in preparation for the next pose.
Utkata Konasana — Goddess Pose

This pose really does put us in touch with our inner goddess by shining light on our true strength. With the feet wide, turn the toes out slightly and bring your hands to your waist. Take a deep breath in before sinking the hips and bending the knees on your breath out. Keep the knees pointing in the same direction as the toes and the spine straight as you cactus both arms up by your torso. Focus on the hips scooping forward to give the hips a good stretch. Let the legs shake and fire up as you continue to breathe through the burn for five cycles. Following this posture, step to the head of your mat with feet together.
Vrksasana — Tree Pose

So now that your legs feel like Jello – It’s time to move on to some balancing poses. Standing tall at the head of your mat, start shifting weight into your right foot. On an inhale, bring your left foot up to either your right inner thigh, calf, or ankle. Draw the left knee back to open the hip and bring your hands together in front of your heart. There are a few ways to increase the difficulty of this posture – Try lifting the arms overhead, bringing the gaze up, or closing the eyes. Take 3-5 deep breaths here before switching sides.
Virabhadrasana III — Warrior III Pose

Here’s another balancing pose that’s sure to rock your core stabilizing muscles! Start standing with your weight shifted into the right foot. As you exhale, extend the left leg straight back and hinge forward at the waist. Bring both arms by your ears and find the line of energy from your fingertips to your left foot. Gaze down at the floor and stay for at least five breaths before switching sides. Soften into a forward fold after completing the second side; you earned it!
Bakasana — Crow Pose

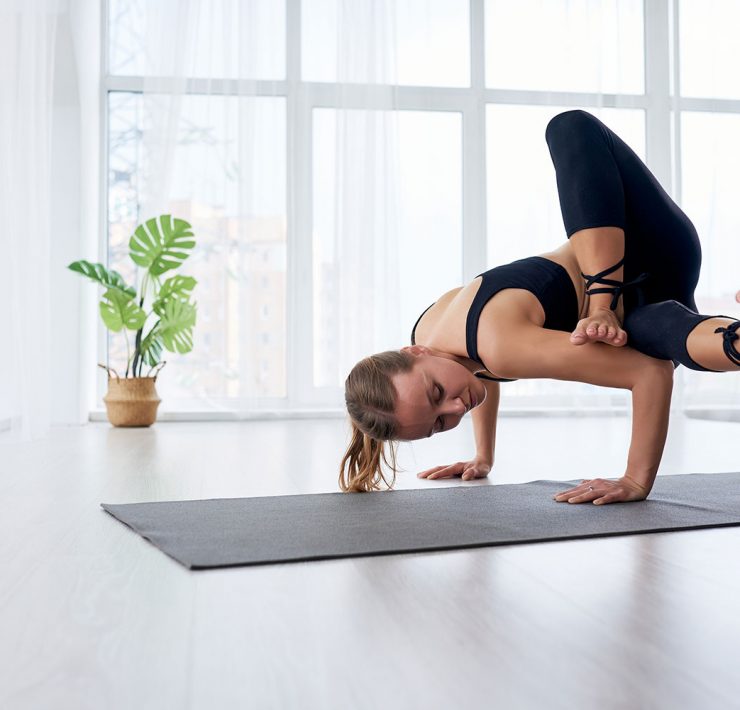
Push just a little more, you’ve done so well, and the end is near! This balancing posture will work the entire body and help you establish a base in your arms. Hang out in the forward fold as long as you need, and when you’re ready, bend both knees and plant your hands down. Rise high on the balls of the feet and walk them as close to your hands as possible. Bring the knees towards your armpits and keep your gaze forward to mimic the direction you’re headed. Start to shift your weight forward and slowly let the feet lift off the floor, even just for a split second. If you manage to get some hang time, pull the heels towards the sit bones and keep breathing. Try this balance three times then find your way to a seated position and give those arms a rest.
Paripurna Navasana — Boat Pose

One last push! Boat pose is the perfect core workout to finish this practice with. Sit with your knees bent and feet planted. Bring your arms parallel to the mat with palms facing inward and shoulders relaxed. On a breath in, lift your legs, so the shins are parallel to the mat. Keep your chest elevated and the core drawn in as you breathe here. For an extra kick try straightening the legs out into a V-shape. You’re done – Now let’s cool down!
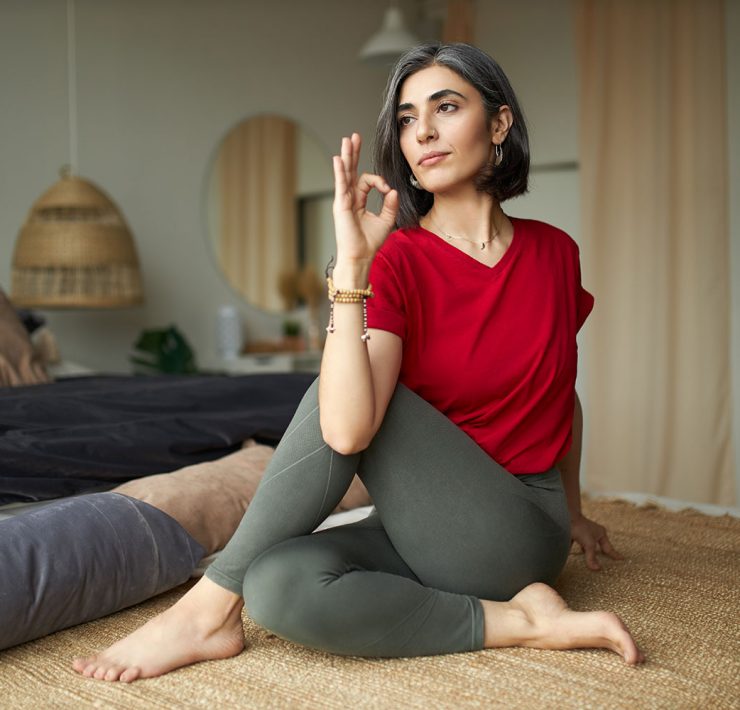
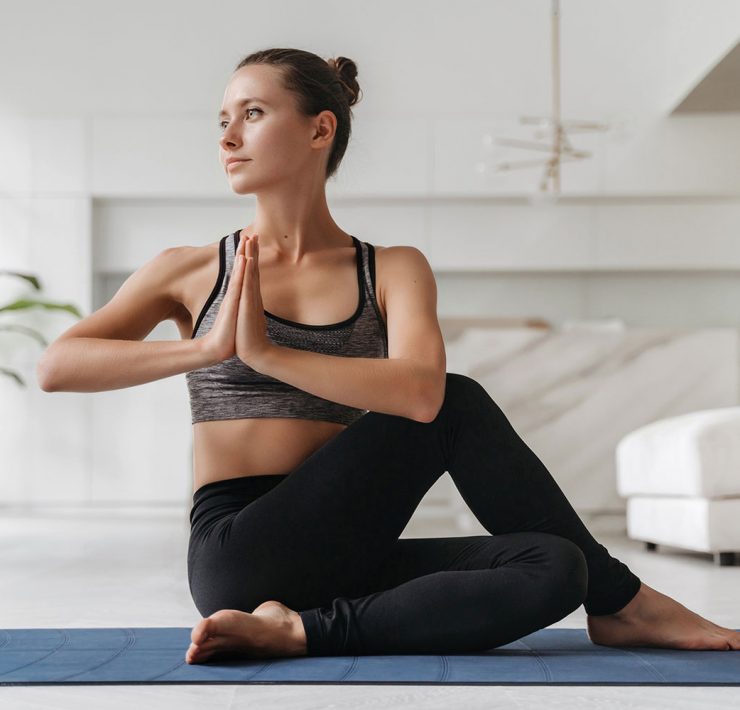
Top this practice off with some seated yoga poses such as bound angle pose, half lord of the fishes pose, head-to-knee forward fold, or wide-angle seated forward fold. Pat yourself on the back for all the hard work you put in and reward your body with some juicy restorative postures. Lay down for a final rest in savasana to absorb your practice and clear the clutter of the mind.
As with most yoga practices, the most challenging part is getting yourself on the mat. If today’s workout felt super intense, don’t get discouraged; these shapes will feel more natural and fluid over time. Hold yourself accountable for maintaining a consistent yoga practice, and you’ll notice a huge difference in no time!
What's Your Reaction?
After spending nearly two decades as a relationship therapist, Patricia journeyed down the path of writing as a vehicle for sharing her wisdom. Her work reflects a sincere interest in readers’ wellbeing and is abundant with helpful advice and fascinating insight.


