


Many people will experience lower back pain at some point in their lives. One of the causes of lower back pain is a herniated disc.
Your lower back is called your lumbar spine. It is composed of 5 vertebrae.
A disc is a fluid-filled structure between each one of your vertebrae. These discs provide shock absorption to your spine during your activities. Sometimes these discs can become injured and result in a herniated disc.
It is possible to have herniated discs that do not cause pain. If you have back pain, it is important to understand more about what aggravates your back pain to begin the healing progress. This understanding can help determine the source of your back pain.
Back pain caused by herniated discs is often associated with radiating pain down one leg. It can also create numbness, tingling, and weakness down one leg. Someone with a herniated disc in their lumbar spine typically has more pain in the morning and when they bend forward.
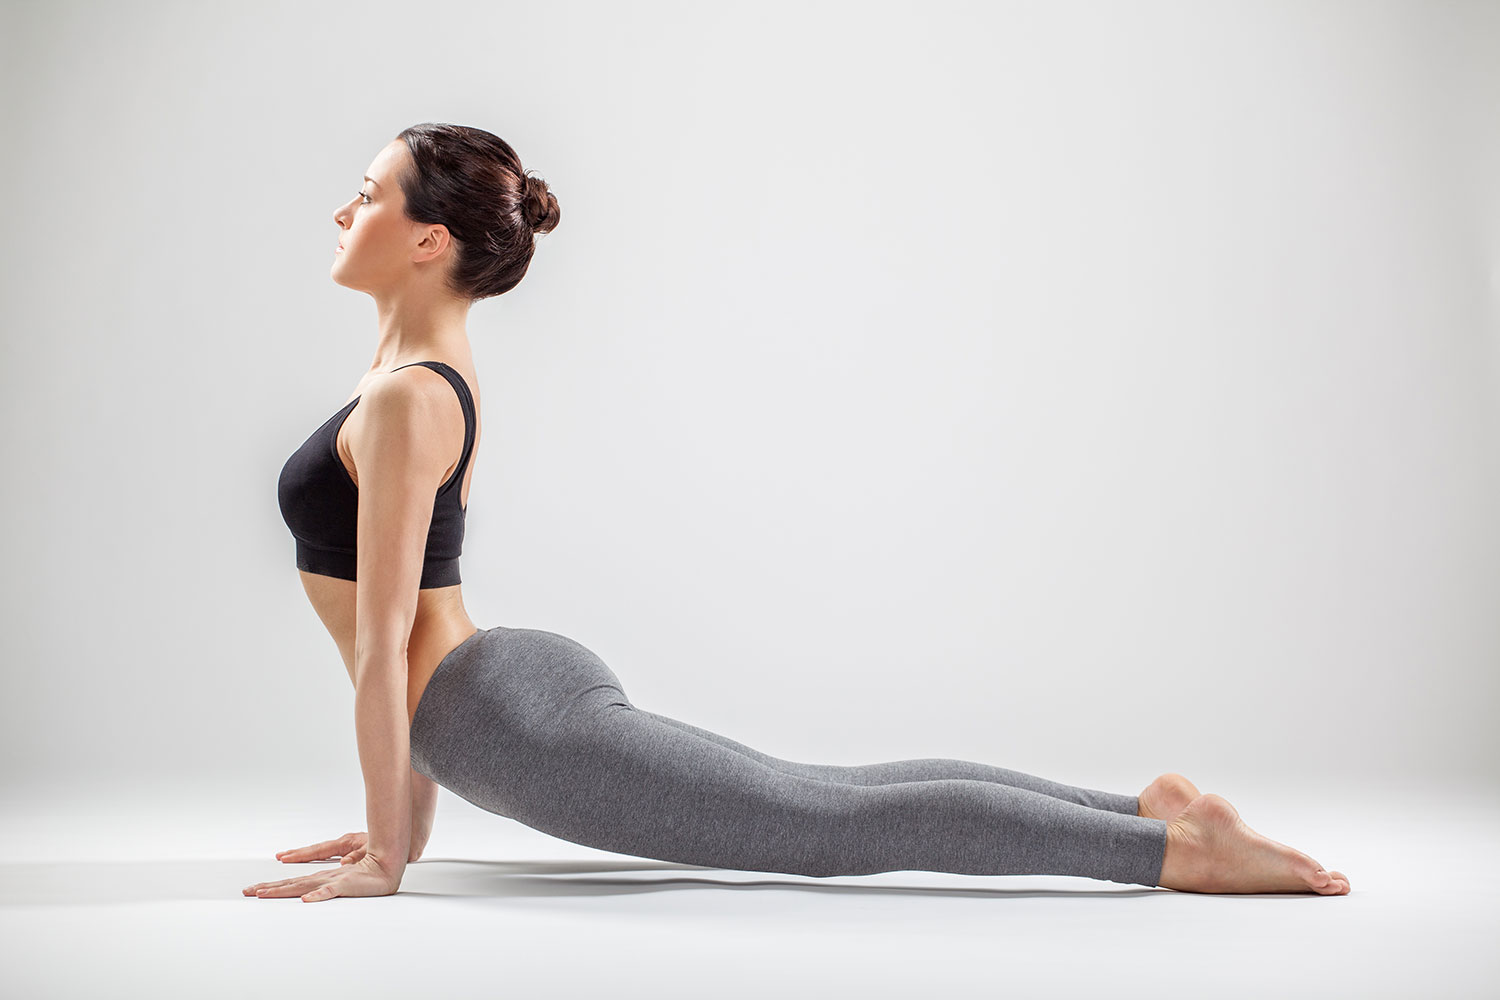
Yoga is being recognized as a beneficial activity to help reduce pain caused by disc herniations. Yoga helps lengthen muscles that need to be stretched after a disc herniation. It also helps strengthen muscles around your spine and in your hips to stabilize the injured region. Here are 10 positions to try out:
Tadasana – Mountain Pose
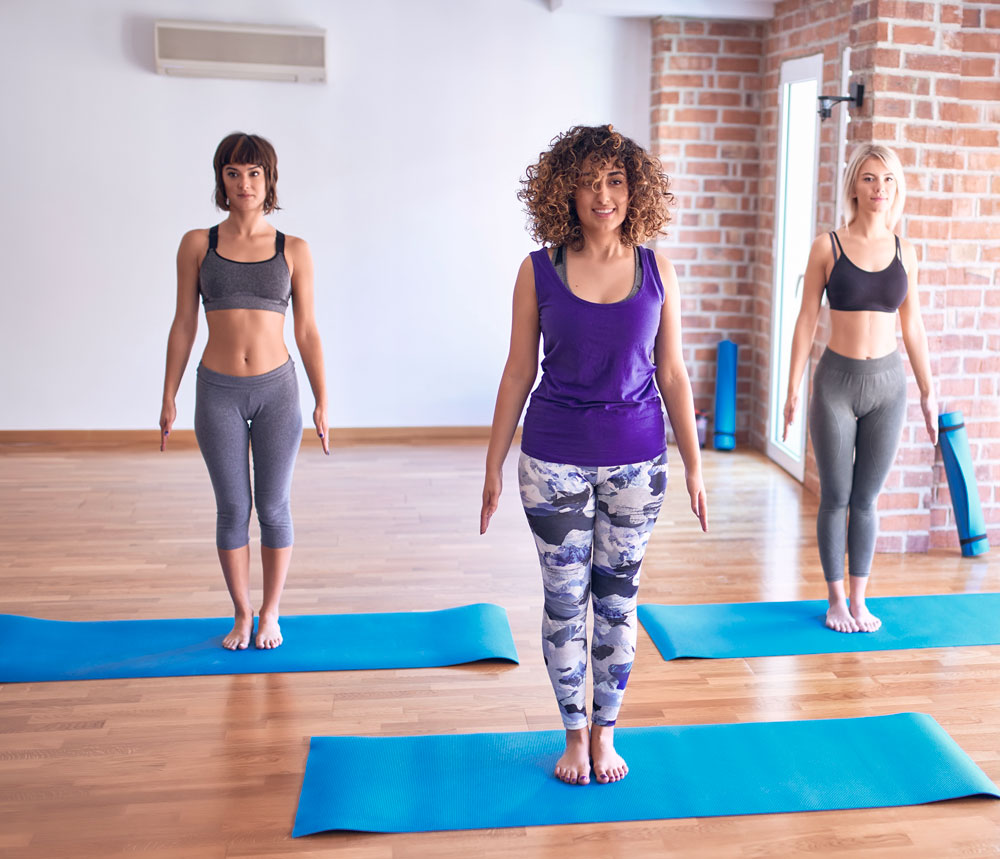
Tadasana, also known as mountain pose, practices strengthening your standing posture. Most yoga postures, and upright activities in daily life, are an extension of this foundational posture. When you are healing from a back injury, finding proper posture and muscle activation is key to supporting your spine and injury.
Start in a standing position and place your feet hip width apart. Look down to ensure that your feet are pointing straight. Shift your gaze back to looking forward.
Stack your hips on top of your ankles and shoulders on top of your hips. Begin to hug your heels together so you feel your aches lift and inner thighs engage. Tone your quadriceps, and engage your lower belly. Create enough tone in your abdomen where you feel the muscle activate, but not so much where it restricts your breathing.
Relax your shoulders away from your ears and lightly engage your shoulder blades together. Imagine your chin floating parallel to the ground and your ears in line with your shoulders in an upright posture.
Practice holding this muscle engagement throughout your body while you take 10 slow breaths. Building strength in tadasana will lead to more lumbar stability in all of your upright activities.
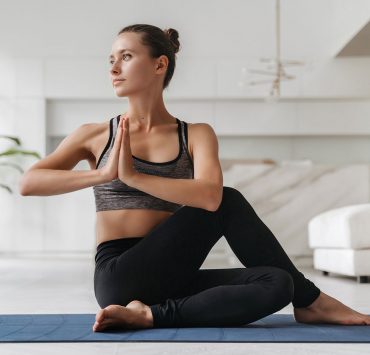
Sukhasana – Easy Pose
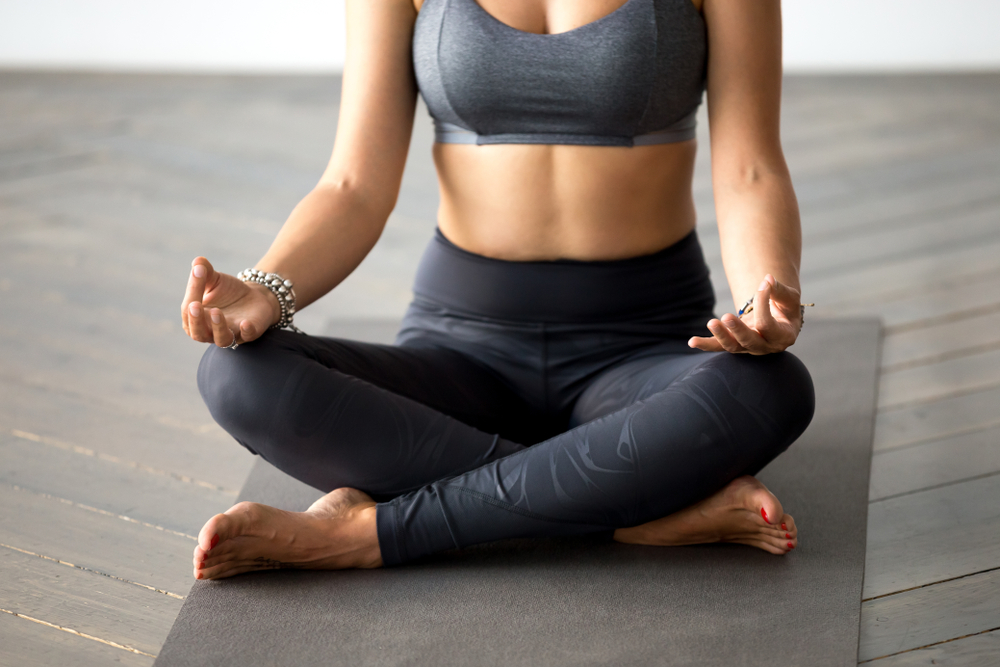
Sitting is a common activity in our daily lives, and it is easy to turn off our muscles and place our spines at risk of injury while we sit. In actuality, you should be engaging your abdomen and focusing on upper body alignment to protect your back during sitting. Sukhasana will help practice these skills.
Begin sitting cross-legged. Sit up on a block if you have tight hips and feel like you need a little more space to create an upright posture while sitting. Shift forward and back, and side to side until you find equal weight in both your sit bones.
Rest your hands face down on your thighs, and align your shoulders on top of your hips. Hold an upright posture with your head and neck, and relax your shoulder, face, and jaw. Imagine your chin floating parallel to the ground, and draw your ears back in line with your shoulders.
Close your eyes, and begin to lightly engage your abdomen by drawing your navel to your spine and pulling up your pelvic floor. Create a level of engagement in your abdomen where your spine feels supported, but you can take deep breaths. Practice for 10 breaths.
Setu Bandha Sarvangasana – Bridge Pose
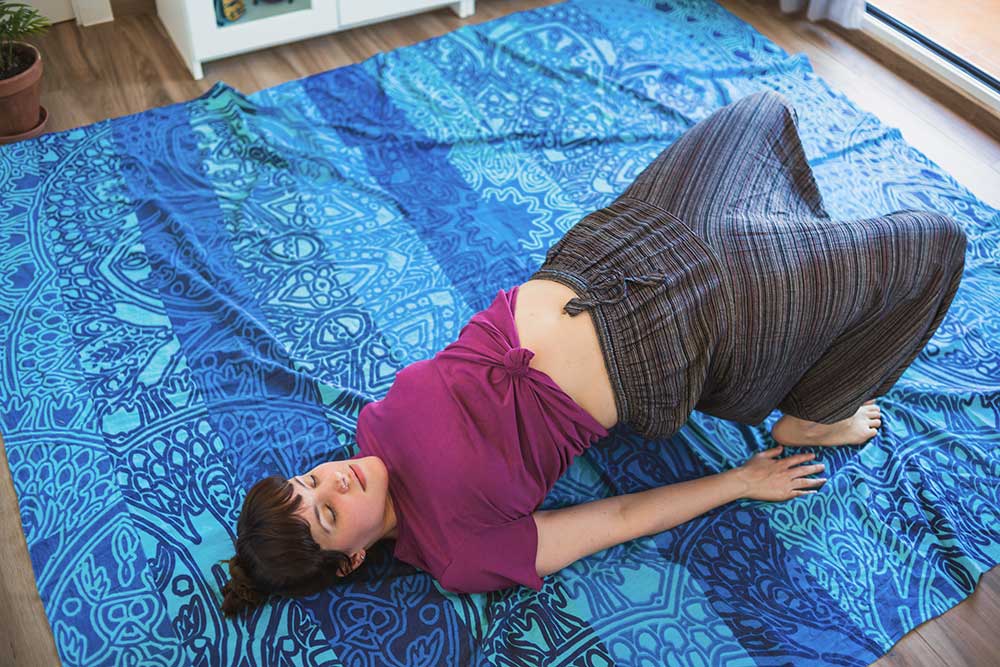
To resolve lower back pain, you must develop glutei strength to contribute to your core stability. This posture works on improving gluteus maximus strength.
Begin lying on your back with your knees bent and your feet hip-width apart. Your heels should be a few inches away from your hips.
Engage your abdomen by drawing your navel to your spine and pulling up your pelvic floor. Relax your shoulders, face, and jaw. Begin to lift up your hips as you press your heels into the ground.
Stay in a pain-free range of motion, focusing on feeling your glutes engaging. Hold for 5 breaths, then lower your hips back down to the ground.
Parsva Balasana – Bird Dog Pose
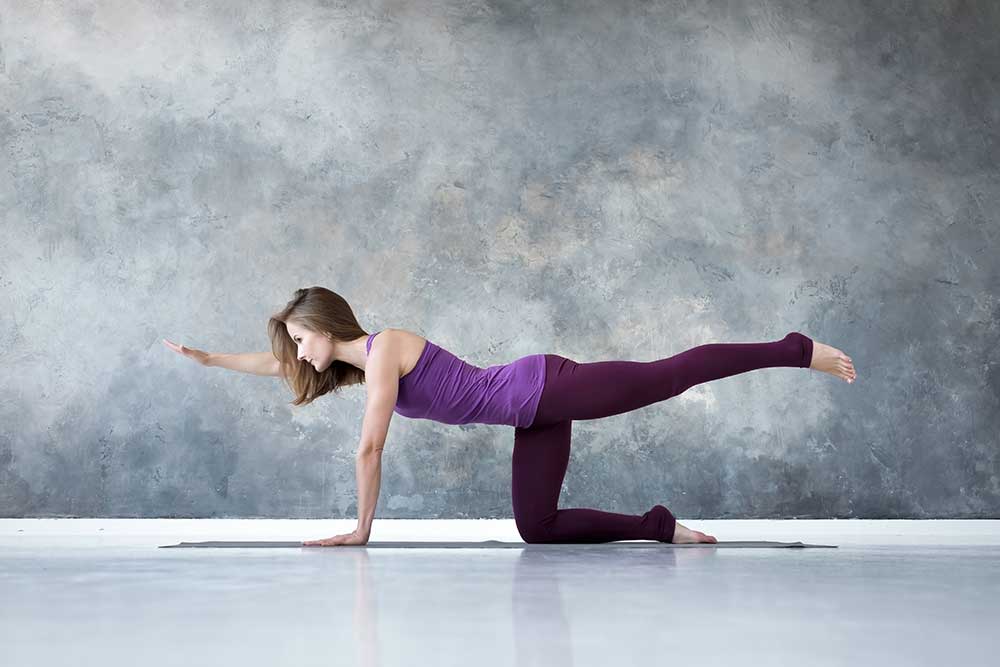
This posture will help you build spine stability and learn to keep your abdomen engaged as you move your arms and legs. This is a skill that is key to support your back during daily activities.
Begin on your hands and knees. Keep your hands and knees hip-width apart. Place your shoulders on top of your wrists, and your hips on top of your knees.
Engage your abdomen and find a neutral spine, with your gaze at the top of your mat. Reach your right fingertips forward, and when you find your balance, lift your left leg and straighten it behind you.
As you hold this pose, avoid letting your lower back arch. Keep your balance and take 5 breaths before changing sides.
If you need more time to build up the strength and coordination required for this pose, practice lifting just the arm or the leg to begin. You can also rest your fingertips and tiptoes on the mat instead of completely lifting up the limb. To progress this posture, you can alternate between both sides, holding each side for 1 breath. Keep the back neutral and abdomen engaged during each transition.
Ardha Hanumanasana – Half Split Pose
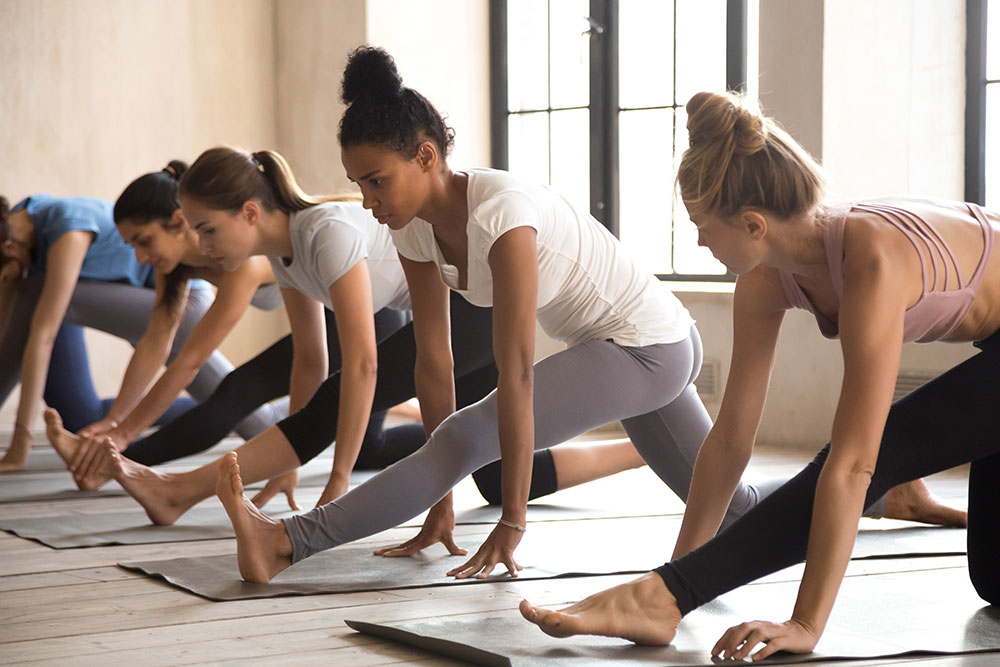
Along with stability, flexibility also plays a big role in symptom reduction. The hamstrings are commonly restricted with disc herniations, and this posture will help improve hamstring length.
Begin on your knees and step your left leg forward into a lunge. Adjust your stride length so your left knee is on top of your left ankle, and move the right knee back a few inches. Your feel should be hip-width apart.
Shift your hips back, so your left leg straightens, and your left toes point up to the sky. Place your hands down onto the ground, and use blocks under your palms if you need to make this posture more accessible.
When doing this posture, it is very important to ensure that you are stretching the muscle belly of the hamstring. It is easy to stretch ligaments, tendons, and nerve tissue in this posture, which is not the goal.
You should feel this stretch at the back of your thigh. If you feel pulling behind your knee or in your back/ buttock, walk yourself up higher on blocks, bend the front knee slightly, or shorten your stride length.
Keep the abdomen engaged as you hold here for 5 slow breaths and repeat it on your second side.
Kapotasana – Pigeon Pose
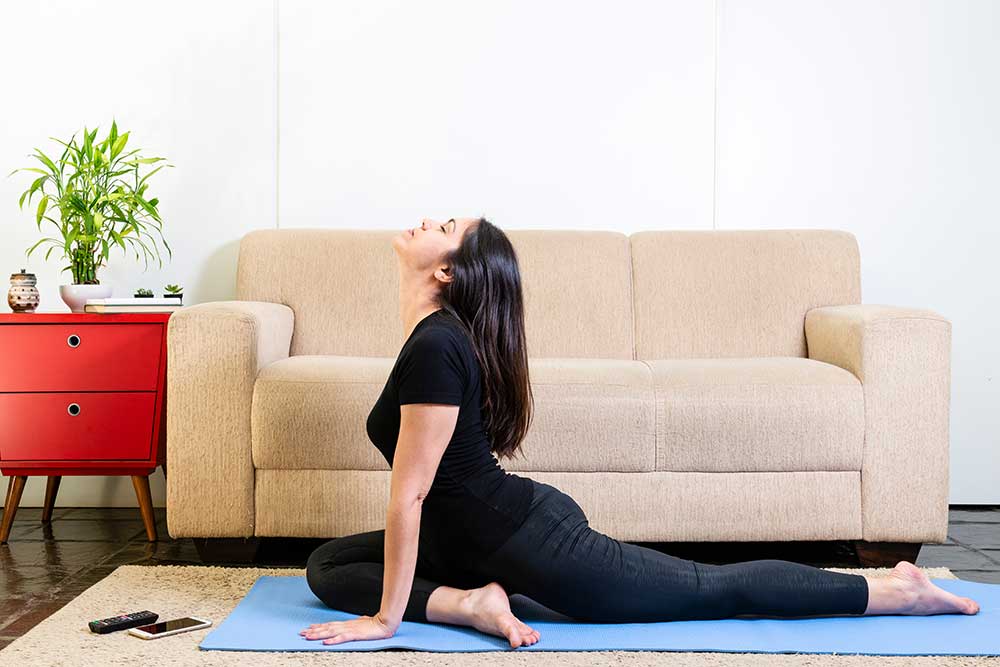
Pigeon is another posture that will help address your flexibility to reduce disc-related back pain. This posture works on lengthening the hip rotators, which can reduce pain in your lower back and reduce the severity of the pain radiating down your leg.
Begin in a downward-facing dog. Lift up your right leg, then draw it forward. so your shin is parallel to the top of the mat. If this is too challenging on your hip mobility, you can bend the right knee more, bringing the heel closer to your groin. Your shin will not be parallel to the top of the mat in this case. Keep the left leg straight behind you.
You should feel a stretch in your right hip and hamstring. Start with staying up on your palms, and if you feel like you need more of a stretch, lower down to your forearms or lie your torso onto the ground in front of you.
If you feel knee or ankle pain, try the following posture instead. If you feel discomfort in your groin, try sitting your right hip on a block for greater support. This stretch is most beneficial on the painful side, but can be performed on both. Hold for 5 breaths, then switch sides.
Supta Kapotāsana – Supine Figure 4
This is an excellent modification for pigeon pose. However, if you do pigeon, you can still benefit from doing this posture as well. Figure 4 is most helpful to perform on the side that experiences radiating pain, though you can perform it on both sides.
Begin by lying on your back with your knees bent and the soles of your feet on the ground. Keep your feet hip-width apart. Engage your abdomen.
Lift your right foot and cross your right ankle, so it rests on your left knee. Draw the right toes back towards the right shin to stabilize your ankle, and align your right shin parallel to the top of your yoga mat. You may feel a stretch already, which should be in your right hip.
If you feel like you need a deeper stretch, take your hands and grab your left thigh. Begin pulling your legs to your chest, keeping them aligned in the figure 4 shape. If this places too much stress on your shoulders, you can place a block under your left foot to create a deeper stretch. Hold for 5 breaths, then repeat on the second side.
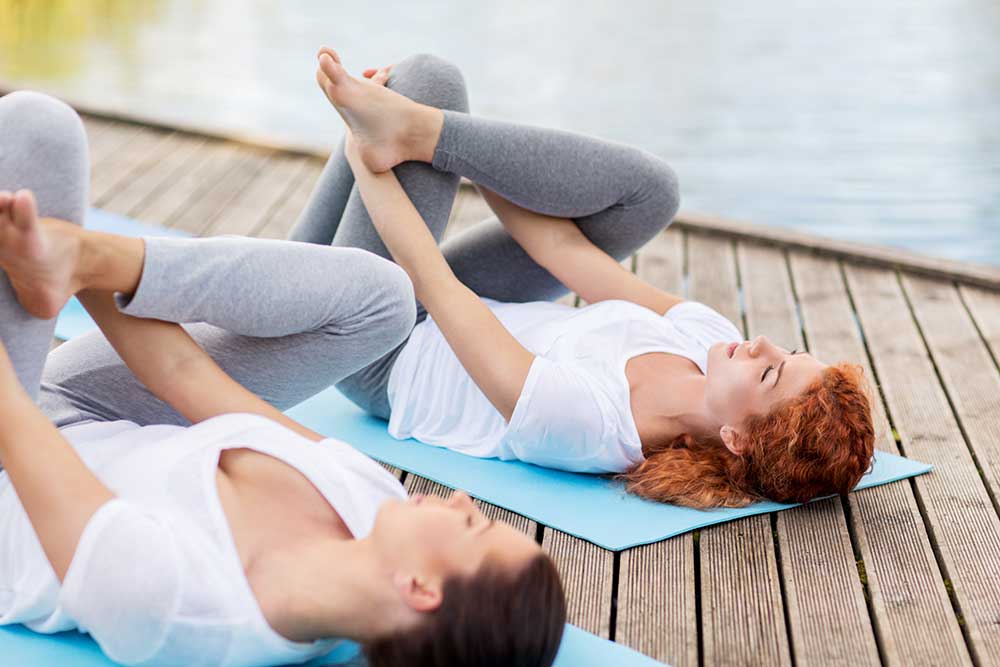
Pavanamuktasana – Wind Release Pose
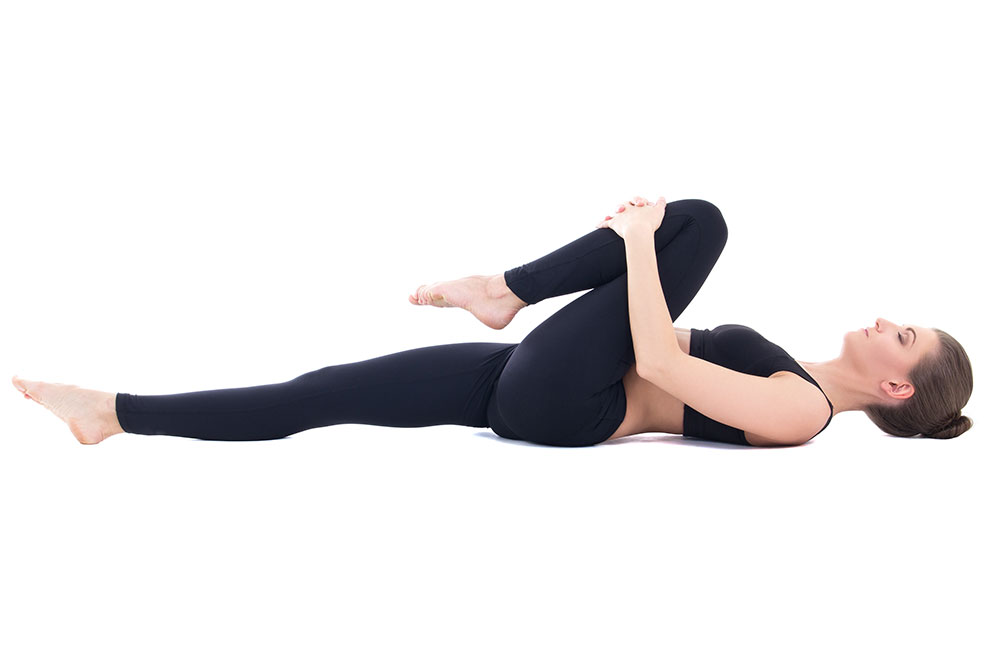
This posture is great to perform on both sides to address your back pain. Wind releasing pose will address hip flexor length on one leg and hamstring and gluteal length on the other. Increasing muscle length at these regions will help reduce back pain.
Start by lying on your back with your knees bent and the soles of your feet on the ground. Keep your feet hip-width apart. Engage your abdomen.
Pull your right knee to your chest, holding onto your right shin with your hands. Begin to straighten out your left leg. Keep the left leg in line with your left hip, and the left toes aredrawn back to the left shin. Avoid letting your lower back arch away from the mat.
You should feel a stretch at the back of the right hip and front of the left hip. If you feel lower back pain, engage the abdomen more or bend the left knee. If you feel like you need a bigger stretch, you can place a block under your sacrum. This will create more range of motion in the posture and a greater degree of stretch.
Hold for 5 breaths, then repeat on the second side.
Anjaneyasana – Low Lunge Pose
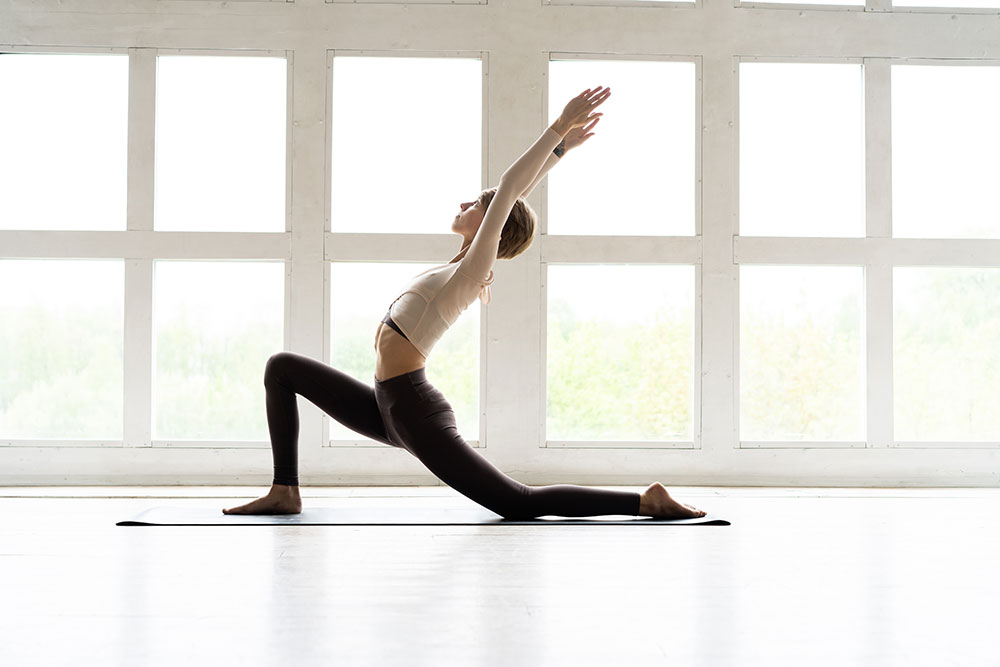
Low lunge will help improve flexibility at your hip flexors, and build strength in your abdomen and glutes. All of these components help reduce your disc-related back pain.
Begin in a kneeling position. Step your right leg forward into a lunge, placing your right knee on top of the ankle. Inch your left knee back so you are bearing weight on your thigh instead of on your kneecap.
Engage your abdomen, and begin to sink into your hips. You should feel a stretch along the front of your left hip. If you feel lower back pain, ensure that your abdomen is engaged, or try reducing the depth of your stretch.
To work on building strength at the same time, firmly press your right heel into the mat. Create an action where you are pressing your right hip back and left hip forward to align your hips. You should feel your right glute engaging, and the abdomen is supporting your spine.
Hold for 5 breaths, then repeat on the second side.
Herniated discs can be a frustrating setback to your usual recreation and daily activities. Work these postures into your schedule daily to improve muscle length and strength to reduce your lower back pain.
Admiring the time and effort you put into your blog and in depth information you provide. It’s great to come across a blog every once in a while that isn’t the same out of date rehashed material. Fantastic read! I’ve bookmarked your site and I’m including your RSS feeds to my Google account.