Yoga, meditation, and spirituality are at the top of the…
Someone who has had spinal fusion surgery might think that getting into (or back into) a yoga practice is completely out of the question—with all the twisting and backbends, it might seem a bit too dangerous. While it may look a bit different than what one imagines, it isn’t impossible for spinal fusion patients to practice yoga. A beneficial yoga practice is absolutely accessible for spinal fusion patients—and it can even help with strength and regaining flexibility.
The practice of yoga is varied in styles, and there are options that perfectly suit people dealing with the unique needs that come with this procedure. Of course, each individual should consult with their doctor if they are thinking about adding yoga into their routine, but take a look at some of the poses that best suit spinal fusion patients.
What is Spinal Fusion?

Before getting into the postures, it is important to have a foundational understanding of spinal fusion and how it physically affects a person. Spinal fusion is a major surgery that is most commonly recommended for patients with conditions like scoliosis, herniated discs, broken vertebrae, or spinal stenosis. The procedure is used as a way to improve stability in the spine, reduce pain, or correct a deformity, such as a sideways curve in the spine.
The surgery fuses together two or more vertebrae within the spine, which in turn eliminates the motion between them. Since it permanently connects these pieces together, the surgery immobilizes a part or parts of the spine and overall changes the nature in which it moves.
During the procedure, the surgeon places bone (or a material similar to bone) into the space between the vertebrae which he or she is trying to connect. They then use metal plates, screws, and rods to hold these pieces together. This process is meant to replicate the healing process a bone goes through when broken, and helps the connected pieces heal into one solid unit.
While the surgery is considered to be a safe and relatively straightforward procedure, it does require a hospital stay for a few days and multiple months of recovery. Typically, a patient will begin a rehabilitation program about four weeks after surgery. In this physical therapy, they train their body to function with the movement of the altered spine.
Targeted Yoga Poses

If you had a yoga practice before a spinal fusion and are looking to get back into it, you may not be able to head straight back to your regular class. On the other hand, for those who have had a spinal fusion and are looking to get into a yoga practice for the first time, you probably won’t be able to jump into just any class your local studio offers. Generally, gentler yoga styles—such as restorative or Iyengar—will be the best option for recent spinal fusion patients. These style focus on alignment and less physically demanding movements, and don’t center around a more dynamic flow like the popular Vinyasa style.
Regardless of your experience, there are a few precautions and tips to keep in mind when practicing yoga after a spinal fusion. When practicing, keep the movements gentle, and listen to what your body needs. Add props as necessary, and avoid twisting or backbending poses. If you do go to a class, let the teacher know about your procedure so that they can best serve you during the session.
The below yoga poses are all beneficial and generally safe for patients who have had a spinal fusion, and can be a great introduction (or re-introduction) into the practice. Keep your unique needs in mind when practicing, and consult with your doctor before adding any new physical activity to your workout routine post-surgery.
Tadasana — Mountain Pose

Mountain Pose, or Tadasana, is a foundational yoga pose that helps with lengthening through the spine, improving balance, improving posture, and strengthening the legs.
Instructions:
Start standing, with your big toes lightly touching each other and your heels slightly apart, so that you create a very narrow ‘V’ shape with your feet. Feel the weight in your feet, and make sure it is evenly distributed and balanced, rather than focused in one spot.
Roll your shoulders down your back and elongate through your spine and neck. You should create one line from your feet to the top of your head, with the crown of your head aligned directly over your pelvis. Your arms will be at your sides, but keep them active and engaged. Turn your palms so that they are facing the front of the room.
Feel your feet on the mat, and continue to ground down through all four corners of your feet. Ensure you continue to elongate through your spine, and keep your shoulders rolled back and away from your ears. Your gaze should remain straight in front of you, but gentle and soft. Continue to breathe deeply in this posture as you elongate through your spine. Hold for 30 seconds or longer, and then release.
Utkatasana — Chair Pose

Chair Pose, or Utkatasana, is another posture that lengthens through the spine and strengthens the legs. It is also great for strengthening the core.
Instructions:
Start in a standing position, with your feet parallel to each other. They can be touching, or hips-width distance apart for more support. On an inhale, reach your arms above your head with your palms facing together. On an exhale, bend your knees. Focus on getting your thighs as parallel to the ground as possible while you drive your hips backwards and towards the ground.
Your torso should be slightly leaning forward, with your spine elongated. You should continue to drive your tailbone down. Be mindful of keeping your shoulders away from your ears, and firm your shoulder blades together. Ensure that you can still see your toes past your knees. Stay in this pose for approximately 30 seconds to a minute, and release into standing.
Adho Mukha Svanasana — Downward Facing Dog Pose

Downward Facing Dog, or Adho Mukha Svanasana, is another foundational yoga pose that stretches the spine, as well as the legs and arms.
Instructions:
Start from a tabletop position, with your hands below your shoulders and knees below your hips. On an exhale, engage your core, curl your toes, and lift your knees off the ground, working towards straight legs. Stretch your tailbone back and up towards the ceiling.
Your head should remain active, with your gaze focused in between your legs. Continue to push through your index fingers and thumbs.
Before settling into stillness, allow yourself to focus the stretch on the back of your legs by bending one knee and then the other. You may also choose to bend both knees at the same time, and then push back through your heels towards straight legs. Find stillness, and after at least 30 seconds release back down to your knees.
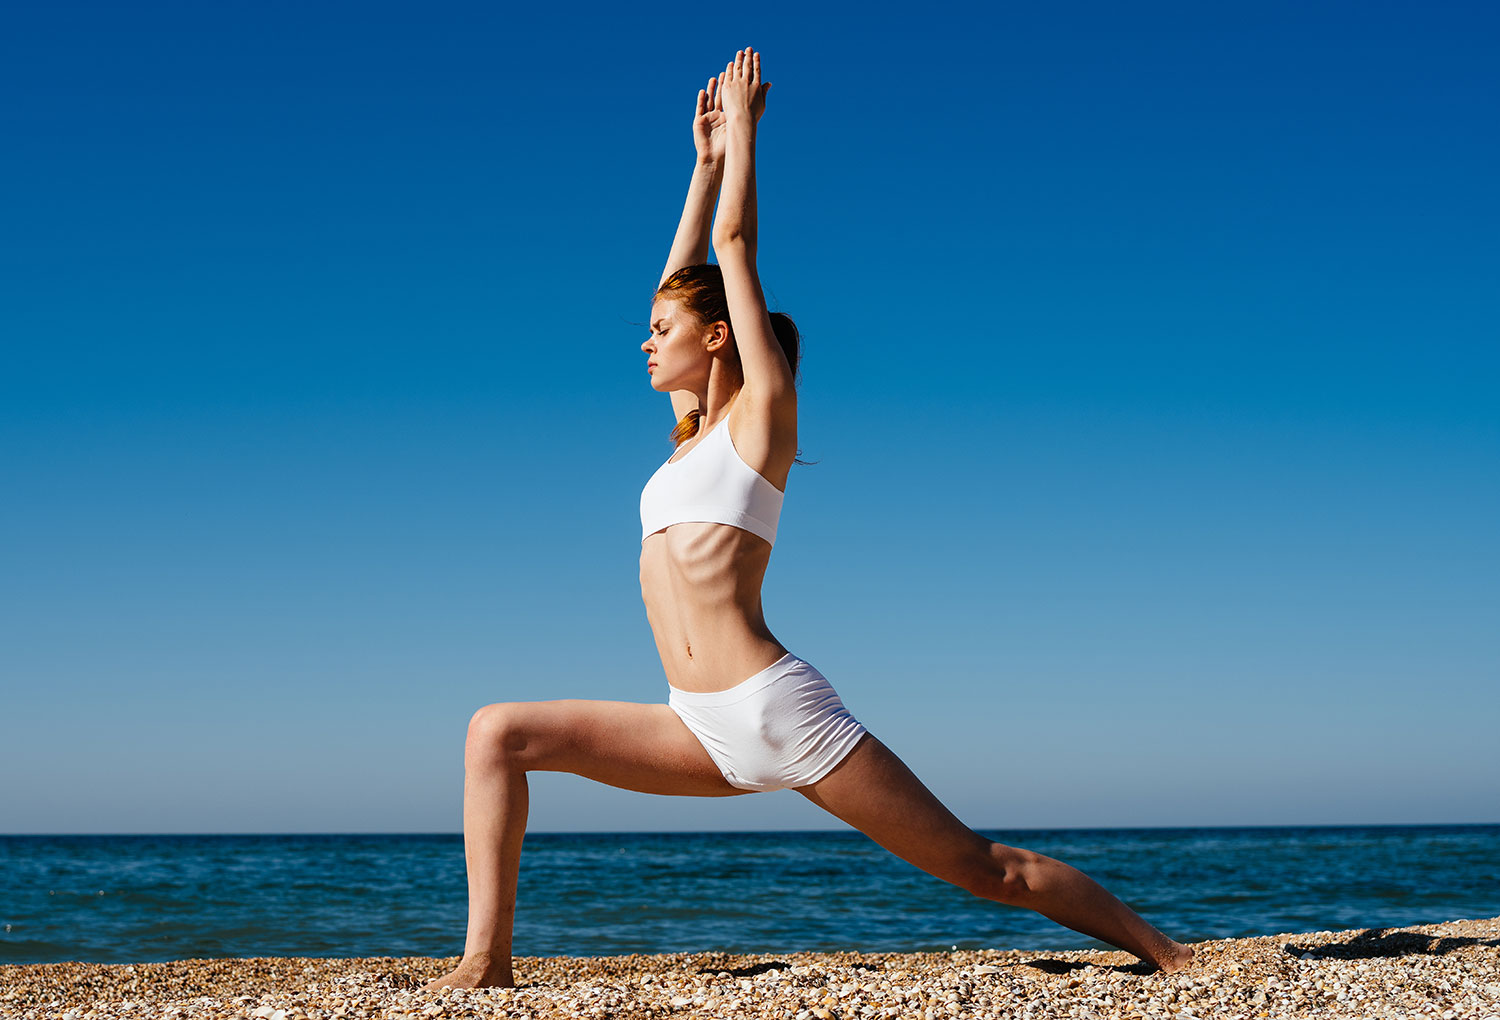
Virabhadrasana I — Warrior I Pose

Warrior I, or Virabhadrasana I, stretches the hip flexors and quadriceps, and encourages lengthening through the spine.
Instructions:
From a standing position, bring your left foot back behind you and place it flat on the ground. Turn the toes out slightly to the left so that they are on a diagonal line, at approximately a 45 degree angle. Your left foot should be fully on the floor. Your front right knee should be bent and stacked over the ankle, and the right toes should be facing directly forward.
The hip bones should be on an equal plane, facing forward. Adjust the length of your stance as needed to ensure the hips are properly positioned. On an inhale, bring your arms up above your head. Be sure that your shoulders are relaxed and away from your ears. Continue to lengthen through the spine and maintain the bend in your front knee. Hold for at least 30 seconds, and then repeat on the opposite side.
Virabhadrasana II — Warrior II Pose

Warrior II, or Virabhadrasana II, builds stamina and overall body awareness while strengthening the legs, core, and arms.
Instructions:
Begin standing facing the side of the room, with the outer edge of your left foot paralleling the front edge of your mat. Step your feet about three and a half to four feet apart, keeping them aligned.
Turn your left toes about 90 degrees, so that your toes are pointing towards the top of the mat. Turn your right toes slightly in, so that they are at a 45 degree angle.
Lift your arms up to shoulder height, with your left arm pointing forward and right arm pointing back. Your palms should be facing down, and your arms should be engaged.
On an exhale, bend into your left knee, working towards creating a 90 degree angle with your shin perpendicular to the floor and your thigh parallel. Your knee should align directly over your left ankle. Adjust your foot positioning as necessary.
Your hips should be squared towards the side of the room, and your gaze should be in front towards your left finger tips. Push through the outer edge of your right foot, and ensure that your torso is upright and not leaning forward. Bring awareness to your shoulders, ensuring they are not creeping up towards your ears. Hold for at least 30 seconds, and repeat on the opposite side.
Balasana — Child’s Pose

Child’s Pose, or Balasana, is a wonderful restorative pose that helps lengthen your spine, while also stretching the thighs and ankles.
Instructions:
Start on your knees, sitting back onto your heels. Separate your knees from each other so that there is space to fit your torso between your legs, but ensure your big toes remain touching.
On an exhale, bend forward from your hips and bring your torso forward, leading your forehead to the ground. Your torso should rest between your knees.
Extend your arms out in front of you, with your palms resting on the ground and arms remaining active and lifted. Ensure that you are releasing your tailbone towards your heels, and continue to lengthen your spine as you deeply breathe in this position. Slowly lead yourself back up to your knees to release.
Don’t allow a spinal fusion surgery keep you from getting into a yoga practice. With the help of a trained professional and the approval of your doctor, you can benefit from the practice in ways that best suit your unique physical needs.
What's Your Reaction?
Yoga, meditation, and spirituality are at the top of the list for writer and former nutritionist Amanda Carter. This devoted practitioner enjoys writing about health and wellness just as much as she enjoys living it.


