Andrea has been hosting yoga retreats in various locations worldwide…
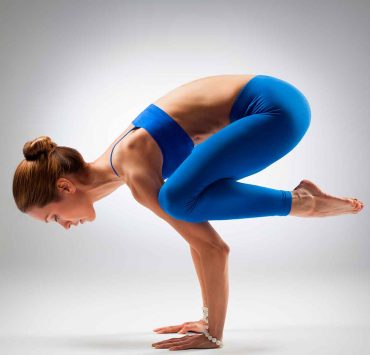
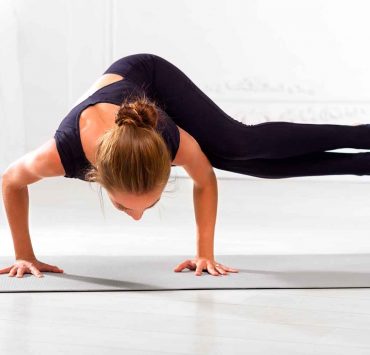
Getting the gut into gear is about engaging and stimulating the core. Asana practice that engages this area helps to promote strength, confidence, and personal power in many ways, physically and energetically. When we consider first the health and wellbeing of the physical body, the benefits of gut-strengthening yoga poses are many. Core work helps to improve posture, mitigates lower back pain, and reduces the frequency of injury. Maintaining this area of focus also helps to improve our balance and stability, making everyday tasks easier and safer. On top of this, core exercises take center stage when we wish to achieve a well-defined abdomen, engaging and toning all the intricate muscles around the belly.
Yet while the abdominals are a center of focus if we wish to enhance the strength and appearance of the physical body, the benefit of working the core runs much deeper than this: core work influences how we feel on an emotional, mental, and energetic level. The ancient Vedic teachings that highlight the subtle energetic system within the body (also known as the chakra system) help to explain why this is. Located within the body at the navel is our third chakra, called Manipura or the solar plexus. It is one of seven major chakras within the body and is the energy center predominantly responsible for our embodiment of energy, willpower, and dynamism. Yoga works on this deeper level to help bring balance to this invisible energetic system. Core strengthening poses stimulate this chakra and help to promote our sense of personal power and confidence, making gut-focused asana practice incredibly influential on all realms of our being.
Core Engaging Yoga Poses
If we are looking to increase our sense of strength and personal power, both physically and energetically, core work is the place to start. When working with core muscles, it is important to be mindful to engage them while holding poses. This helps to strengthen the very muscles we are working on and also supports the lower back. As with any new exercise regime, consult with a healthcare provider to ensure your practice is suitable for your body. Contraindications for various poses exist.
Trikonasana — Triangle Pose

Begin standing in a neutral position facing lengthwise on your mat. Step your feet out so that they are 3 to 4 feet apart.
Raise your arms so that they are parallel to the floor with palms facing down. Turn your right foot to the right so that it points towards the top of your mat. Turn your right thigh outwards as well so that your knee is aligned with your ankle. Your left foot can turn inwards slightly.
On your next exhalation, extend your torso overtop of the right leg. Bend at the hips rather than at the waist. Draw the torso towards the left to keep both sides of the body long.
Allow your right hand to fall on the shin, ankle or floor to the right of your foot. Do not push to reach further; allow the stretch to be natural.
Your left arm stretches up towards the ceiling and if it is comfortable, your gaze shifts towards this hand. Otherwise, continue gazing forward.
Hold for 45 to 60 seconds while engaging the core. To release, gently reverse the pose on your next inhalation. Take a few breaths and repeat on the opposite side.
Paripurna Navasana — Boat Pose

Start in a seated position on your mat with knees bent and feet flat on the floor. Each hand holds onto the back of its respective thigh.
Keeping the spine straight and the core engaged, lean back slightly.
Raise your feet slowly off the mat, bringing them upwards so that your shins are parallel to the ground. Gently release your hands from your thighs and extend your arms forward, palms facing one another or downwards. They should also be parallel to the ground.
Ensure that the core is still engaged and the spine is straight. Allow the shoulders to naturally open up so that the chest expands.
Hold this pose for 20 to 30 seconds before gently releasing. Come back into a neutral sitting position. Take a few breaths here before repeating this pose two more times.
Makara Adho Mukha Svanasana — Dolphin Plank Pose

Begin on hands and knees on your mat with wrists directly beneath the shoulders and knees beneath the hips. Bring your elbows down to floor beneath your shoulders, keeping forearms parallel to one another as they rest on the mat.
Tuck your toes and step back, forming one straight line from head to heels. Heels should be propped overtop of the toes.
Engage your thighs and core to keep the hips raised. Keep your neck in a neutral position. Open the chest slightly by broadening the shoulders.
Hold the pose for 30 to 60 seconds before releasing by coming gently to the knees. Take a few breaths before repeating once more.
Phalakasana — Plank Pose

Come into a kneeling position on your mat, seated on your heels. Bend forward as far as possible to bring your forearms and palms to the ground. Tuck your toes.
Engaging your core, legs, glutes, and arms, push up off your knees and onto your toes. Your back and legs should form one straight line so you may need to adjust the distance between arms and feet accordingly.
Once you feel stable, slowly lift one forearm at a time to come onto your hands. Ensure that the core is engaged and check to make sure that the body is still in one straight line. The neck should be aligned with the spine.
Hold this pose for 20 to 30 seconds before reversing the motion to release the pose. Take a few breaths and repeat.
Vasisthasana — Side Plank Pose

Begin in Plank Pose. Step your feet together and shift your weight into your right arm and supporting hand. Steadily and with control, roll the body towards the right so that you are resting firmly on the outside edge of the right foot. Let your left foot rest on top of the right.
Raise the hips so that the body is in one straight line and engage the thighs for support. When you are stable, extend your left arm towards the ceiling, finding strength and support in your right arm.
If it is easily accessible to you, gaze towards your raised hand. If not, continue to look forward.
Ensure that the abdominal muscles are engaged as you hold this pose for 20 to 30 seconds. Turn slowly to come back into plank and then slowly release by coming to your knees. Repeat on the opposite side.
Utkatasana — Revolved Chair Pose

Begin in a neutral standing position at the top of your mat. Inhale to raise your arms towards the ceiling, palms facing one another. Your arms should be touching your ears.
Shift your weight backwards as you sink into your heels, sitting back into Chair Pose as you engage the thighs and abdomen. Knees should be directly above the ankles.
Keep your spine long as you bring your hands into prayer at the heart. On your next exhalation, bring your left elbow to the outside of your right thigh, pushing your palms together and opening the chest. Keep your knees stable and even as you twist.
Hold this pose for 30 seconds before releasing. Reverse the pose to come into a stable standing position. Take a few breaths before repeating on the opposite side.
Urdhva Prasarita Padasana — Upward Extended Feet Pose

Begin resting on your mat in Shavasana, arms resting at your sides.
Raise your arms up towards the ceiling and then bring them back to rest on the floor behind your head, palms facing up.
Bend your knees so that your feet rest on the mat and then bring your knees into the chest. Extend your feet towards the ceiling, pressing up through the feet. Hold your legs up straight for a few breath cycles.
Engage the core as you very slowly lower the legs towards the ground. Pause for a few breaths before repeating two or three times.
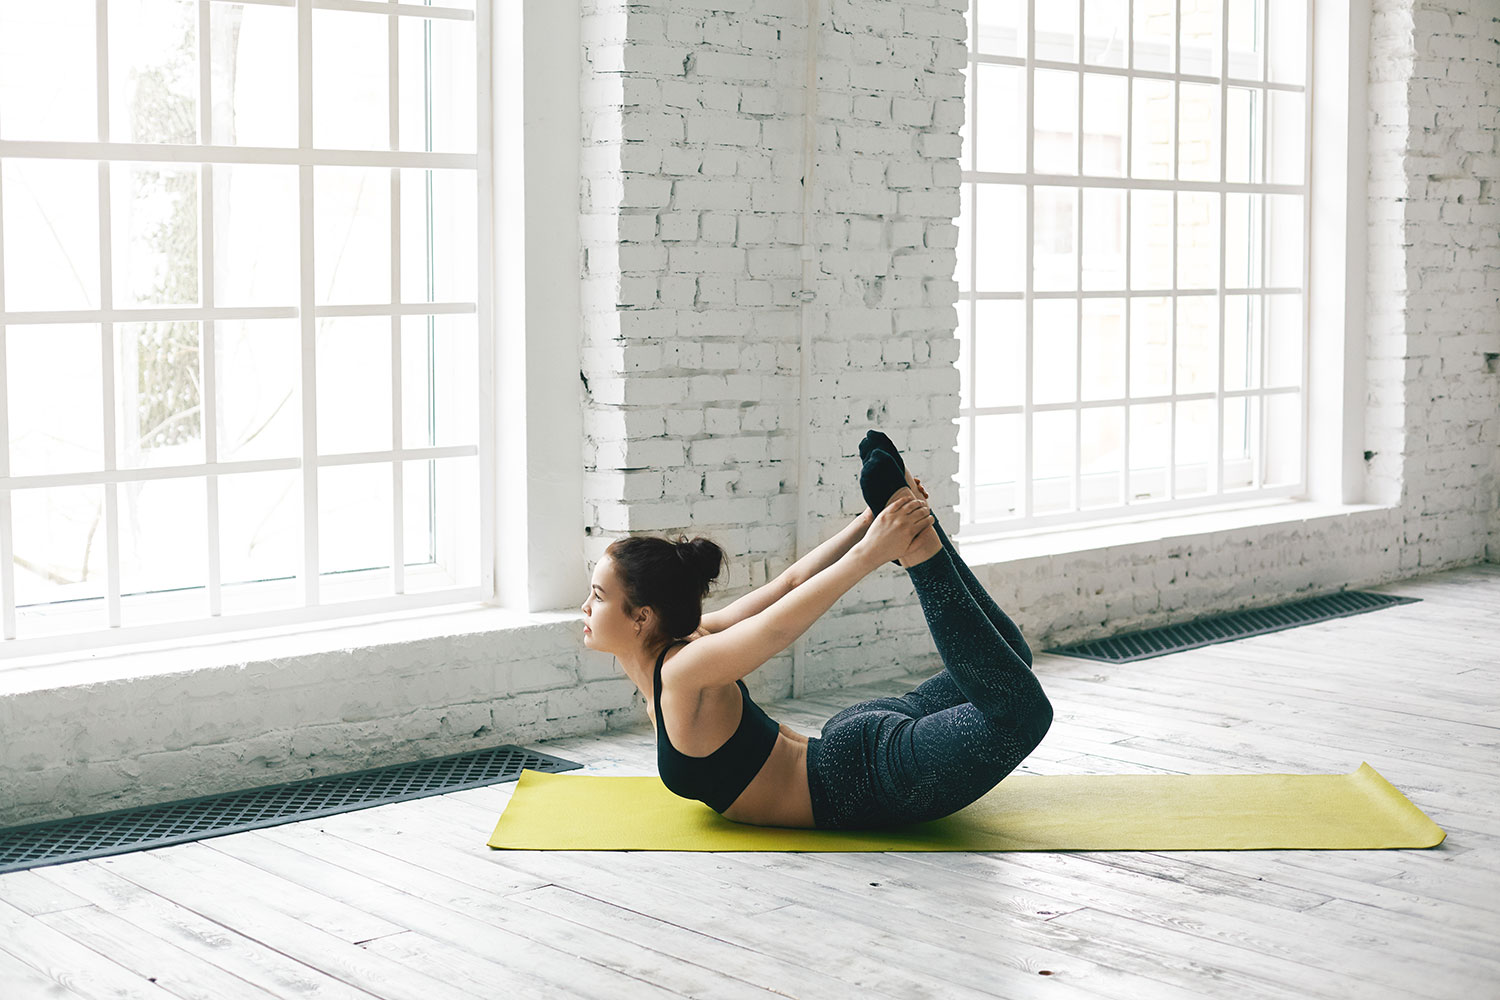
Dhanurasana — Bow Pose

Begin on your belly with you arms at your sides. For extra comfort while holding the pose, you may wish to place a folded blanket beneath the hips.
Bend the knees so that the heels move towards the buttocks. Raise each hand to grab hold of the corresponding ankle. Knees should be no more than hip-distance apart.
Breathe in as you raise your heels and lift your thighs gently away from the ground. Allow the chest and head to rise naturally. Draw your shoulders away from the ears to open up the chest.
Hold the pose for 20 seconds as you gaze forward. Release slowly as you come to rest on your mat once again. Take a few breaths here before repeating once or twice more.
Bhujangasana — Cobra Pose

Begin on your stomach with the tops of your feet resting on the floor. Plant each hand beside respective shoulder and draw your elbows in towards your body.
On your next inhalation, press through the thighs and pubis and slowly straighten the arms. Allow your chest to lift off the ground while keeping your thighs and pelvis rooted.
Open the chest by drawing the shoulder blades down your back. Your neck should be in a neutral position as you rest in a comfortable backbend. To adjust this pose for comfort, you may rest on your forearms rather than your hands, or simply move the hands a little bit further from the main body.
Hold for 45 to 60 seconds before slowly releasing back down.
Tittibhasana — Firefly Pose

Start in a squat position on your mat with feet shoulder-distance apart or slightly closer. Bend forward so that your torso comes between your thighs. Straighten the legs slightly so that your pelvis is at the same level as your knees.
Thread each hand, one at a time, beneath the corresponding thigh and continue in this motion until the upper arm is beneath the thigh as well. Palms are places on the floor besides the outer edge of the respective foot. Fingers face forward.
Press through the hands as you gently shift your weight into them and away from the feet. With control and at a slow pace, raise your legs off the floor while keeping your thighs against the uppermost part of your arms as possible.
Extend your legs outwards while continuing to breathe. Bring your legs as parallel to the floor as possible. Keep the core engaged and the shoulders open. The arms should be straight, though a slight bend at the elbow can help to support them.
Lift your head gently to look forward if this is comfortable. Hold for fifteen seconds before gently release your feet back down to the mat.
When working to strengthen the core, it is important to remember that there is a whole range of muscles at play. Mixing up our abdominal poses helps us to engage all of the different sections of our core, from upper to lower and from back to front. Getting the gut into gear through asana practice strengthens not just the body but fuels the mind as well. Through engaging in these different core-strengthening poses, we help to balance and stimulate the solar plexus, enlivening our innate sense of confidence, willpower, and radiance.
What's Your Reaction?
Andrea has been hosting yoga retreats in various locations worldwide since 2003 and continues to encourage her students to live as the best version of themselves. Yogic living provides the framework for her informative writing, which is chock-full of beneficial tips and tricks.


