Crow Pose, or Bakasana, is often a yoga practitioner’s first introduction to arm balances, and gives the perfect initial glimpse into the world of gravity-defying poses for beginner and intermediate yogis. While the full expression does require balancing on only your hands, the center of gravity of the body is close to the ground, so it feels more stable than some of the more challenging arm balances. It gives the practitioner the sense of flying that you get with arm balances, but in a steady and safe way. It is also easy to modify, so yogis of all levels can practice working towards the full expression in a way that best suits their body.
Crow Pose offers incredible strengthening and stretching benefits for the entire body, and over time prepares yoga practitioners for more challenging arm balances. The posture strengthens the arms, shoulders, and core, while also helping to improve balance. Additionally, the pose stretches the muscles in the wrists, hands, and forearms.
If you are looking to break into the world of arm balances, or are simply looking to hone in on the pose and polish your skills, follow these steps to help bring you closer to the mastery of Crow.
Poses to Prepare for Crow
Rather than diving right into your Crow Pose practice, it is best to warm up with a few targeted poses that prepare your entire body for the posture. You can practice each of these poses individually, or work them into a sequence leading up to Crow.
Marjaryasana — Cat/Cow Pose

Cat/Cow, or Marjaryasana, is a gentle movement that warms-up the entire body. It is especially beneficial for stretching out the back for Crow.
Instructions:
Start in a tabletop position, with your hands and knees on the ground. Ensure your palms are stacked directly underneath your shoulders, and your knees underneath your hips.
On an exhale, move into Cat. Round your spine up towards the ceiling while tilting your tailbone down, and tuck your chin down towards your chest. While your head is tilting down, ensure you still leave space between your chin and chest.
On your next inhale, move into Cow. Raise your head and face forward, and tilt your tailbone up, letting your back curve. Ensure you don’t tilt your head back too far or over arch your back, as it can result in strain.
Continue slowly alternating between Cat and Cow pose a handful of times. Give yourself time to fully feel the stretch as you breathe through the pose.
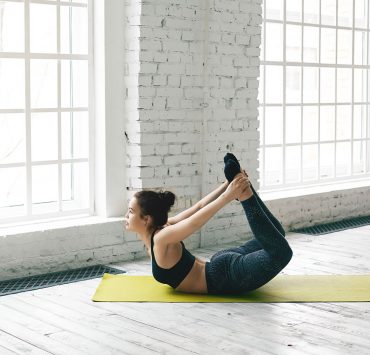
Navasana — Boat Pose

Boat Pose, or Navasana, engages the abdominal muscles, as well as the hip flexors and back. A strong core is essential for Crow Pose, so this pose can help you both warm up and build the necessary muscles.
Instructions:
Start seated with your legs out in front of you. Place your hands behind your thighs as you bend your knees, keeping your legs together and bringing your feet closer towards your glutes. Your toes should remain on the ground, but the rest of your foot should hover above your mat. Slightly lean your torso back, until you feel your core muscles engage.
Keep an elongated spine in the posture, and avoid hunching forward. If you want to take the pose further, begin by lifting one leg and then the other off the ground, creating a ‘V’ shape with your body. You can then let go of the backs of your legs, extending your arms out in front of you.
Ensure you are still keeping an elongated spine in this layer of the posture. Find your balance on your sits bones, and continue to breathe in this posture for about 20 to 30 seconds. Release on an exhale, grabbing hold of the back of your thighs and placing your feet on the ground.
Prasarita Padottanasana — Wide-Legged Forward Bend Pose

Wide Legged Forward Fold, or Prasarita Padottanasana, uses your body weight to release tension and stretch the entire back. Beyond the stretch, it is also an excellent precursor to Crow because it gives you the sensation of going upside down, without actually having to balance on your hands.
Instructions:
Start standing. Step your feet wide apart from each other. On an inhale, elongate your spine, and on an exhale, begin to bend forward from your hips, until your hands reach the ground. If you can’t touch the ground, use blocks to make up the space. Let go of tension in your neck and relax your gaze behind you, letting your head go heavy.
Your weight should be focused more forward on your toes, rather than back into your heels. Breath in this posture, and continue to lengthen towards the ground on each exhale. Hold for 30 seconds to a minute, and then slowly come up with your arms out to a ‘T’ or your hands on your hips. Ensure your spine is straight as you rise.
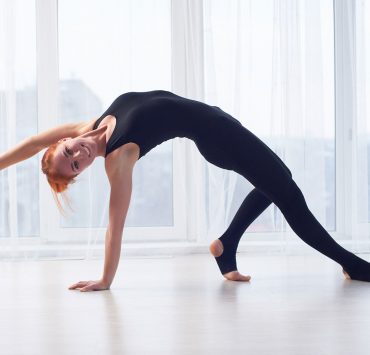
Virabhadrasana III — Warrior III Pose

Warrior III, or Virabhadrasana III, improves your balancing skill, which is essential for Crow, as both poses require you to find your counterbalance in order to stay stable. Warrior III also activates and strengthens the core, legs, and arms.
Instructions:
Start in Warrior I, with your right leg in front. On an exhale, begin to shift your weight forward onto your right foot, and lift your left leg off the ground as you straighten your right leg. Work towards bringing your left leg high enough so that it is parallel to the ground.
Your left toes should be facing down, and your hip bones should be on the same plane, both facing forward. Your gaze should be down, as you work towards creating a straight parallel line from the top of your head to your left heel.
There are a few arm options you can take with Warrior III. The full expression requires you to extend your arms straight in front of you at ear level. You can also modify by extending them straight behind you, or bringing them into prayer position at your chest. To release, gently guide your back foot down and move back to Warrior I. Repeat on the opposite side.
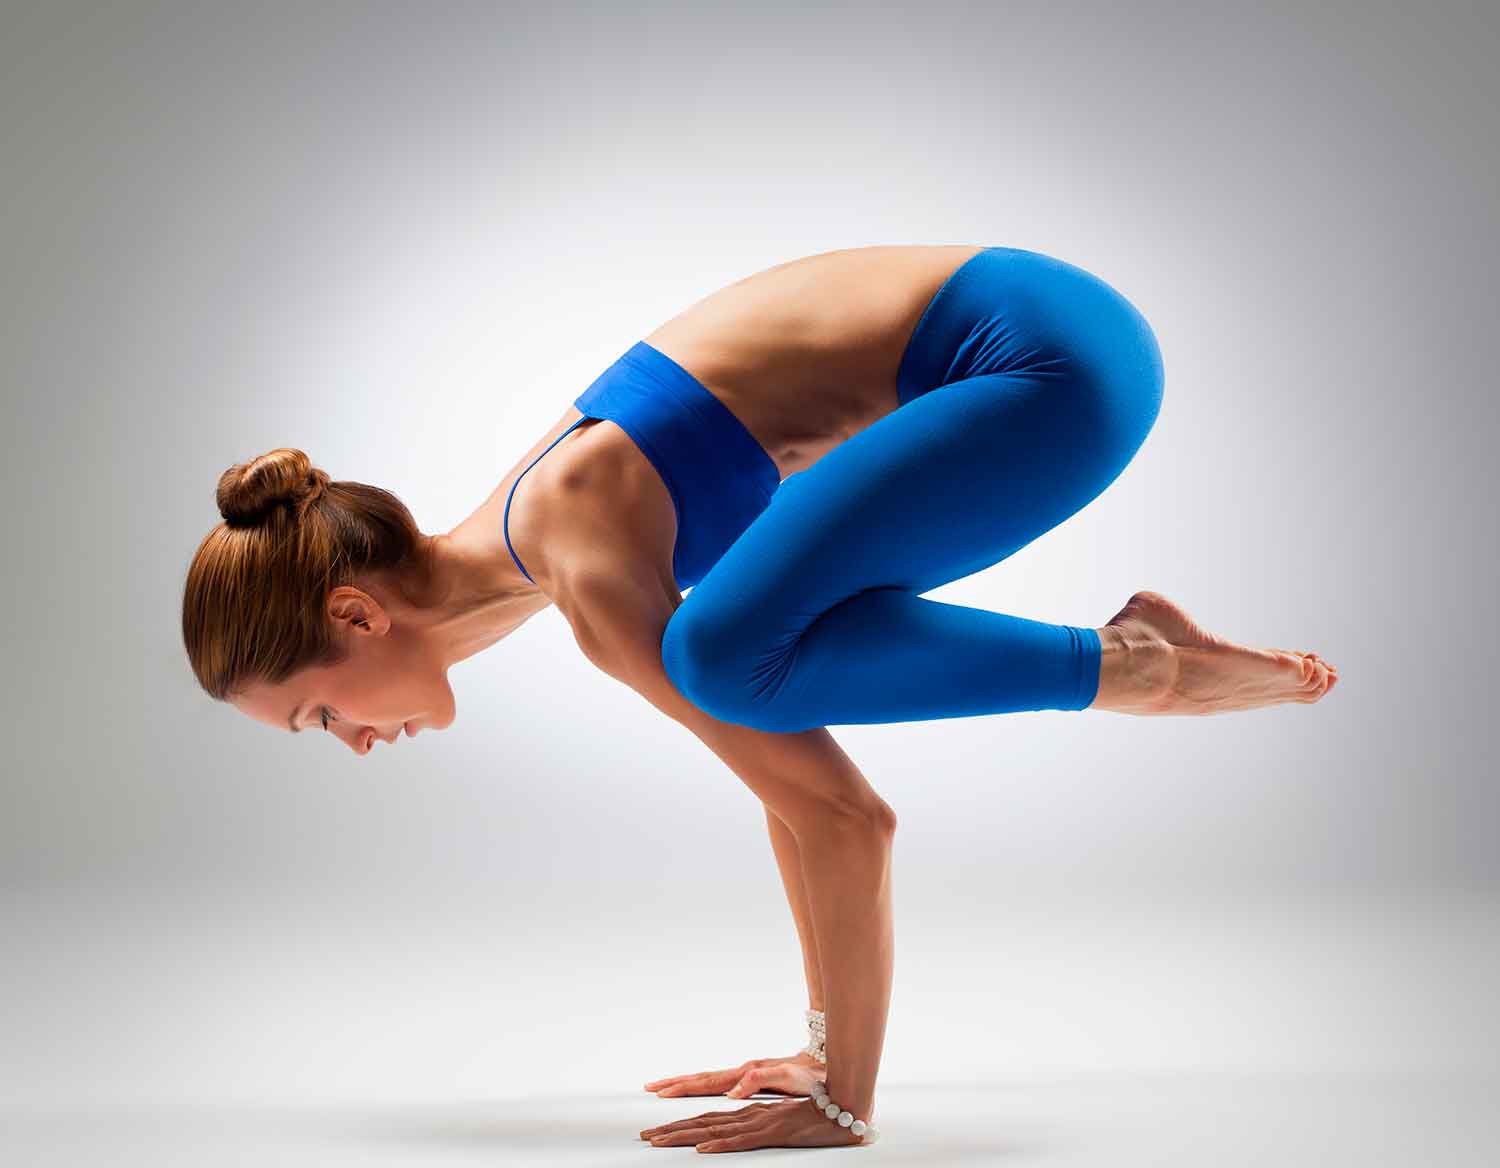
How to Do Crow Pose

Once you are properly warmed up, you are ready to take on Crow Pose. Remember that it can take time to reach the full expression of the pose—you likely won’t get it on your first try. Continue to regularly practice the pose as you build up your strength and balance, and soon enough you’ll be able to fly!
Instructions:
Start in a forward fold, and walk your hands out in front of you about a foot, placing them firmly on the ground. Begin to shift the weight forward into your hands as you bend your elbows, while simultaneously bending your knees out to make a diamond shape with your legs.
Place your knees on the shelves created by your upper arms, bringing your knees close to your armpits. Start to play with your balance, bringing one toe off the ground, and then testing the other.
If you feel stable, bring both feet off the ground, with your big toes touching as they are lifted. Keep your core engaged and continue to push through the ground. Bring your gaze about a foot in front of you, maintaining your focus on one unmoving spot.
Hold the position for about 30 seconds, going back into it if you fall out. Release by slowly rocking back into your squat.
Tips and Modifications for Practicing Crow Successfully

There are a few things to keep in mind as you are working on Crow Pose. The first and most important thing to remember is to engage your core. Your core muscles are essential in this pose, as they keep you lifted and balanced, so it is vital that they are consistently engaged—this is why prep poses like Boat and Warrior III are great to start with before getting into the arm balance.
Another tip to keep in mind is to be mindful of your drishti gaze. As mentioned, your gaze should be in front of you. By placing your gaze in front, rather than behind you, you are able to remain more stable. By looking back down and towards your feet, you are more likely to tumble out of the pose.
If you are finding the pose a bit too challenging or scary at first, there are a few modifications you can put in place. For those who are fearful of falling down on their forehead or are unable to find their balance just on their hands, they can modify by placing either a blanket or block beneath their forehead. The block can be placed on its highest setting, and used as a physical support by resting your forehead on it. The blanket can be used as extra security for providing a bit more cushioning to lessen the impact of a fall.
For those who find it difficult to get their knees up onto their triceps, they can use a block placed underneath their feet, setting it at the lowest height. By starting the pose with your feet on the block, you are bringing the ground closer to your arms, making it easier to bring the knees up on the arms.
While it is often introduced as the first step into the world of arm balances, Crow Pose is still a challenging posture, so be kind and gentle with yourself during your practice. It may take time to be able to reach the full expression, but with dedication and patience, you will be able to build up the strength and balance to fully fly!