Scoliosis is a skeletal condition usually diagnosed during childhood. It is a sideways curvature of the spine. The degree of severity can range greatly. Some people don’t know that they have scoliosis, while others experience severe pain and disability.
Depending on the degree of severity, various interventions are possible to ease scoliosis symptoms and improve function. Yoga is one activity often recommended and effective.
Scoliosis presents with one side of the back restricted in muscle length, and the other side is weak. Yoga can help improve muscle length on the side of the spine that is tight. There are also postures that can strengthen the side that is weak.
Finding more balance between muscle length and strength can help people with scoliosis achieve better posture and improved spinal curvature. Check out these yoga poses to relieve your scoliosis symptoms and improve the alignment of your spine:
Tadasana – Steeple Pose
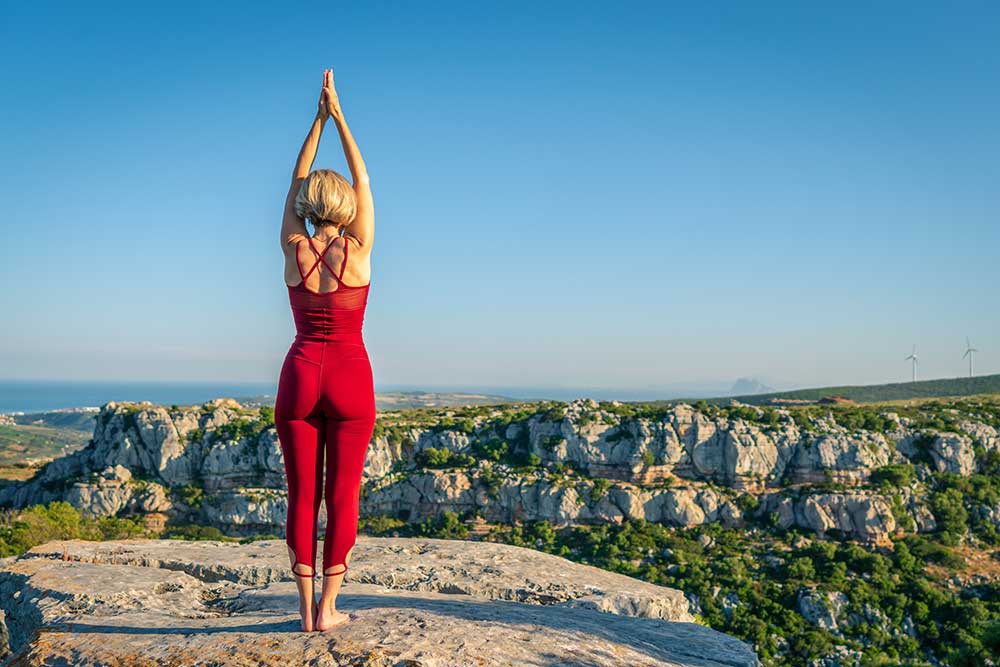
Steeple pose will help lengthen the muscles along your side. Creating this length will reduce your scoliosis pain and improve your posture.
Start standing at the top of your mat. Bring your feet together and find an upright posture. Press your palms together then interlace all of your fingers, with the exception of leaving your index fingers pointing to the sky.
Keeping your hands in this position, reach your arms overhead. Engage your abdomen to stabilize your spine. Begin bending your body to the right.
Focus on keeping your left foot firmly planted into the ground. As you inhale, reach your hands over to the right side like you are arching your body over a ball. As you exhale, allow yourself to sink further into the stretch.
You should feel this stretch along the left side of your body. If you feel pinching on your right side, focus on reaching more towards the ceiling than to the side. Hold for 5 breaths then repeat on the second side.
Prone Pectoralis Stretch
Having tightness in the muscles at the front of your chest can pull your spine out of proper postural alignment. This stretch will help you open up your pectorals, improve your posture, and reduce your pain.
Begin lying on your stomach. Take your left arm out into a goal post shape. Your elbow is in line with your shoulder and your elbow is bent at 90 degrees with the palm facing down on your mat.
Engage your abdomen to stabilize your spine. Use your right hand to roll your body onto your left side. You can keep your legs stacked, or bend and stagger them for more support. Use your right fingertips for support as well.
Rest your head on the mat and feel a stretch across the front of your left shoulder and chest. If you feel any pinching in your shoulder then adjust the angle or height of your elbow. Hold for 5 breaths and then repeat on the second side.
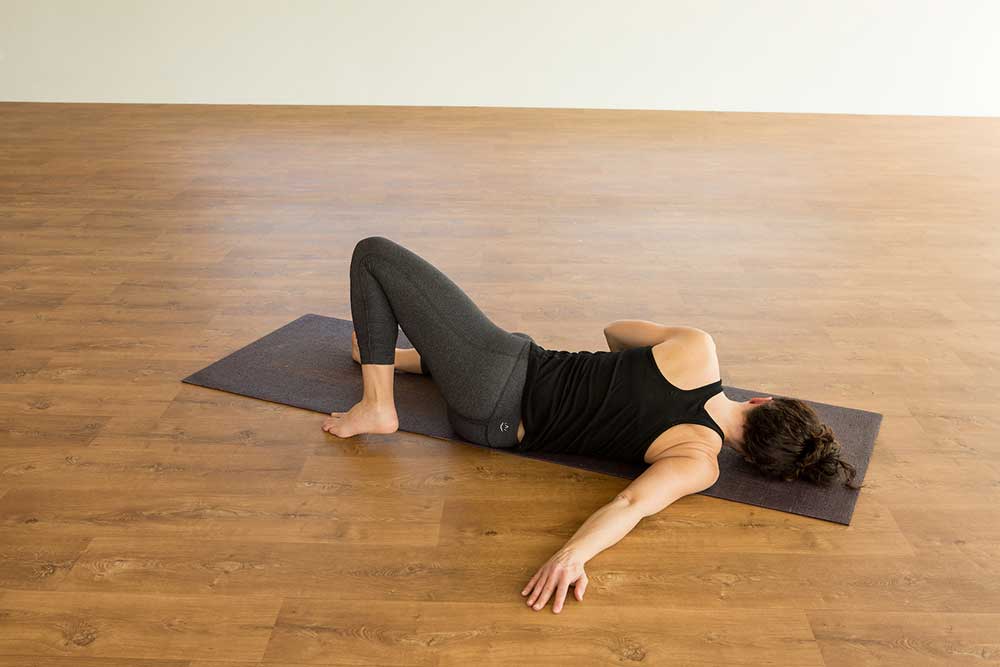
Balasana Variation – Child’s Pose with a Side Bend
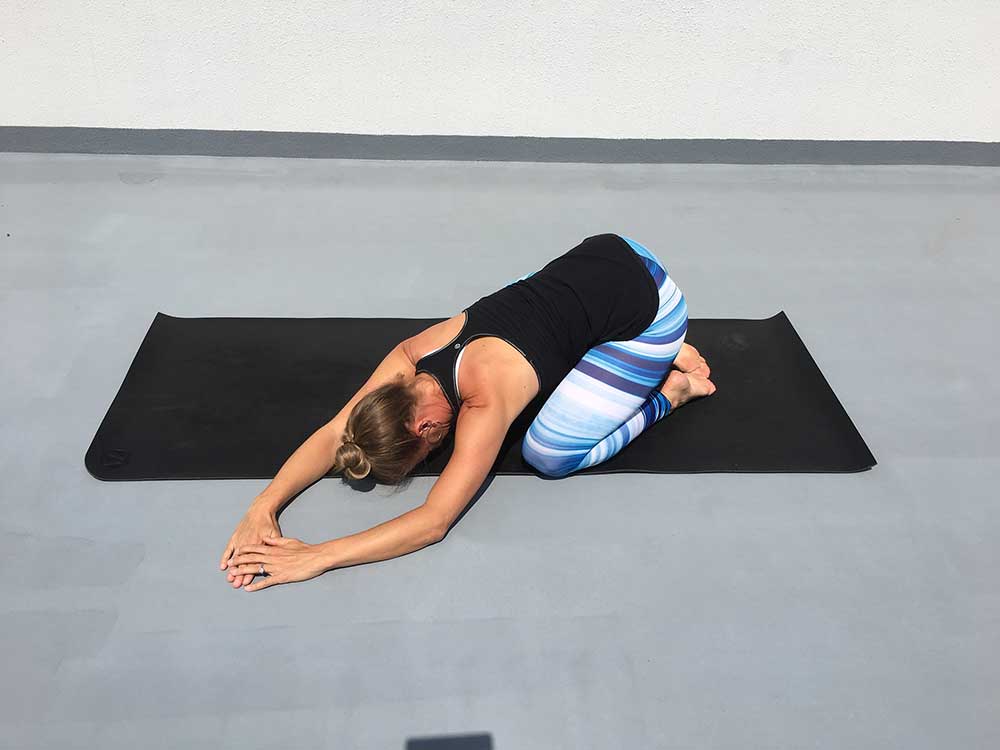
This pose will stretch the muscles along your sides and your lower back, reducing your scoliosis pan.
Begin on your hands and knees. Connect your big toes and draw your knees out wide. Sink your hips to your heels and rest your forehead on to the mat.
Reach your fingertips overhead with the palms down on the mat. Place your left hand on top of your right hand, and walk both palms over to the right corner of your mat.
As you inhale, feel your left side stretching out. As you exhale, walk your hands a bit further to the right, deepening into your stretch. Keep your shoulders relaxed away from your ears, and your face and jaw relaxed. Take 5 breaths and then repeat on the second side.
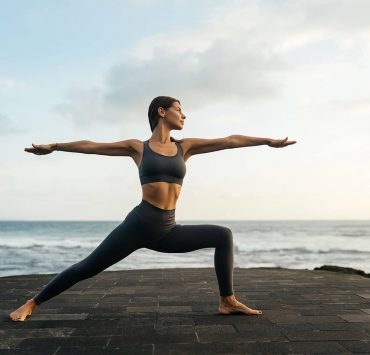
Utthita Trikonasana – Extended Triangle
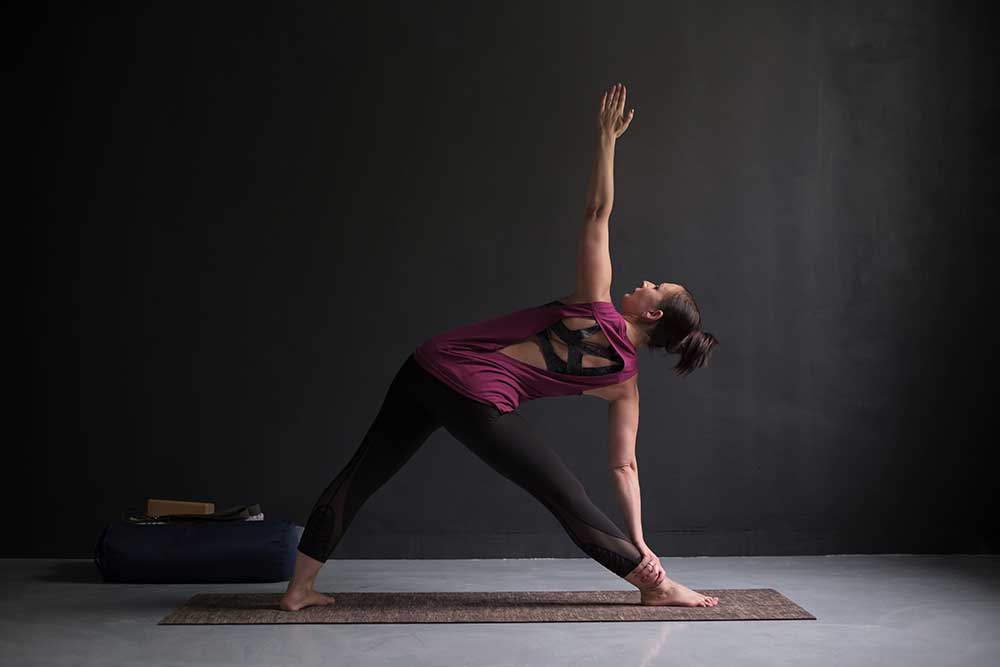
Extended triangle has both stretching and stabilization benefits for scoliosis. While in this pose, one side of the spine is getting a deep stretch, while the other side works important spine stabilizing musculature.
Begin standing at the top of your mat with your feet pointed forward. Step your left foot back about 3 feet and bring the foot parallel to the back edge of the mat. Your right heel should be in line with your left arch.
Firmly root down into both feet and engage your abdomen. Lift your arms up to shoulder height with the palms facing down.
Keep both legs straight and begin to tilt your body so the right fingertips touch the ground (or block) on the outside of your right foot, and the left fingertips reach up to the sky. Work towards aligning the left side of your body on top of the right as though your back was resting up against a wall.
Now reach your left fingertips overhead with the pinky side edge of your palm down. As you inhale, feel the left side of your body stretching out. As you exhale, focus on opening up the front of the chest as you gaze towards the sky.
Your left side is stretching and the right side is stabilizing. Hold this posture for 5 breaths and then repeat on your second side.
Parsva Anjaneyasana – Low Lunge With a Side Bend
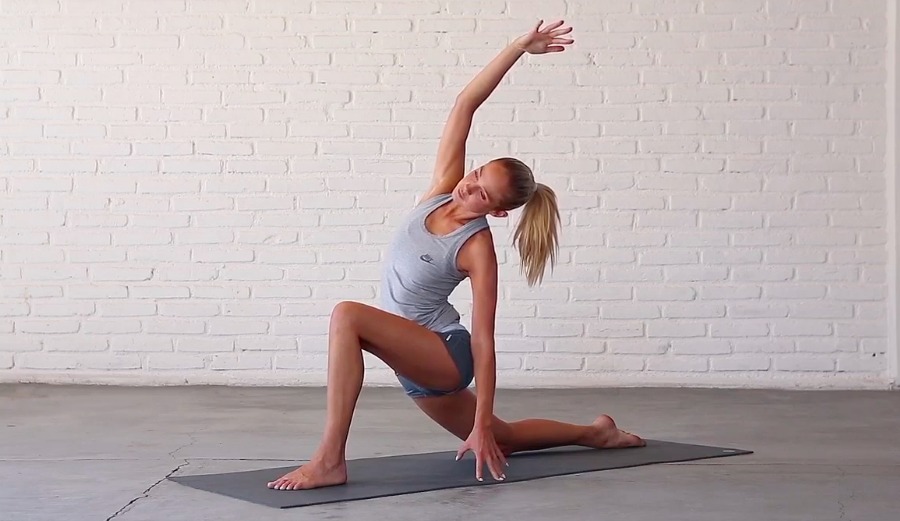
This pose will help both manage your scoliosis pain and stabilize your spine, preventing future pain flare-ups. This variation of low lunge will stretch your psoas and your sides. It also strengthens your hips and abdomen, two body regions key to reduce spinal pain.
Begin in a kneeling position. Step your right foot forwards into a lunge position, and scoot the left knee back so you are not resting weight on your knee cap.
With your hands on your hips focus on your lower body alignment. Keep the right knee stacked on top of the ankle and the hips square towards the top of the mat. Engage the abdomen, and feel a stretch across the front of the left hip. Press the right heel into the mat so you feel the right gluteals engaging.
Next, reach your left hand to the sky. Keeping your hips in alignment, reach over to the right so you feel a stretch along your left side body. As you inhale envision the crown of your head and your fingertips reaching towards the sky, elongating your spine. As you exhale, deepen into your side bend stretch.
Hold for 5 breaths then repeat on the second side.
Phalakasana – Plank Pose
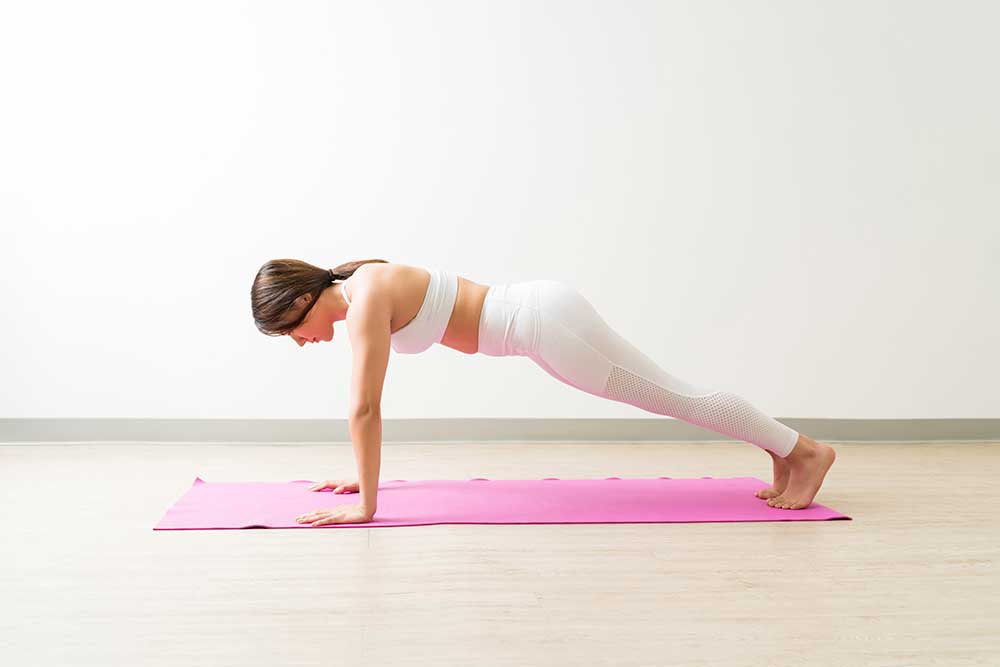
Plank pose is an effective way to work on your abdominal strength. Improved abdominal strength will help prevent your scoliosis curve from worsening. In addition, more muscle mass and joint stability from plank pose can reduce scoliosis based pain.
Begin on hands and knees. Place your wrists underneath your shoulders and seal your entire palm on the mat. Face your elbow creases forward and avoid locking out the joint.
Next, engage your abdomen by drawing your navel to your spine. You should have a firm enough contraction to feel the muscles tighten, but not to a level where your breath is restricted.
Holding your abdominal engagement and the alignment in your upper body, walk your feet back so the legs are straight and your knees are lifted off of the mat. Keep your feet hip-width apart and align your heels on top of the ball mound of your foot.
Now that you are in plank pose, energetically hug your upper arms and inner thighs together as though there are magnets between your two limbs. Feel your entire front body strong and stable. If you feel any pain in your lower back, drop your knees down to the mat for a modification.
Begin practicing for 5 breaths, gradually working your way up to 15 as your strength improves.
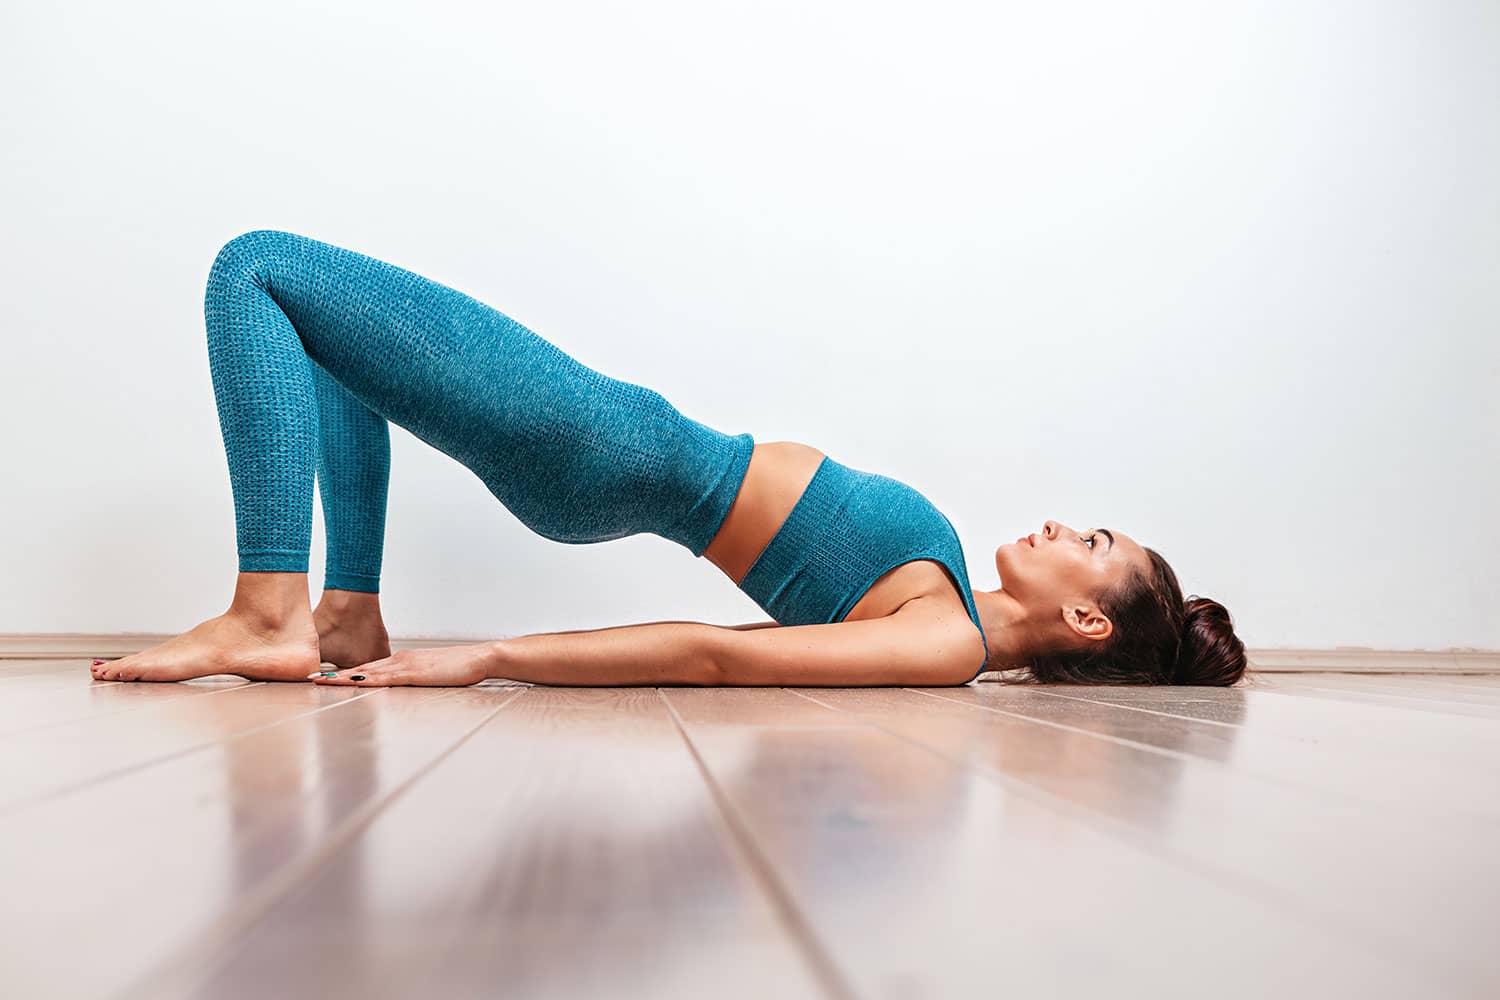
Vasisthasana – Side Plank
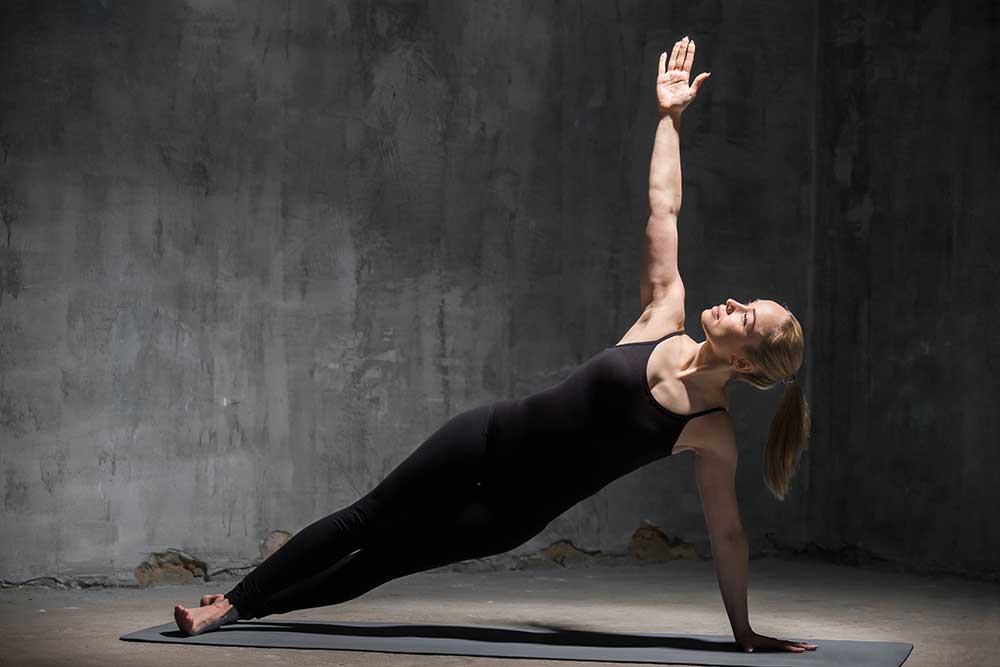
If you only have time for one pose during your day, this is the one to do! Side planks have been clinically proven to reduce scoliosis pain, improve spinal stability, and improve posture.
From the plank position above, begin to focus on your left side. Ensure that your left shoulder is stacked on top of your left wrist. Face the left elbow crease toward the top of the mat and engage your abdomen,
Roll your heels to the left and take your right hand on your hip so you are balancing on your left side. Stack your right foot on top of the left.
Reach your right hand up to the sky and look at your right fingertips. As you inhale, keep your abdomen engaged as you inflate your ribcage. As you exhale, open up the front of the chest. Feel your obliques engaging.
You can lower the bottom knee to the mat if you need more support. If this posture bothers your wrists, you can lower down to your elbow. Hold for 5 breaths then repeat on the second side.
Patita Tarasana – Fallen Triangle
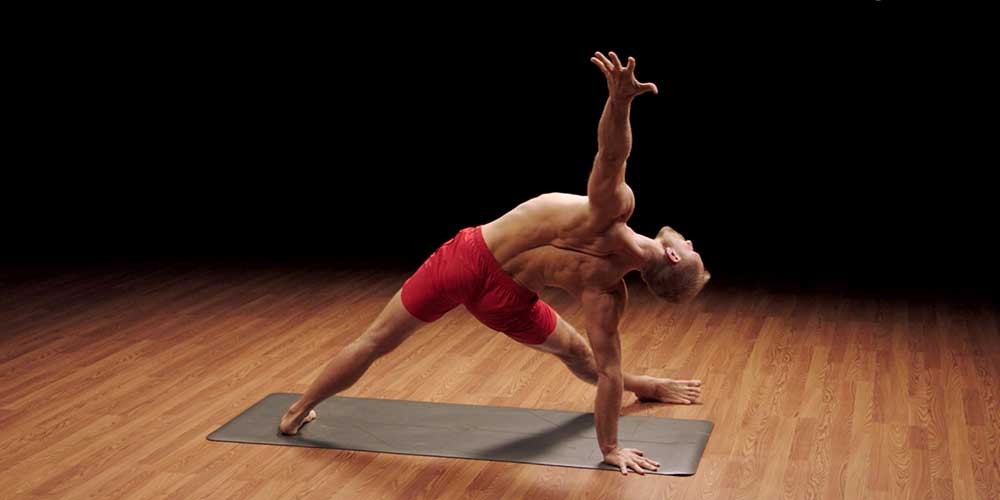
This posture will strengthen your obliques, providing more stability to your spine and improved alignment.
Begin in a plank position. Keeping a firm foundation with both palms, shift the hips back into downward facing dog.
Lift your right leg to the sky for the three-legged dog pose. Shift back into plank pose keeping the right leg lifted, then draw the right knee underneath you in the direction of your left elbow. Feel your abdomen and middle back engaging. It may feel challenging already!
Keeping your body in a plank shape, straighten out your right leg so that the pinky side edge of the foot is on the ground. Lift the hips up if they have dropped.
Begin rolling your left heel to the right so the big toe side of the foot makes contact with the ground. Take your left hand on your hip and begin opening up the front of the chest to the sky. Your right arm is working hard in this pose as well!
Once you have your balance, reach your left fingertips to the sky. Look up as your left hand. As you inhale feel your ribcage inflating, and as you exhale lift up the hips higher and rotate the chest up to the sky. Hold for 5 breaths and then repeat on your second side.
Utthita Parsvakonasana – Extended Side Angle
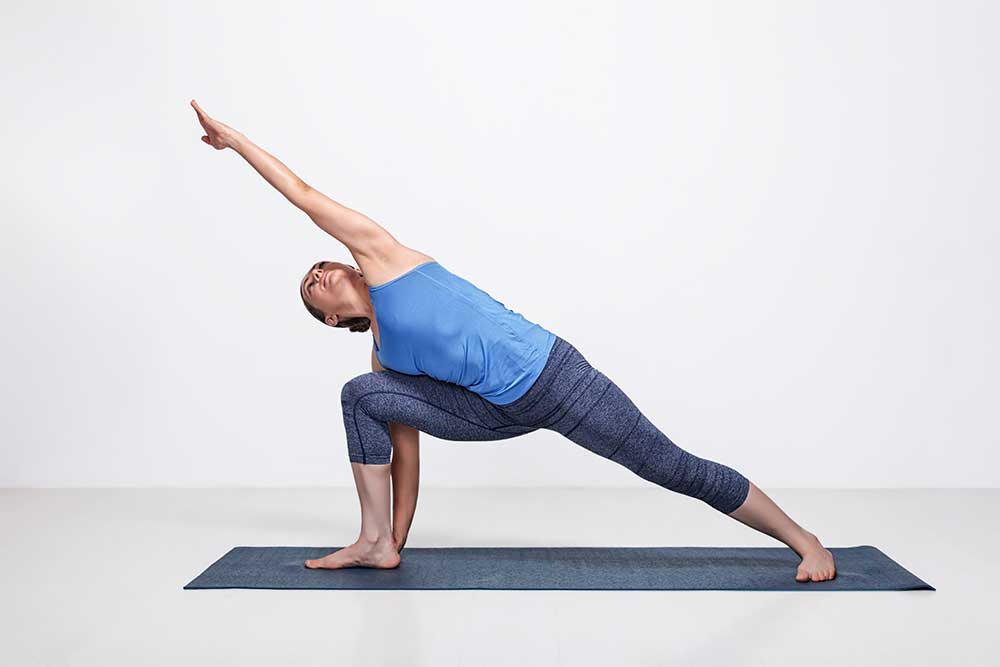
Extended side angle strengthens one side of the spine as it lengthens the opposite side, making this pose very efficient and effective to address your scoliosis pain.
Begin standing at the top of your mat. Step the left foot back so it is parallel to the back edge of your mat. Step the foot back far enough so if you lift your arms up in line with the shoulders, the ankles are underneath your wrist. Align the left foot so the right heel is in line with the left arch.
Bend into the front knee, keeping the back leg straight so you arrive into Warrior 2. Keep the arms lifted at shoulder height, and take a few moments in this position to feel the hips opening up.
Ensure that you feel a firm contact through the pinky side edge of your left foot and that your left arch is still lifted. Press firmly into your right heel, and engage the abdomen.
Lower your right elbow to the right thigh. Do not collapse your weight onto the elbow. Lightly rest the elbow on your thigh so you are keeping the right obliques engaged. Place the left hand on your hip and open up the chest to the sky.
Next, reach the left-hand overhead towards the top of the mat with the pinky side edge of your palm down. On you inhale, feel your left side stretching out as you energetically reach the left-hand overhead. As you exhale, open up the chest to the sky and sink deeper into your hips.
Feel a stretch along your left side and your inner thighs. Feel your right obliques and transverse abdominis stabilizing you. Hold for 5 breaths and then repeat on your second side.
Adho Mukha Svanasana – Three-Legged Dog Variation
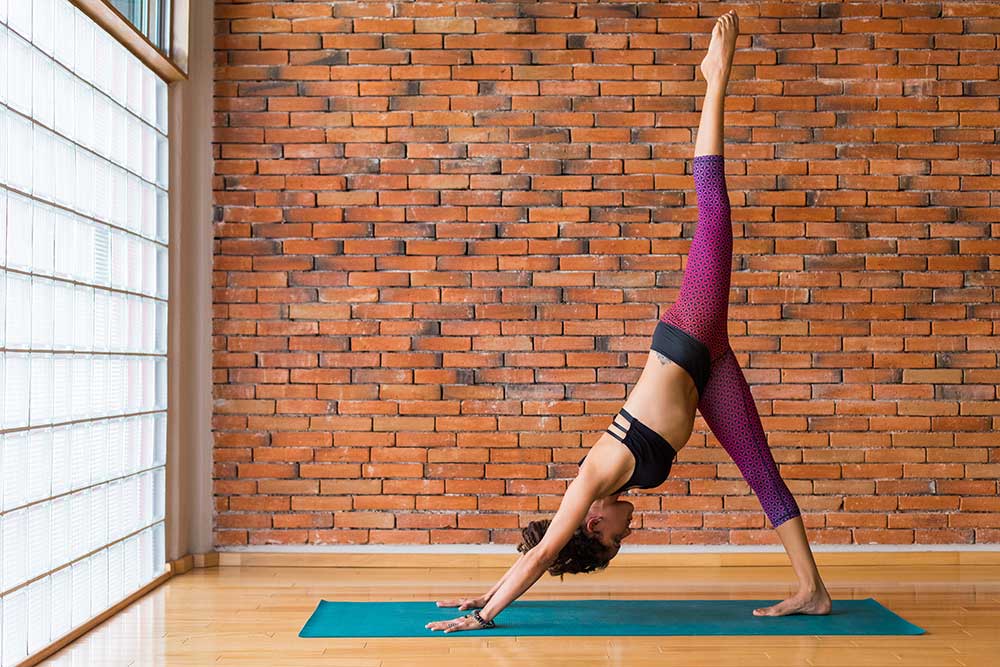
In a vinyasa yoga class, oftentimes there are many variations of three-legged dog. This particular variation will help you strengthen your obliques, stabilizing your scoliosis, and providing pain relief.
Begin in downward-facing dog. As you inhale, reach the right leg up to the sky. As you exhale, shift forward into plank and pull the right knee to make contact with your right elbow.
You will feel your transverse abdominis and your obliques engage. Continue this pattern for 5 breaths on your right side, then repeat on the left.
Yoga is an effective and conservative way to manage scoliosis pain. Include these exercises into your routine 3-5 times a week to reduce pain and improve your alignment.