Susan views the world through a lens of spirituality, health,…
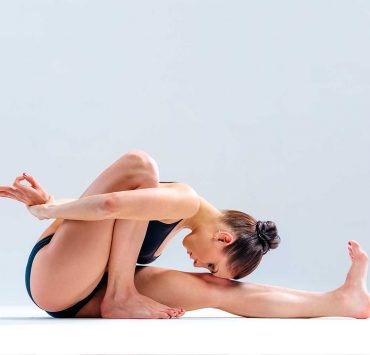
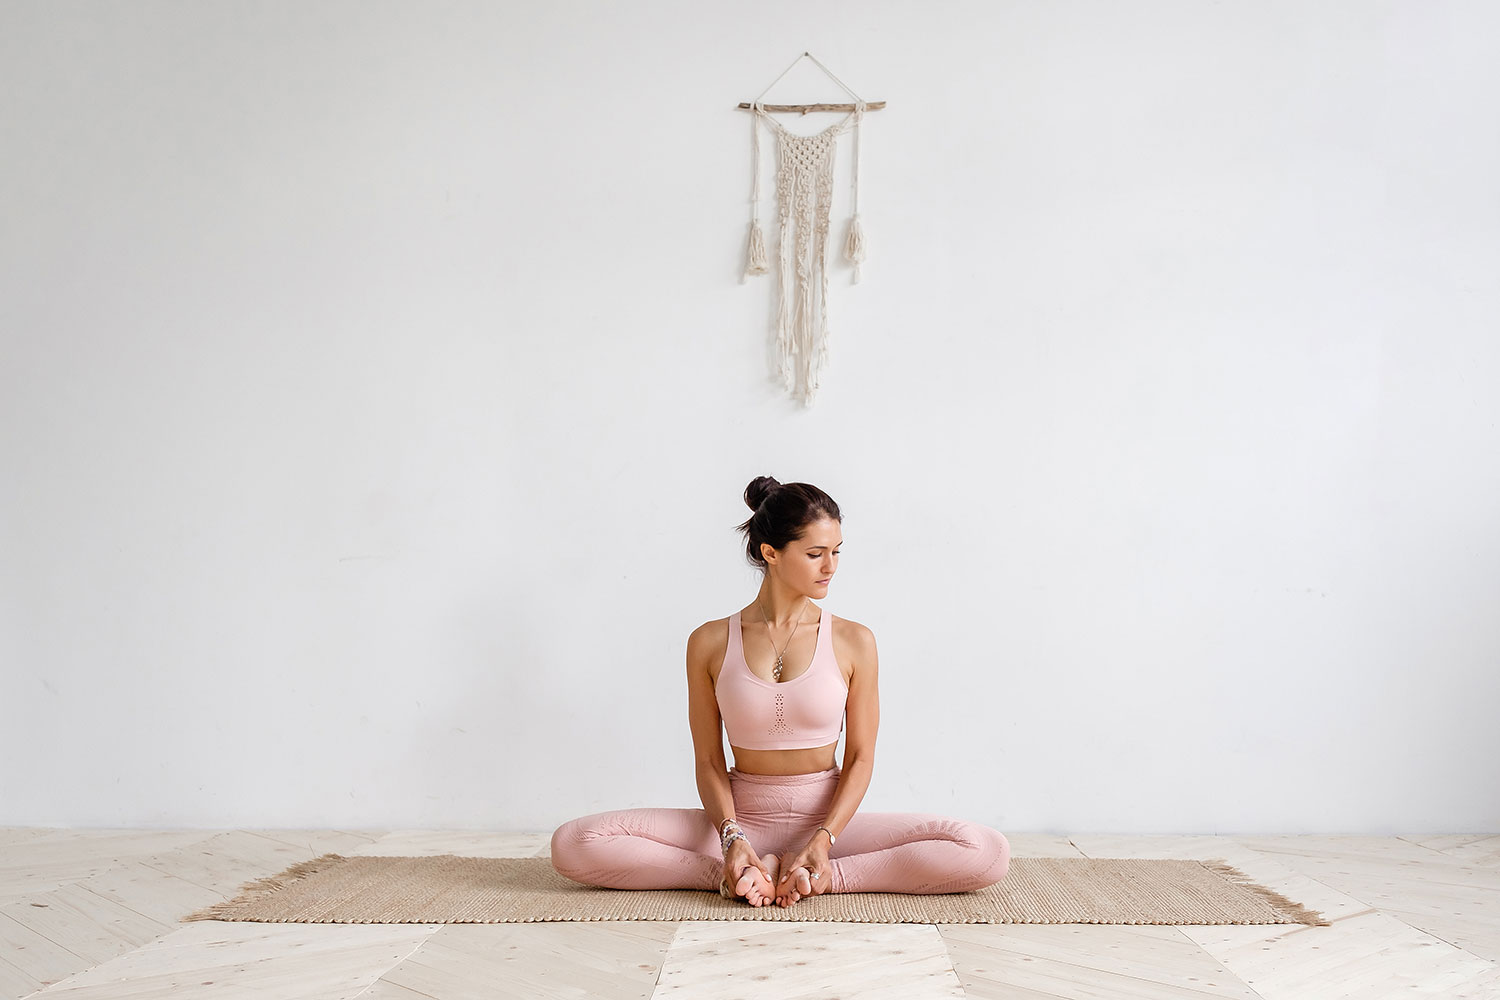
Yoga as a wellness activity has been steadily rising in popularity for its many health benefits and the fact that absolutely anybody with any body can start an asana practice. But it can still get daunting as a beginner to go to that first class and you may need to go to a few more to get into the flow of things. But keep the practice regular and you’ll very quickly begin to start seeing the benefits of yoga not only in your body, but emotionally, mentally, and holistically too.
This guide is a brief overview of the most basic poses, or asana, to get you started. They are staples in most yoga classes you will attend anywhere in the world and great to practice for beginner and advanced yoga practitioners alike! We provide both Sanskrit and the most commonly used English names just in case the class you go to calls it something else.
Savasana — Corpse Pose

Most classes will end with Savasana or Corpse Pose. And unfortunately, many try to skip this part altogether. But it’s one of the most important parts of the class because in complete relaxation, the body is able to repair, rejuvenate, and truly reap the benefits of yoga. It’s also one of the rare moments in modern life that you are allowed to completely let go of your to-do list or any obligations except to relax and be on the mat. So instead of sneaking out of the class, give yourself this chance to lay down for a few more minutes in silence.
Balasana — Child’s Pose

This pose is a great space to rest in-between stronger asana and sequences. It’s even encouraged to recover in Child’s pose at any time in the practice you start to feel weak, light headed, dizzy, or just need to take a breather. Keep the foundation of the pose healthy by ensuring your sit bones keep contact with your heels. Even if your forehead and chest don’t touch the ground yet, trust that with regular practice, they will get there in time.
Malasana — Garland Pose aka Full Yogic Squat Pose

Pelvic floor and hip health is so important for all age groups. It will affect mobiloty and quality of life as you age so its good to keep the joints and muscles in this area strong and mobile. Malasana is a full squat that is actually a more natural way to sit than on a chair. If you find your hip anatomy simply won’t allow you to get into the full expression of the pose, you may always modify by sitting on a block or bolster (etc……)
Marjayasana and Bitilasana — Cat-Cows Pose

“Cat-Cows” are often introduced at the same time in a class towards the beginning to start getting some spinal movement. Use this time to tune in to your body as it moves to notice and tightness, soreness, or other sensations to be aware of. Add a wave motion into the two asana by starting each movement from the tailbone and curving vertebrae by vertebrae to the full expression of each pose.
Vrksasana — Tree Pose

Balance is an important part of a yoga class and any movement practice in general. It’s good for checking in and keeping focus and helps with overall body coordination. You may try closing your eyes from the very beginning to challenge yourself in Tree pose or choose a spot in front of you to softly focus on. This is called a Drishti and helps keep the mind from wandering while in an asana and in meditation.
Tadasana — Mountain Pose

Tadasana is not simply standing up straight. It is actually the foundation for every other asana and, when expressed with proper engagement, utilizes all major muscle groups of the body. It promotes good spine alignment, symmetrical balance, gently works the core, and helps ease chronic back pain. A proper Tadasana, just like its name, creates a strong foundation with the ground through the feet, and allows you to stand tall like a mountain.
Uttanasana — Forward Fold Pose

Uttanasana can help lengthen the spine and stretch the hamstrings. But if your hamstrings are tight or sore, don’t worry about bending your knees enough so that your hands touch the floor in the beginning. It’s more important to keep the core engaged and back straight, and not force anything into a particular shape if it’s not ready yet. Be patient with the hamstrings. They are the thickest tendons in the body and will more need time to stretch than others for greater range of flexibility.
Phalakasana — Plank Pose

Plank is not only a basic pose in yoga, but a foundational exercise for many other sports and activities as well. It is the first step to all arm balances because even with both feet still contacting the ground, it already begins working the balance. Keep pushing against the floor and push heels towards the back to create a strong, straight line all the way to the crown. This will strengthen the core, shoulder girdle, and arms to eventually lead up to other arm balances.
Chaturanga Dhandasana — Eight Angle Staff Pose

Yoga can make you strong and flexible, but did you know that most yoga asana only focus on pushing strength rather than pulling? When practiced properly, Chaturanga Dhandasana (or “Chaturangas” as many teachers call it) addresses this imbalance. Just make sure to watch that your shoulders don’t over rotate forward to go below your chest and keep hugging your elbows inwards towards your body and drag you palms back as you push against the ground at the same time to build and maintain that strength and alignment.
Urdhva Mukha Svanasana — Upward Facing Dog Pose

The next two asana get their name from the way a dog stretches. Upward Facing Dog will build arm and leg strength while opening up the chest and promoting a healthy backbend. To prevent lower back pain from too much compression in the sacrum, relax the buttocls and push against the ground with the top part of the feet. A variation is to keep toes tucked while in the pose for a deeper backbend.
Adho Mukha Svanasana — Downward Facing Dog Pose

Downward Facing Dog, or Down Dogs as they are often shortened to, can be a challenge at first but eventually can be quite a calming rest pose. With the head positioned below the heart, it is considered an inversion and delivers all the benefits of being upside down. (Lowers heart beat, calms the mind, slows down breathing, etc…) If hamstrings are still tight, do the pose with knees bent and heels of the mat. Just like Uttanasana, it’s more important to keep the spine straight. Imagine a straight diagonal line being drawn from the crown all the way to the tailbone. Keep the fingers wide apart on the ground and slightly spiral the arms as if you want your armpits to face each other as you push away from the ground.
Virabhadrasana 1 & 2 — Warrior 1 & 2 Poses

Warriors one and two are lunge poses in yoga which are named after an incarnation of Shiva, one of the three main divinities who represents Consciousness. As the warrior Virabadhra, he is described as “having a thousand heads, a thousand eyes, and a thousand feet, wielding a thousand clubs, and wearing a tiger’s skin.” To keep your knees and legs safe in these standing poses, make sure that your front knee never bends past your front heel. It’s ok if your front leg doesn’t form a perfect 90-degree angle when you start. For extra stability, push the front heel down and drag it slightly inwards to prevent the knee from collapsing.
Trikonasana — Triangle Pose

Trikonasana is a strong standing pose that can help relieve back pain and help with emotional baggage too. According to Do You Yoga, Triangle Pose “provides an ideal combination of opening, elongating, stretching, and challenging the body.” In this way, stresses that build up may be released.
Janusirasana — Seated Head to Knee Forward Bend Pose

Even the the Sanskrit name of this pose literally translates as “head to knee pose” (Janu = knees; Siras = head) you actually want to aim for extending your spine while folding over your leg as much as the hips and hamstrings allow, and then evenly rounding. It’s one of the most comfortable poses to stretch out the hamstrings while relaxing at the same time. Feel free to use a strap to help reach for your foot or use a folded blanket to sit on or place under your extended leg to prevent to knee from locking or over-extending.
Paschimottanasana — Seated Forward Fold Pose

This seated pose can be more challenging than Janusirasana but with patience it’s a great way to stretch hamstrings and strengthen the core and back at the same time. BKS Iyengar suggested sitting on a block to ease some tension from the legs. And a strap is always handy to reach your feet if your torso can’t quite fold far enough yet.
Supta Badha Konasana — Reclined Butterfly Pose

This reclined pose is most famous for its hip-opening benefits and is great for those who have lower back issues, sciatica, and leg tension. If practiced with a full array of blankets, blocks, bolsters, and straps, it’s the ultimate restorative pose which allows full expansion of the body and calms down the brain’s fight or flight response to enter complete relaxation.
Setu Bandha — Bridge Pose

Bridge, especially if supported with a block when you are just starting out, helps to establish proper strength, flexibility, and confidence to build up to deeper backbends. It stretches out the quads and core while making them strong to support the deepening arch of the spine, and strengthens the hips, legs, and shoulder girdle. For safety, keep the chin slightly tucked and aligned with the center of the chest. To keep the stretch all the way to the cervical spine, imagine the chest wanting to touch the chin, and chin keeping away from the chest.
Supta Matsyendrasana — Reclined Spinal Twist Pose

Being in any variation of a reclined twist towards the end of a yoga class feels like a wet towel being twisted and wrung out of any excess liquid. In the same way, twists help to decompress any remaining areas of resistance, especially in the lower back, hips, and shoulders. In any reclined twist, scan your body internally and relax to fully get into the pose. And slightly point the tailbone downwards to create length in the spine as it twists.
Sukhasana — Easy Seated Pose

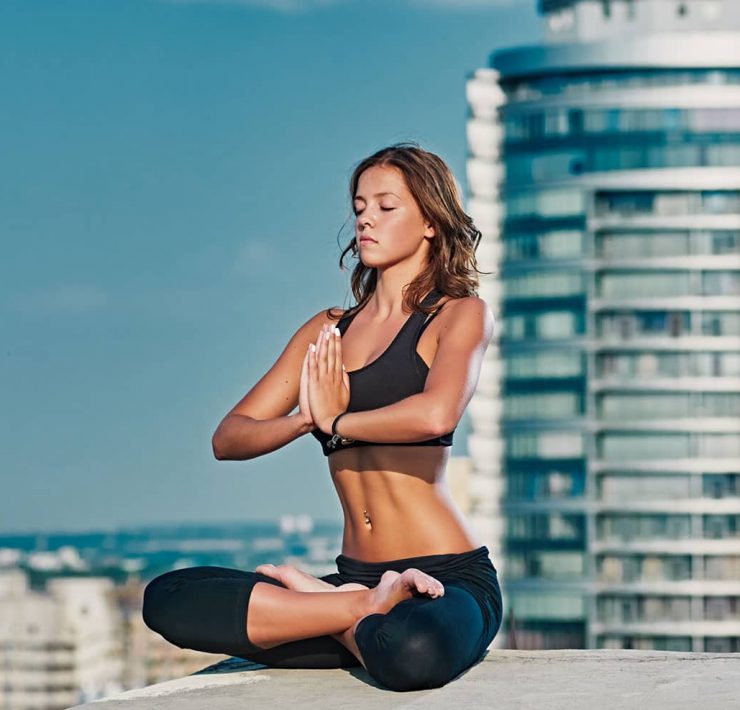
In a world that is accustomed to sitting in chairs, Sukhasana may not be such an easy way to sit for some. But it’s the best way to start and end a yoga practice to quiet the mind and enter a meditative state. Use pillows or blocks either under the knees for support or sit on a cushion to keep it more comfortable and before you know it, you’ll prefer sitting on the floor this way over any chair again.
Padmasana — Lotus and Half Lotus Pose

The quintessential yoga pose! There are even emojis sitting in Lotus pose! Like with all previous asana, ease into this posture. Even though it’s a seated pose, it requires open hips and flexible hamstrings. Also try it with knees pointed more forward rather than out to the left and right. This creates a shape that puts less strain on the muscles and joints to begin with. If you are practicing half lotus, don’t forget to switch to the other side too.
Conclusion
With so many different types of yoga classes and thousands of asana to choose from, it can be overwhelming for a first timer to even think about where to start. But just by familiarizing yourself with these 20 beginner-friendly poses, you’ll already have a solid foundation to build a strong and healthy yoga practice.
What's Your Reaction?
Susan views the world through a lens of spirituality, health, and compassion. Her positive outlook on life shines through her writing, which is heavily focused on yogic living, meditation, and conscious eating.


