Pincha Mayurasana, or Feathered Peacock Pose, is a forearm balance that is named so because the body resembles a peacock’s tail. For many, it seems like a daunting pose but it doesn’t have to be as challenging as the mind makes you believe. Even if you can’t get upside down just yet, keeping a few preparatory poses in your practice will enable you to lift up into Pincha Mayurasana in no time.
About Pincha
Pincha Mayurasana is a pose that balances strength in the upper body, control and focus to shift into the final expression of the asana, and grace and flexibility in the spine. Although it is an impressive pose, it also can be a humbling one to practice as it requires many elements working together to build up the strength and coordination needed to lift up into this forearm stand.
Most yoga practitioners will not be able to get into Pincha Mayurasana at the start of their practice. But by incorporating a few foundational poses into your regular yoga practice sequence, you’ll be able to strengthen the right muscle groups that will enable you to start practicing the asana with more confidence.
Phalakasana — Plank Pose

All arm and forearm balances begin with a solid plank practice. This develops the core, as well as the arms, and even the Latissimus dorsi muscle.
A well-aligned plank should ideally have the heel of your palm directly under your shoulders. Slightly bend your elbows and pull your shoulders away from your ears to “hug” them together — you should feel like you want your armpits to face each other. Notice how space is created between your shoulders and even your neck.
Your core should be engaged to keep a flat back. Slightly tilt your pelvis as if you want to tuck in your tailbone to allow more length and strength in the spine, and more engagement in your core.
You feet may be together or hip distance apart. Stay on the balls of your feet and keep pushing your heels towards the back of the room. Imagine an energetic line going through your body from the top of your head all the way through your heels.
Ardha Pincha Mayurasana — Dolphin Pose

Dolphin Pose goes by many different Sanskrit names, one of which is Ardha Pincha Mayurasana — literally translated as Half Peacock Feather Pose — which makes it an obvious foundational pose to practice to build up to the full expression of Pincha Mayurasana.
Dolphin is also a great modification to practice instead of Downward Facing Dog if you are experiencing wrist problems and need to keep weight off your hands.
The set up for Dolphin Pose is almost the same as Adho Mukha Svanasana. Start in a tabletop position and instead of your palms below your shoulders, place your elbows underneath and spread your fingers out wide. Tuck your toes under and push your hips back and up into Dolphin. Just like in Downward Facing Dog, it’s more important to keep your back straight. So keep pushin your heels in the direction of the floor but if it’s too much for your hamstrings, keep a slight bend in your knees if needed.
Keep hugging your shoulders together to engage not only your arms but your shoulders and lats as well. It may help to keep a yoga block between your elbows to remind yourself to squeeze, but make sure your elbows stay the same distance apart as your shoulders to prevent over rotation.
Dolphin Facing the Wall

Another modification to Dolphin pose that will prepare you for Pincha Mayurasana is to use the wall to support you halfway.
To do this, sit with your back against the wall with your legs straight in front of you. Take note of where your feet are and this is the dustance where you will set down your elbows. Come up into Dolphin pose and the place your feet on the wall at the same height as your hips.
Keep the core engaged and shoulders hugging. Keep your neck as relaxed as possible but still keeping a focus point between your palms.
If you feel ready, you may practice lifting up one leg at a time away from the wall, which will aready get you two thirds of the way to Pincha Mayurasana. But keep building a good foundation with Dolphin Facing the Wall first. It will make lifting up into Pincha much easier since you’ve developed the muscle strength and coordination first.
Backbends

Many of the preparatory poses for Pincha Mayurasana, and all forearm and arm balances in general, focus on building strength in the arms, core, and side muscles, that flexibility is often overlooked.
But keeping the spine flexible, even while you are strengthening, will help you keep more control over your movements and even help make you stronger with a wider range of motion.
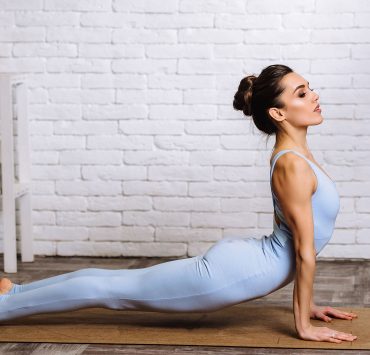
Backbends like Bridge, Wheel, Sphynx, Seal, Locust, Bow, and even Cobra and Upward Facing Dog, will help relieve and release tension from other upper body strengthening poses. At the the same time, they build both strength and flexibility that will enable better mobility and control in your balances.
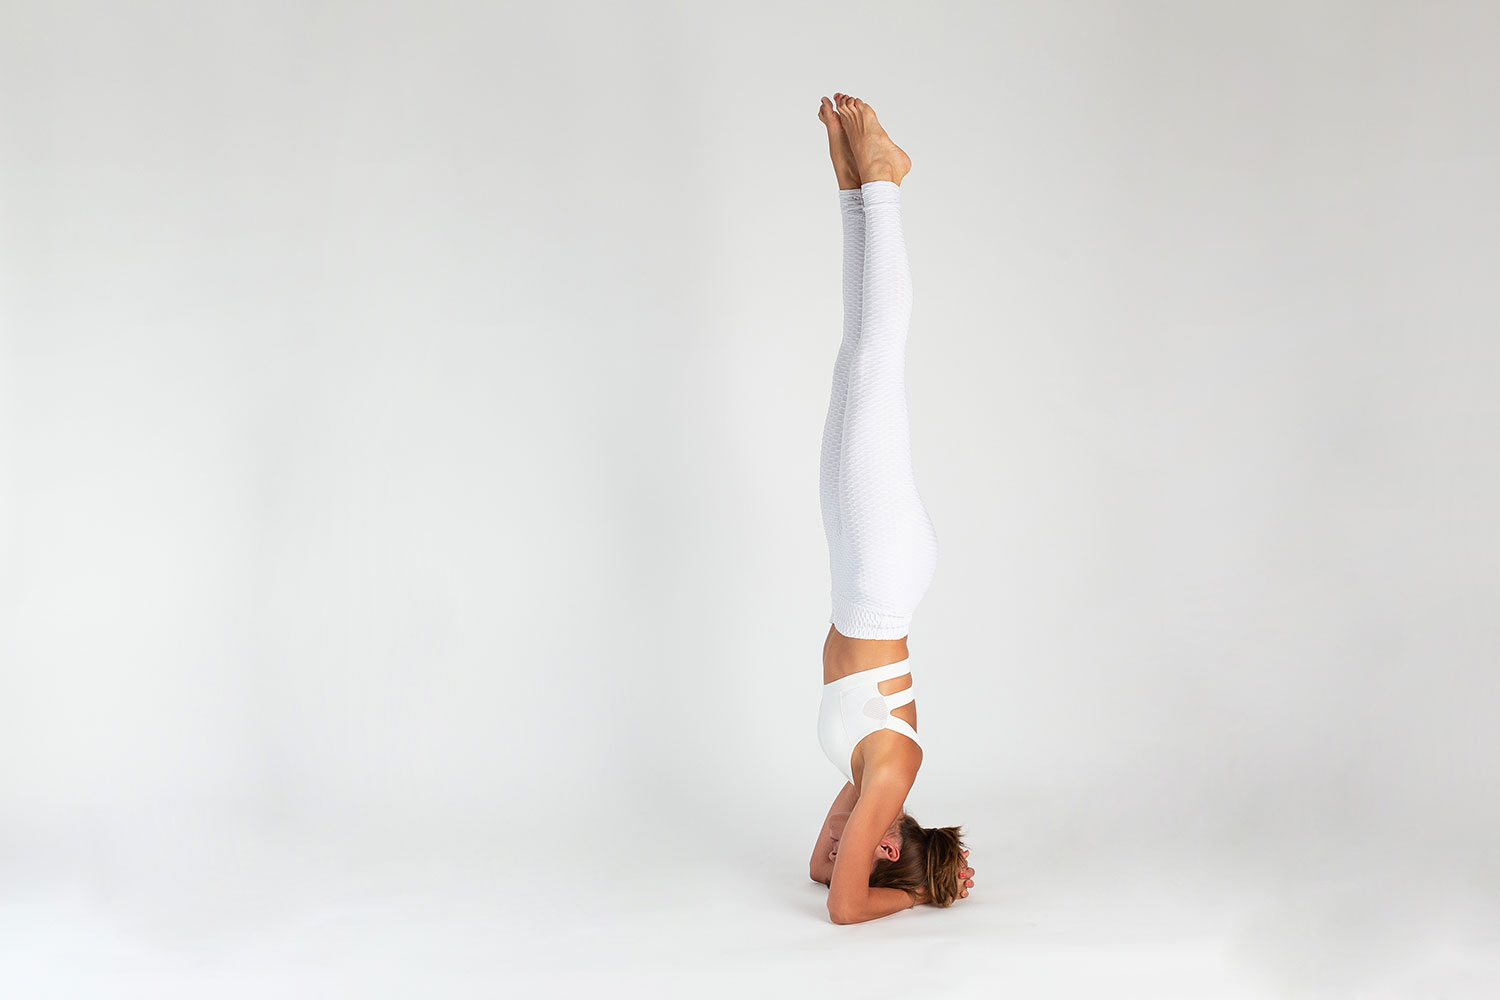
Salamba Sirsasana — Headstand Pose

Headstand is actually a misnomer for this inversion because most of the weight of your body should be on your forearms in this pose and only a little pressure on the crown of yoir head to prevent too much compression especially in your cervical spine.
Set up for headstand in a tabletop position and place your elbows directly beneath your shoulders. Some yoga schools suggest holding opposite elbows with your hands to approximate the proper distance. What’s most important is that the elbows not spread out too wide. You want to create a triangle with your elbows on the floor and your fingers interlaced to create a solid connection to the ground.
Place the top of your head on the floor, almost cupped in your hands. Keep pushing your elbows into the floor and hug your shoulders to create as much space as you can. Lift up your hips and straighten your legs, staying on the balls of your feet and walking forward until your hips are above your head.
Working one leg at a time to start off with, bend one knee and bring your heel towards your sit bone. If you can maintain control here, do the same with the other leg. Refrain from jumping into the pose so that you can learn to lift with mindful coordination rather than relying on catching yourself after a burst of momentum.
Eventually, with enough core engagement, you may also try lifting both straight legs up at the same time.
Ready to Try it

Now that you’ve prepared yourself physically and mentally with regular practice of the previous foundational asana, you can start incorporating Pincha Mayurasana into your yoga practice.
You may begin in either Dolphin or Headstand to transition into Pincha Mayurasana.
Pincha Mayurasana is one of the poses where the end result can be impressive, the but journey to get there can be more interesting and can be very unique to each and every individual. Not only will you have gained good habits and muscle memory from practicing the previously explained foundational poses first, but you will find which transition into the full expression of the pose will suit you and your practice best.
The first option to get into Pincha Mayurasana is from Dolphin, either facing the wall or not. From Dolphin Pose, begin to lift up one leg straight up at a time while transferring as much of your weight onto your forearms as you can. Keep your spine long and core engages — and do not lose the squeezing or inner spiraling action of your arms for extra stability and strength in the posture. When your hips are directly above your head (You may have to walk forward in your Dolphin pose to get there), without kicking, begin to lift the other leg up to meet the first leg extended upwards. For more of a challenge, you might want to try lifting both legs at the same time.
Another way to get into Pincha Mayurasana is from Headstand. Once both legs are lifted and stable in your headstand, begin to transition your interlaced fingers into both palms on the floor with fingers spread out wide and grippin the floor like suction cups. Get that hugging action in your shoulders again by innerspiralling and squeezing your arms as if you want your armpits to face each other. This will help you to lift off your head and transfer your weight completely to your forearms.
Conclusion
All yoga poses require a regular practice of foundational poses which will build up proper muscle strength and habits that will get you into more advanced poses safely and with room to grow in your practice. The journey to Pincha Mayurasana can be challenging and humbling but once you are finally able to lift off and hold this forearm balance, you’ll gain so much more than just an instagram-worthy yoga picture, but also the personal knowing that you invested a lot of time, patience, and determination to focus and find the inner balance between pushing and staying steady in order to embody this Feathered Peacock Pose.