Sciatica is an incredibly common pain that affects millions of people each year. While it often only lasts for a few weeks, the sensations can get in the way of your daily routines. Basic tasks like sitting at your desk comfortably or walking to your car can become much more challenging, as the pain can be debilitating. While there are a few medical and surgical options to treat sciatica, yoga can be a treatment to turn to if you are looking for something less intrusive. Targeted poses can have incredible effects on the body, lessening the impact of sciatica on your physical and mental well-being.
Sciatica and Its Causes

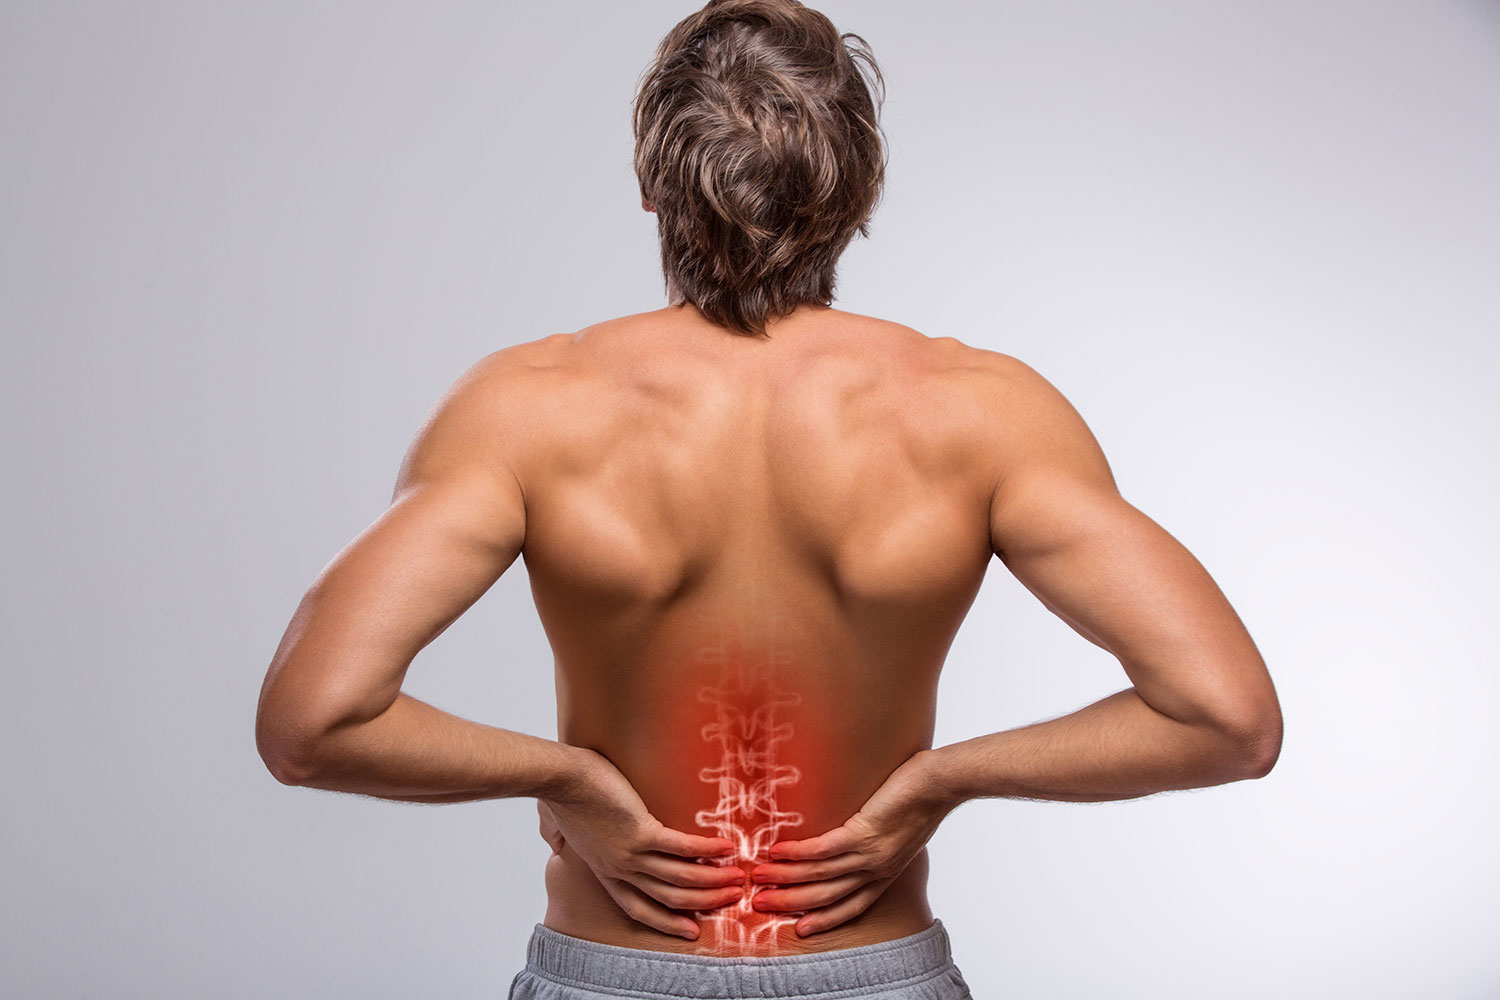
Sciatica refers to the pain that occurs along the sciatic nerve. The sciatic nerve starts in the low back, and branches down through the hips, rear, and the legs. This severity of the pain can range from moderate to severe, and sensations can also include tingling, burning, muscle weakness, and numbness. Typically, the pain or accompanying sensation will radiate from the low back, and move down to the buttocks and the leg. Most often, this feeling will occur on only one side of the body.
Sciatica typically is caused by a herniated disk, bone spur on the spine, or spinal stenosis. These cause a compression of the nerve, commonly referred to as a “pinched nerve”, which in turn results in the pain and sensations associated with sciatica. Oftentimes, the pain will only last for a few weeks, and the symptoms are commonly taken care of with pain medication until they go away. In more severe cases, the pain can last for a longer period of time, and may require surgery.
Yoga Poses for Sciatica
Yoga can be a useful tool in both the recovery and prevention of sciatica. Certain yoga poses help to reduce lower back pain, improve posture, enhance flexibility, and reduce stress—which can all in turn mitigate the symptoms of sciatica. These specific yoga poses are great for anyone suffering from sciatica, as they target the problem areas to help bring relief while also strengthening the body.
Bhujangasana — Cobra Pose

Cobra Pose, or Bhujangasana, is a gentle backbend that is great for stretching out your lower back. Additionally, it works the core while opening up the shoulders and chest.
Instructions:
Start lying on your stomach, with your legs together. Bring your hands up towards your shoulders, placing your palms firmly into the mat and your elbows close to your sides.
On an inhale, lift your head and chest, without putting much weight into your palms. Ensure your legs are active and tops of your toes are pressing into the mat. Release any tension from the neck, and let your gaze naturally fall down towards the front of your mat.
Hold for a couple breaths as you continue to lift through the chest and extend through the spine, and then release back down. Repeat the movement a few times, potentially working towards bending further back each time.
Parsva Balasana — Bird Dog Pose

The crunching movement in Bird Dog targets the muscles in your low back, allowing you to stretch and strengthen your spine. The movement also engages your core, challenges your balance, and strengthens your legs, glutes, and hips.
Instructions:
Start in a table top position, with your knees under your hips and wrists under your shoulders. Extend your right leg behind you, parallel to the ground. Extend your left arm forward, keeping it straight and parallel to the ground with your palm facing in.
Keep your neck long with your gaze down as you actively extend through your arm and leg. Your spine should be in a neutral position, being careful not to over arch your back.
On an exhale, bring your left arm and right leg in towards center, so that your knee and elbow draw towards each other to touch around your mid torso. On an inhale, return to the extended position.
Repeat this movement for 10 reps. Return to table top, and then repeat the exercise with the opposite leg and arm extended.
Marjaryasana — Cat/Cow Pose

Cat/Cow Pose, or Marjaryasana, allows you to move your spine in a similar fashion to Bird Dog, but with the possibility for a deeper, more targeted backbend.
Instructions:
Begin on all fours, with your palms and knees on the ground. Ensure your hands are stacked directly underneath your shoulders, and your knees underneath your hips.
On an exhale, move into Cat. Round your spine up towards the ceiling while tilting your tailbone down, and tuck your chin down towards your chest. While your head is tilting down, ensure you still leave space between your chin and your chest.
On your next inhale, move into Cow Pose. Raise your head and face forward, and tilt your tailbone up, allowing a curve in your back. Ensure you don’t tilt your head back too far or over arch your back, as it can result in strain.
Continue slowly alternating between Cat and Cow Pose a handful of times, breath to movement. Give yourself time to fully feel the stretch as you move.
Supta Padangusthasana — Reclined Hand To Big Toe Pose

Reclining Hand to Big Toe Pose, or Supta Padangusthasana, allows for a nice release in the low back. It also stretches your hamstrings, which can cause stress in the low back if they are too tight. You will likely need a strap (or towel) for this pose.
Instructions:
Lie on the floor, with your legs extended. On an exhale, bend one knee and bring it into your chest. Ensure that the opposite leg remains active by flexing the foot and extending through the heel.
Loop a strap around the arch of the foot of your bent leg, and keep the strap ends in both hands. As you inhale, straighten the leg up. Once the leg is extended, adjust your hands on the strap so your arms remain straight, but keep your shoulders on the ground.
As you extend your leg, you can deepen the stretch by bringing your foot slightly towards your head. Remember to keep the grounded leg and foot active by extending through the heel. Once you have breathed through this pose for a couple breaths, repeat with the other leg.
If your hamstrings are more flexible, you may be able to reach your big toe without the strap. Only choose this option if your shoulders can remain on the ground. If the pose feels too intense, you can also modify by bending the grounded leg and placing the sole of your foot on the ground. You can also forgo the strap and simply wrap your hands around the thigh of the extended leg, with your grounded leg either bent or straight.
Apanasana — Knees to Chest Pose

Knees to Chest Pose, or Apanasana, targets your lower back muscles and and the piriformis muscle (which is located in the buttocks), helping to stretch and relieve tension.
Instructions:
Begin by lying on your back, with your feet flat on the floor and knees bent. You may choose to lie on top of a blanket or two yoga mats if your back is sensitive.
On an exhale, bring your knees to your chest, placing your hands below your knees. If your flexibility allows for it, you may also wrap your arms around your knees, holding opposite elbows.
Ensure that your back is fully flat on the ground. You may feel an urge to lift your glutes and hips off the mat, so be mindful of lengthening your spine and keeping them grounded. Your shoulders may also want to rise towards your ears, so release tension and focus on keeping them flat to your mat, along with your spine.
If it is comfortable, you may rock side to side or back and forth for a light massage on your spine and low back area. Hold the position for 30 seconds or longer, and then release.
Sucirandhrasana — Eye of the Needle Pose

Eye of the Needle Pose, or Sucirandhrasana, stretches and releases tension in the lower back and hips.
Instructions:
Begin lying on your back with your knees bent and soles of your feet on the floor. Place your left ankle over your right thigh underneath your knee, so that your ankle bone is just past the leg. Be sure that your left foot remains flexed.
Clasp your hands around the back of your right leg, and on an exhale, pull your knee in towards your chest. Ensure that your head and shoulders remain relaxed and on the ground.
As you are pulling your right leg towards you, gently push your left knee away from your body to create more of a stretch in your hip.
Hold the position for at least 30 seconds, and release back down to the floor. Repeat on the opposite side.
If you are suffering from sciatica and are looking for relief, yoga can be a great therapeutic option. Try out these targeted poses as part of your yoga routine, and see how they can help you mitigate the symptoms and get back into functioning at your best.