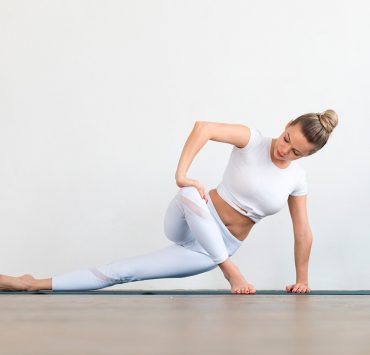
When it comes to yoga asana practice, much of what we see, read, and hear about focuses on the art of coming into and holding a pose with perfect alignment and concentration. While it is important to understand how to come into each pose, it is just as important to know how to move into and away from it. When we are new to yoga, we often start off with getting to know the simpler poses such as Mountain Pose, Downward Facing Dog, and Cobra; however, how we flow from one to another is not always as clear or intuitive. Learning a few basic sequences can help us to feel more comfortable with not only the poses themselves but also with the transitions between them.
The following sets are simple sequences of yoga poses that can be used by beginners to become more comfortable and fluid in both class settings and in at-home practices. When exploring sequences for the first time, transition slowly; there should be no rush in yoga practice. Trust your body and go easy with it as you explore the movements between the stillness of each pose. When beginning any new practice, it is important to know that contraindications for various poses do exist. Consult with a healthcare practitioner to ensure your new practice is right for you.
Sequence One – Mountain Pose, Warrior 1, Warrior 2, and Triangle Pose

Begin in mountain pose with feet hip distance apart. Shoulders are relaxed and arms rest gently at your sides. Keep the chest open and the head in a neutral position looking forward.
Step back with your left foot as if coming into a lunge position. Your right foot points forward and the left turns outwards, nearly perpendicular to the right. Inhale as you raise your arms straight up and overhead. Your palms can come to touch. Gaze forward or up towards your palms. Hold here for a few breaths in Warrior 1.
Allow your arms to come down slowly and then extend them over top of respective legs. Your right arm reaches forward as your left arm stretches behind you. The right thigh should be parallel to the ground or as close as possible. Gaze towards your right fingertips or focus on a stead point in front of you. Hold here in Warrior 2.
Transitioning into Triangle Pose, straighten the right leg to come back into a wide stance. Bending from the hip rather than from the waist, extend your torso overtop of the right thigh. The right arm falls, hand resting comfortably on your shin, ankle, or the ground outside of your foot. Extend the left arm up towards the ceiling and once balanced, turn your head to gaze up at your left hand.
Reverse the motion to come back into Warrior 2, Warrior 1, and then finishing in Mountain Pose. Take a few grounding breaths here before repeating on the opposite side, this time with your left foot forward.
Sequence Two – Table Top, Cat Pose, Cow Pose, Downward Facing Dog, Cobra, and Child’s Pose

Begin on your hands and knees in a neutral Table Top position: wrists are below your shoulders and your knees are beneath your hips. Inhale deeply and then on your next exhalation, begin to curve the spine up towards the ceiling. Allow the head to drop towards the floor naturally without tucking the chin. Hold here in Cat Pose.
On inhalation, reverse the motion to come into Cow Pose. Allow the belly to drop towards the floor as you provide the spine with a counter-stretch to Cat Pose. Head comes up slightly as does the tailbone. Hold here for a moment and if it feels comfortable, flow between the two poses alongside your breath for about one minute before returning to Table Top position.
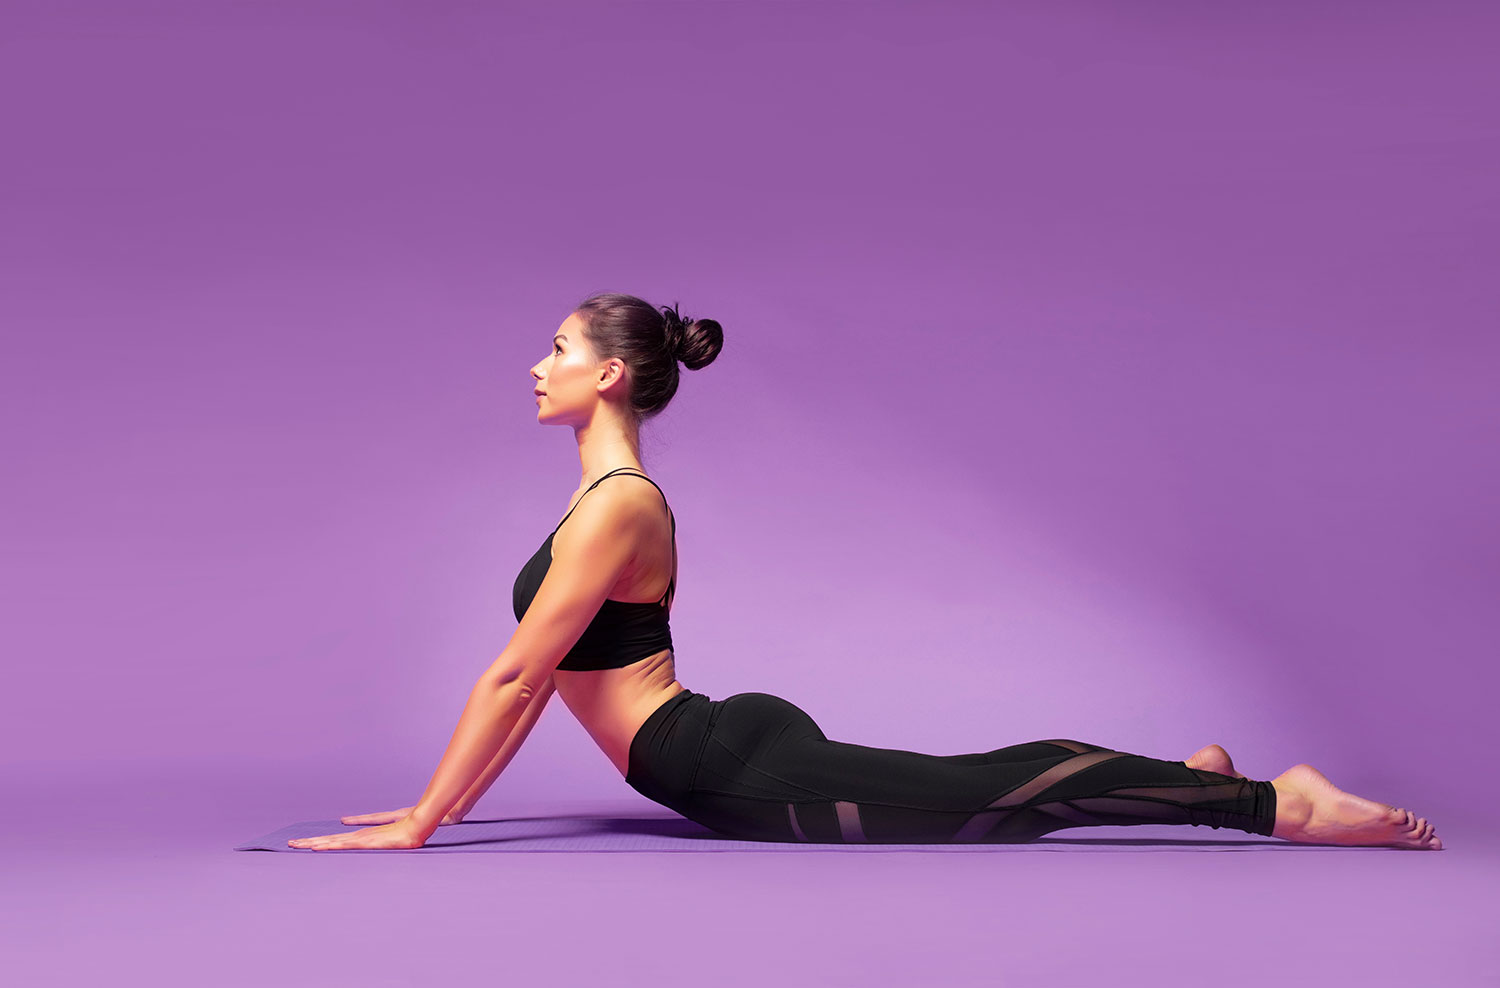
Tuck your toes and push back into Downward Facing Dog. Draw the shoulders away from the ears as you extend your tailbone up towards the ceiling.
Engage your core and pull all muscles towards your midline as you bring your knees down to the mat, followed by your chest and chin. Reposition your hands if necessary so that they are just beside your shoulders and push through with the strong arm to come into Cobra. If there is discomfort or pressure on your back, adjust your position by moving your hands further from your body or by coming to rest on your forearms in Sphinx Pose.
Bring your chest back down to the mat and push your buttocks back to rest on your heels. Allow your torso to fall overtop of your thighs as you extend your arms forward; forearms and palms can rest on the mat. Allow your forehead to rest as well and the knees to spread apart slightly. Rest here in Child’s Pose for as long as you like.
Sequence Three – Mountain Pose, Raised Hands Pose, Standing Forward Fold, High Lunge, Plank Pose, Child’s Pose, and Downward Facing Dog

Begin in Mountain Pose with your feet hip-distance apart. Open the chest slightly by allowing the shoulders to fall gently. Bring your palms together at the heart, a positioning of the hands known as Anjali Mudra.
Inhale as your raise your arms up and overhead to come into Raised Hands Pose. Arms stretch up towards the ceiling with palms facing one another. Drop the shoulders gently and tuck the tailbone in slightly.
Drop the hands and bend at the hips, coming into Standing Forward Fold. Hands can fall wherever is comfortable – on the shins, feet, or floor. Ensure that the lower back is straight; overtime, flexibility will naturally increase so there is no need to curve the spine to reach further. Allow the head to fall naturally so that the neck is relaxed.
Let your hands come to floor as you engage your left thigh. Step back with your right foot letting your right knee come to the ground. Tuck your right toes and then ensure that your left knee is above your left heel. Open the chest as you gaze forward here in High Lunge. Fingertips or palms support you in this pose.
Engage your core and arm muscles as you step the left foot back to meet the right. Form one straight line from tailbone to head, drawing your muscles towards your midline to support you; hold for a few breaths here in Plank Pose. If this is challenging, you may come to your knees for a moment and then bring your forearms to the ground; engage the core and raise our hips to come into Forearm Plank Pose.
Gently bring your knees to the mat and sink your backside to rest on your heels. Allow your forearms, palms, and forehead to rest on the mat. Widen your knees as is comfortable, resting for a few full breath’s here in Child’s Pose.
Tuck your toes and push through the thighs to come into Downward Facing Dog. Draw your tailbone towards the ceiling and allow your shoulders to move away from the ears. Press down through the heels.
Bend your knees slightly and step forward to the space between your hands. Straighten the legs and the lower back to come into Standing Forward Fold. Your head falls naturally towards the ground. Let your hands rest wherever they fall.
Bend the knees for support and then slowly come back into standing, extending your arms in front of you as you rise. Bring the arms up overhead once more to come into Raised Hands Pose again.
Bring the arms back down and your hands into a prayer position in front of the heart. Let the shoulders fall away from the ears as you rest for a few breaths in Mountain Pose. Repeat the sequence on the opposite side, stepping back with your left foot for the second round.
Sequence Four – Easy Pose, Head to Knee Pose, Bound Angle Pose, Boat Pose, Bridge Pose, and Reclining Bound Angle Pose

Begin in a comfortable cross-legged position – in Easy Pose. You may sit on a folded blanket or cushion if this makes the pose more accessible to you. Ensure that the back is straight and the head is aligned with the spine. Bring your hands to rest on your thighs or knees. Take a few breaths here to ground yourself.
Stretch your right leg out to the side and bring the sole of your left foot to your inner right thigh. Ensure that both sit bones are still on the ground as you raise the arms and then twist slowly to face the outstretched leg. Exhale as your bend from the hips, bringing your head towards your knee. Let your hands fall where they can reach as you come into Head to Knee Pose. The lower back should still be straight to help protect it; flexibility will come eventually so there is no need to push your spine uncomfortably for a “better” pose. Your best pose is unique to the present needs of your body. Hold this pose for 30 seconds or some other comfortable period of time before repeating on the opposite side.
Come into Bound Angle Pose by returning to a seated position and bringing the soles of your feet together. You can once again sit on a folded blanket or cushion as is needed. Wrap your hands around your toes and straighten your back, breathing into this pose for a minute or so.
Release this pose and come to a seated position with feet on the floor in front of you, knees bent. Grab onto the back of your thighs as you slowly recline while keeping the back straight. Engage the core as you raise your feet off the ground, bringing your lower legs to become parallel to the ground. Stretch your arms out to match them, coming into Boat Pose.
Release this pose slowly and come to rest on your back. Bend your knees and bring your feet to nearly touch your fingertips. Engage your core and thighs as you raise your torso off the ground to come into Bridge Pose. Interlace your fingers beneath you.
Finish this sequence by returning to Bound Angle Pose and then slowly bringing your back to the ground, easing into Reclining Bound Angle Pose through your hands and forearms. You may place a bolster along the length of your spine or blocks beneath your knees for support. Rest here for a few breaths before drawing your knees together and slowly coming out of the pose.
Sequence Five – Figure Four Pose, Wind Releasing Pose, Happy Baby Pose, Bridge Pose, Supine Spinal Twist, and Shavasana

Begin resting on your back with knees bent and feet flat on the floor. Bring the outside of your right ankle to rest on your left thigh. Reach through to grab your left thigh and pull it towards you, back resting on the ground. Hold for a few breaths here in Figure Four Pose. Release gently and then repeat on the opposite side.
From both feet resting on the floor, draw your knees into your chest and wrap your arms around your shins, reaching for your elbows if possible. Let your head rest on the floor as you hold here in Wind Releasing Pose.
Transition into Happy Baby by raising the soles of your feet towards the ceiling while keeping a bend in the knees. Hold onto the bottoms of your feet by wrapping your hands around each from the outside edges.
Release your feet to the ground and pause for a few breaths. With knees hip-distance apart and feet planted close to your fingertips, engage your core and thighs as you raise your hips towards the ceiling. Interlace your fingers as you hold Bridge Pose.
Come back down to the mat and extend both legs out. Arms extend away from the body. Bend the right knee and draw it towards the body as you shift your hips slightly to the right. Draw your right knee over to the left side of the body with your left hand on an exhalation. Turn your head to the right and rest here in a Supine Spinal Twist. Breathe deeply through this pose and then repeat on the opposite side.
Return to a neutral lying down position. Stretch the legs away from the body, resting on the mat, as you bring your arms to a natural position by your side. Invite your entire back to rest on the mat as you come into Shavasana. Let both body and mind rest in this restorative pose.
Conclusion

Each of these sequences can help you to understand simple ways to flow between basic poses. As you become comfortable with your expanding personal practice, you can start to play with these in a number of ways, speeding up and slowing down or adding advanced variations where it feels comfortable. There is no right or wrong way to move between poses. Simply trust your body and heart as you allow your instinct to guide you through the poses you know.