Yoga poses like Mandukasana (Frog Pose) help keep our hips open, flexible, and healthy. Hip health is so important to quality of life as we grow older. Strong and mobile hips helps us to maintain independence when we move and allow us to do even simple tasks comfortably like getting up and down from sitting and walking up stairs.
This is why yoga poses like Mandukasana, or Frog Pose, are important to keep in our regular practice to gently open up our hips and leg muscles for strengthening and mobility.
Practice this pose regularly, but always prepare your body properly before diving right into it. This guide will tell you all you need to know about Frog Pose and which asana will help develop the strength, flexibility, and focus needed to practice Mandukasana effectively.
The Story Behind the Asana
The name of this asana comes from the way the legs are positions, much like a frog’s legs when it is swimming or when it is in mid-leap through the air. The name is made up of two Sanskrit words which may be translated literally:
Manduka – frog
Asana – Pose
It is said that this pose invites us to sit and listen, embodying the enhanced sense of hearing which frogs have. This will allow us to develop and tap into our intuition better.
Benefits and Contra-indications of Mandukasana
Frog Pose is actually a great pose for those who meditate often, especially holding Padmasana, or Lotus Pose, for extended amounts of time.
The most obvious target areas of this pose are the hips and groin with get opened up and stretched in this pose. But the chest and shoulders also get expanded, which allows for deeper and longer breaths. And your back muscles will develop strength and stability.
This pose can be challenging for anyone with knee, groin, or hip issues. In addition, those with ankle or lower back problems should pay extra attention when practicing this pose to avoid discomfort, pain, or injury.
People in the third trimester of pregnancy are also not advised to practice this pose.
10 Preparatory Poses to Frog Pose
It’s important to ensure that your knees and hips are properly warmed up before jumping straight into Mandukasana. Here are some asanas which will help prepare your body for this simple yet intense hip opening yoga pose.
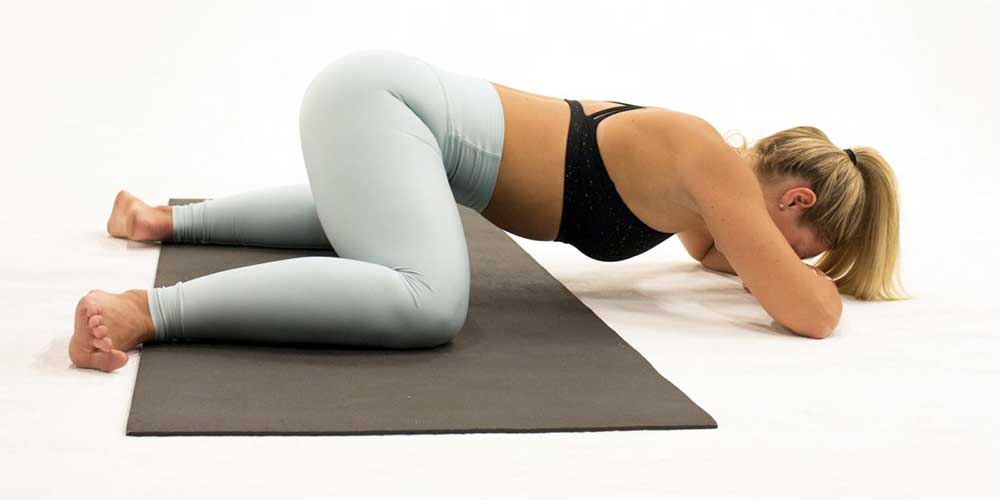
Balasana — Child’s Pose
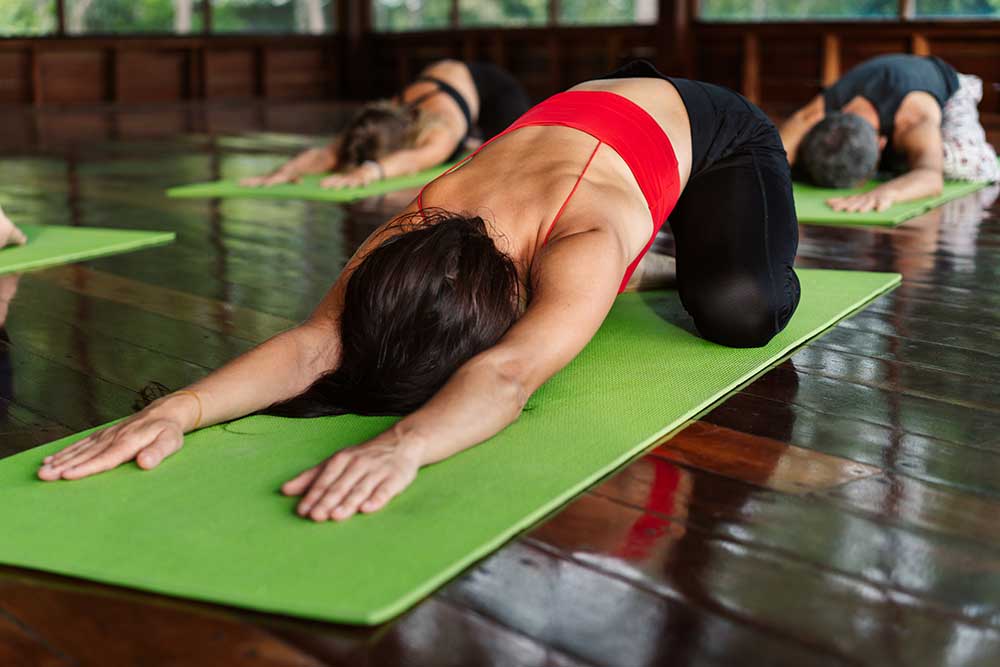
Child’s Pose is a great asana to begin a yoga practice with. It is a gentle way to begin opening up the hips and lengthen your spine and start to get you in a meditative mindset. Focus on deep long breaths as you stay in this pose and you may even practice a wide knee variation of Balasana to allow your torso to melt closer to the earth.
Mandukasana — Frog Pose
There is actually another yoga pose also called Mandukasana and also resembles a frog, this time in a seated position. It’s not quite as intense on the hips and it focuses on your abdominal area, thighs, legs, and spine. In Ayurveda, this pose is said to help with diabetes and weight loss.
This version of Mandukasana is listed in the classic 17th century Hatha Yoga text by Gheranda Samhita as one of the 32 useful asanas. It begins in a kneeling position with your toes touching and heels apart. Make the Adi Mudra, which is a fist with your thumb inside, and place your hands at the fold of your hips. Fold forward as you exhale, putting maximum pressure on your navel area. Keep your gaze forward and aim for your chest to touch your thighs.
Baba Ramdev, on the India’s most famous modern gurus, offers a variation of this asana with the palms on top of each other rather than in Adi Mudra.
Begin and end both variations of this Mandukasana in Vajrasana.
Prasarita Padottanasana — Wide Legged Forward Fold
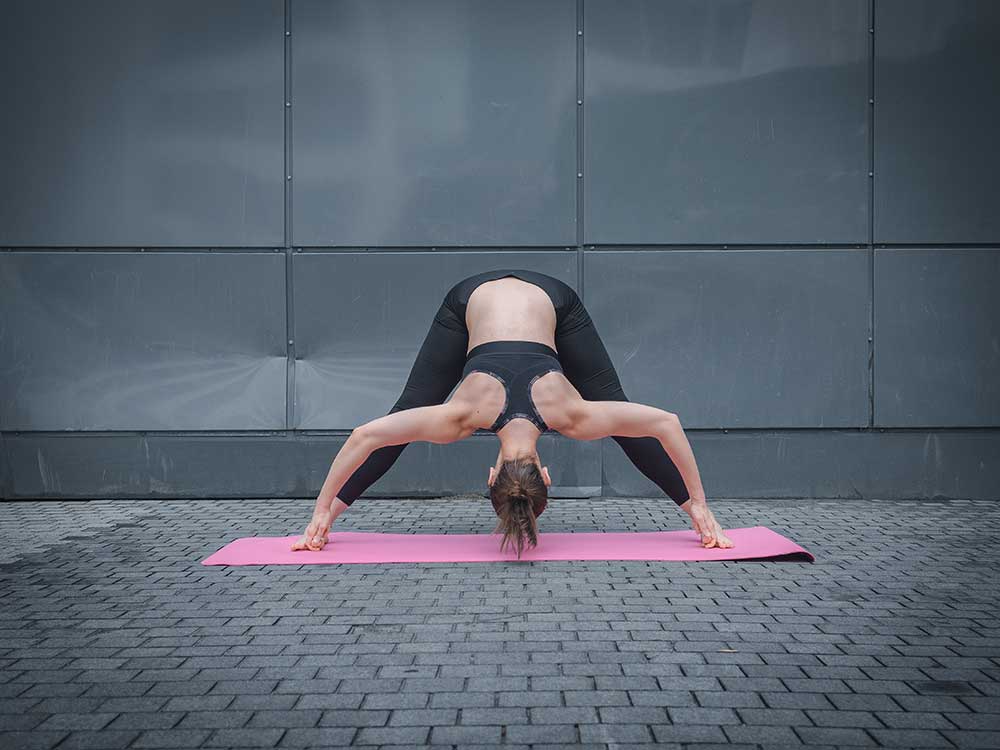
This forward fold will help lengthen the tendons and muscles in your inner thighs, hamstrings, and release your lower back. All of which will help you ease into the proceeding asana better, and eventually prepare your body for Mandukasana.
Baddha Konasana — Bound Angle Pose or Butterfly Pose
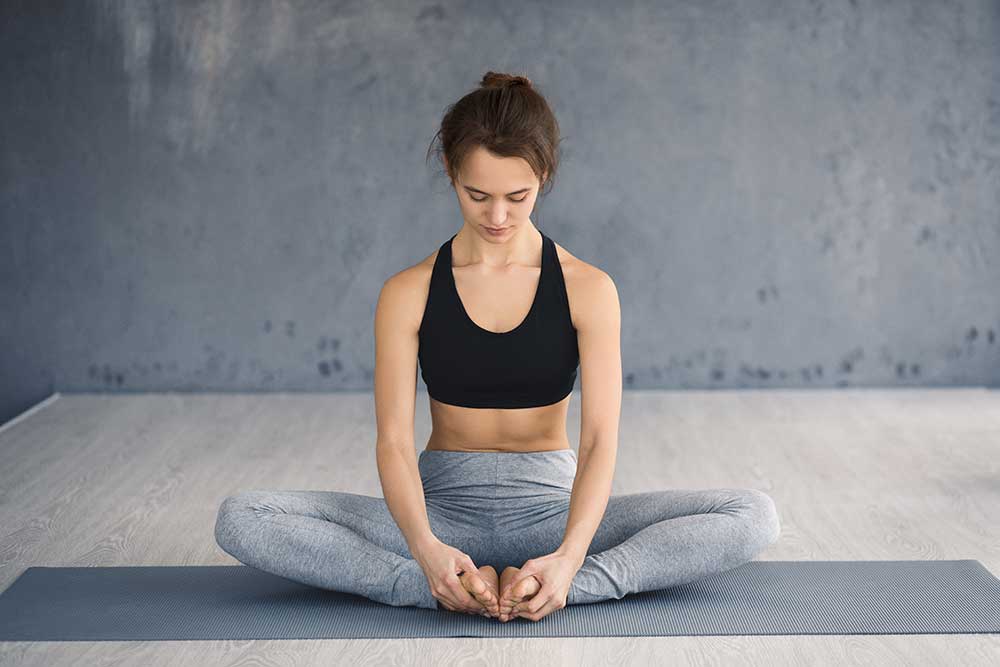
This seated hip opening pose is a gentle way to start warming up your body for hip mobility and lengthening your back. If you are unable to bring your knees all the way to the ground comfortably, prop them up on blocks or pillows and bring your heels further away from your groin to create space.
Malasana — Garland Pose or Full Yogic Squat
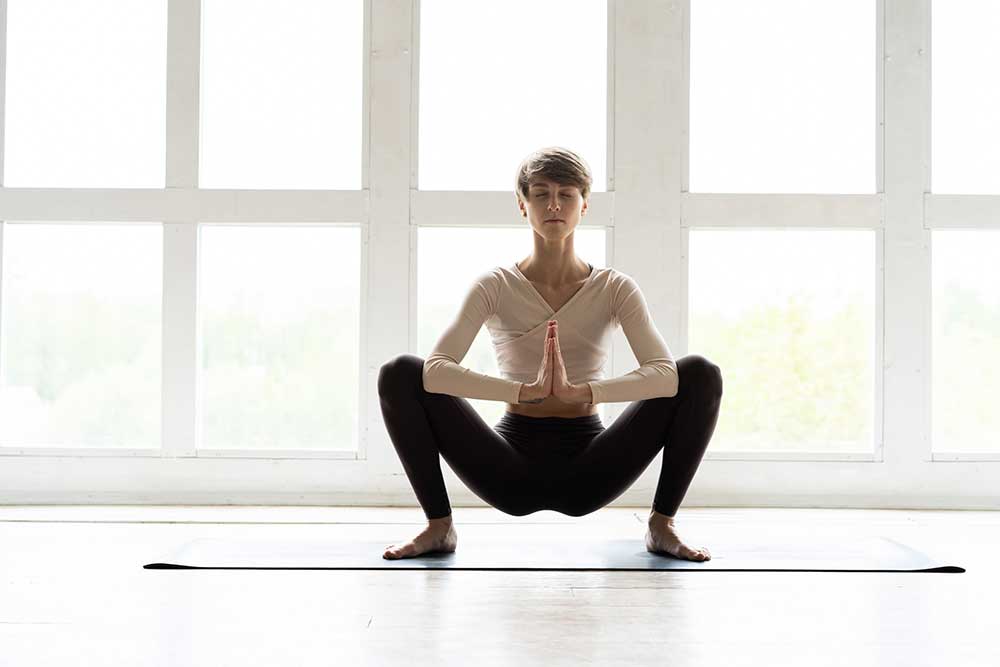
This hip opening pose will build on the mobility and flexibility already started in the previous pose. It’s a bit more intense, especially if you’re not used to resting in a full squat, and will also get your legs and ankles involved in getting into the desired final shape of the asana.
Virabadrasana 2 and Utthita Parsvakonasana — Warrior 2 to Extended Side Angle Pose
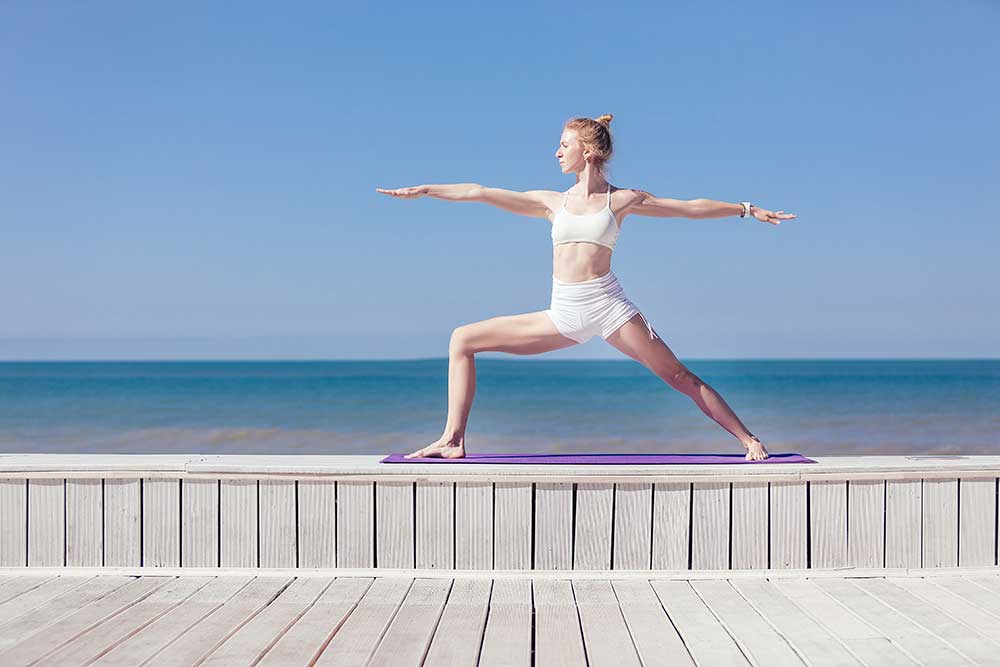
Warrior 2 will open up your hips and strengthen your legs at the same time. When you transition into Extended Side Angle Pose from Warrior, it will increase your mobility even more while developing stability and control.
Garudasana — Eagle Pose
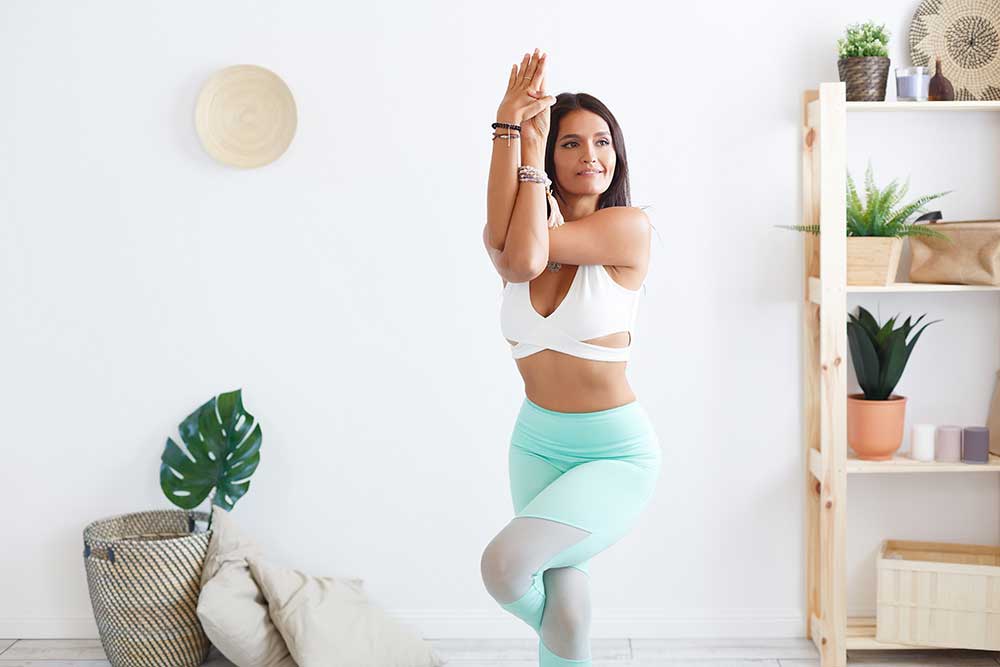
This asymmetrical standing balancing pose strengthens the legs, core, back, and arms, while also decompresses the lower back and sacrum. It’s a great pose to develop focus and concentration while also warming up the whole body.
Virasana — Hero Pose
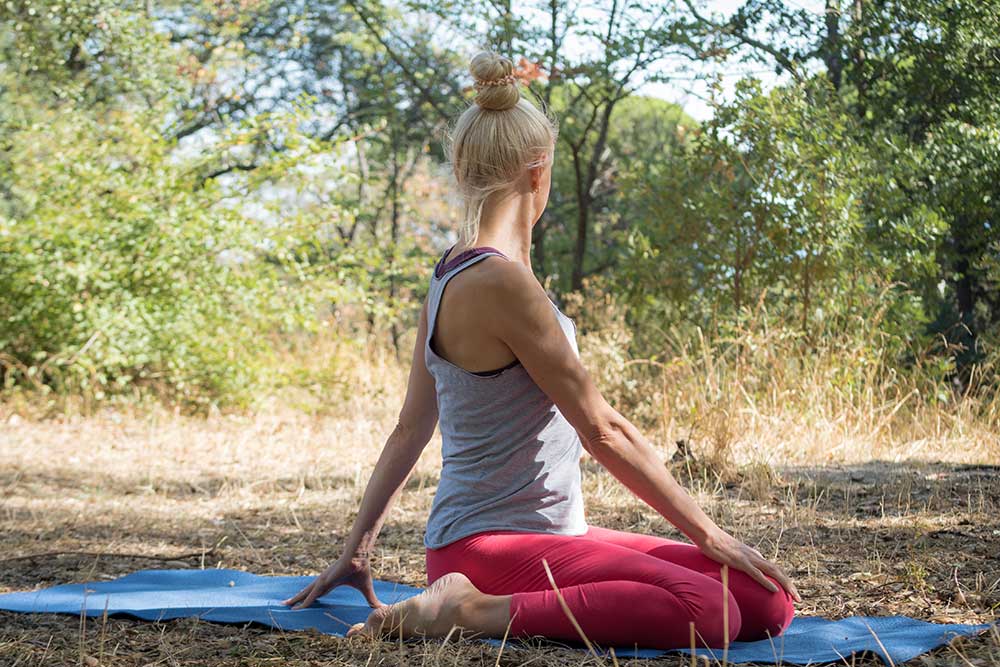
Virasana is a good pose to use as a metric for your hip flexibility. If you can sit in this pose comfortably with no pain or issues in your knees and ankles, and you don’t have to sit on a block or a pillow, you are probably ready to go deeper into Frog Pose. Optionally, for a deeper stretch, you can also practice Supta Virasana which is a reclined version of this pose.
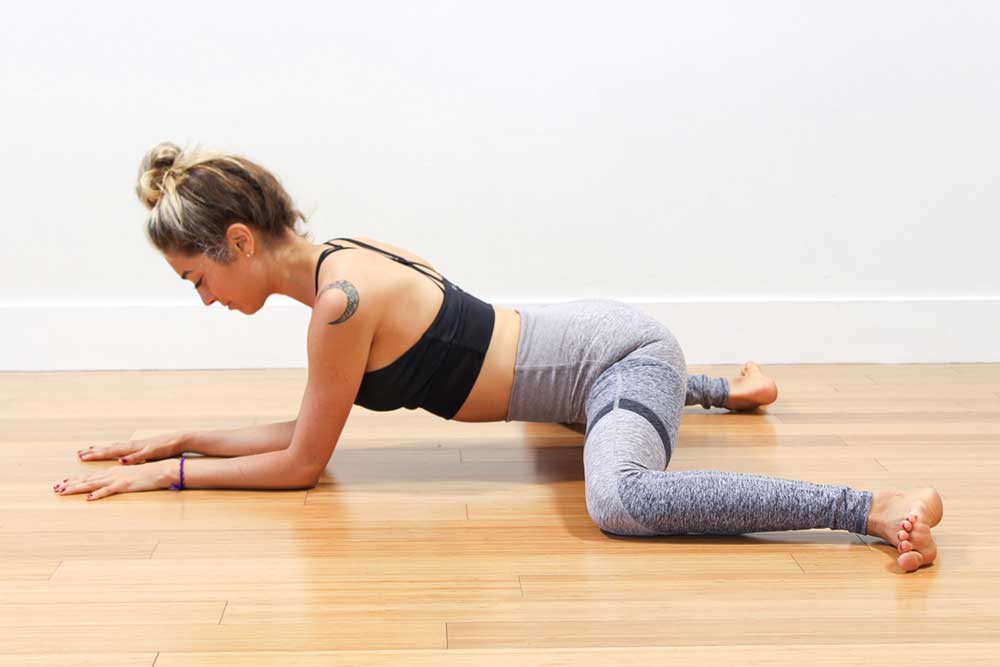
Eka Pada Rajakapotanasana — One Legged King Pigeon Pose
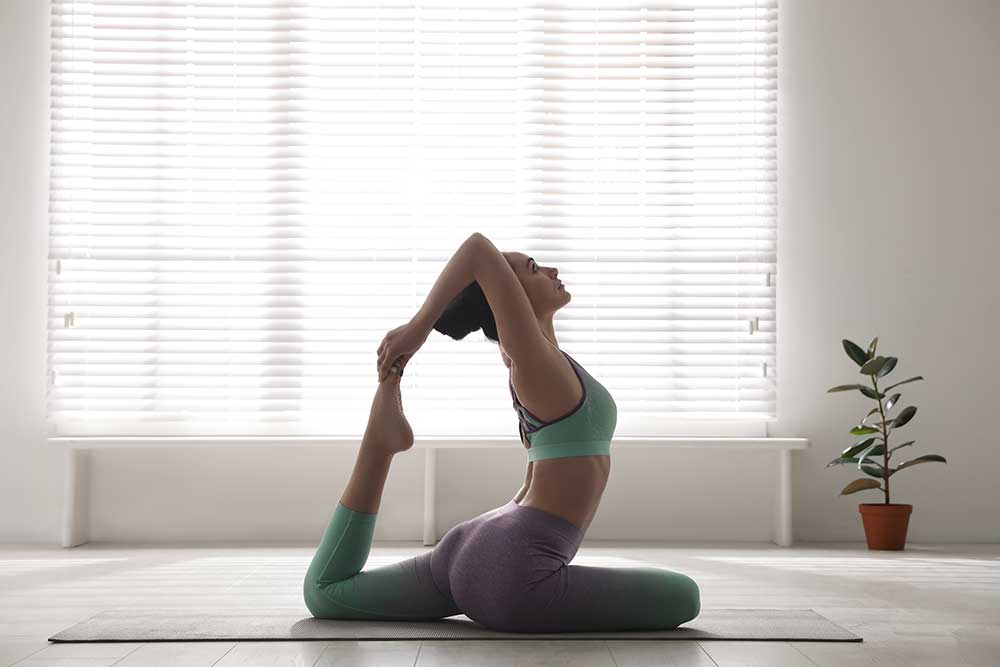
Pigeon Pose is one of the best yoga poses for practitioners of all skill levels to practice to prepare you for the intense hip and groin stretching of Mandukasana. Just like Mandukasana, keep your feet flexed to protect your knees. Adjust the distance of your heel from your groin to your personal comfort level and keep your hips on the same line.
Padmasana — Lotus Pose
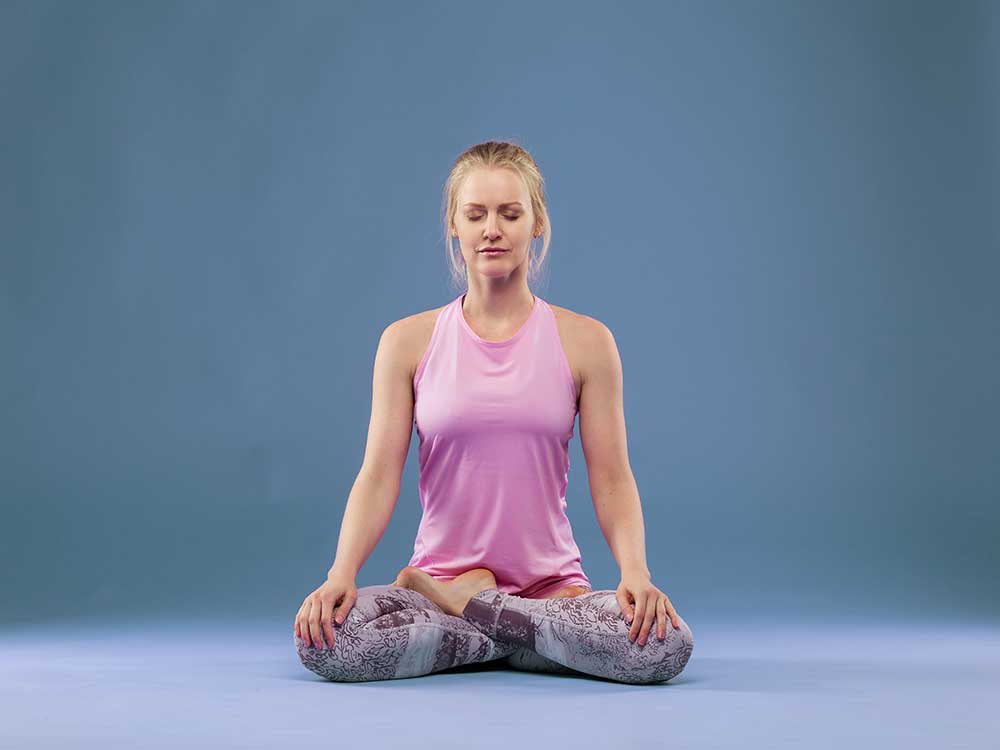
Lotus Pose is the quintessential seated yoga asana for meditation. When practiced regularly, it opens up the hips, relieves the lower back, expands your chest, and also strengthens your core. But this pose can put a lot of strain on your legs and lower back. Which is why Frog Pose is one of the most recommended counter-poses to long holds in Lotus Pose after a meditation session.
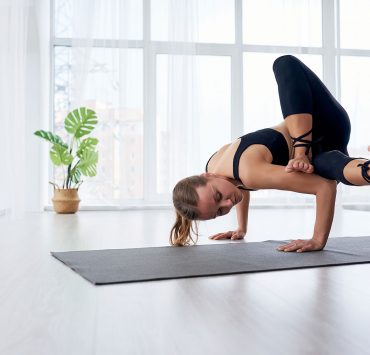
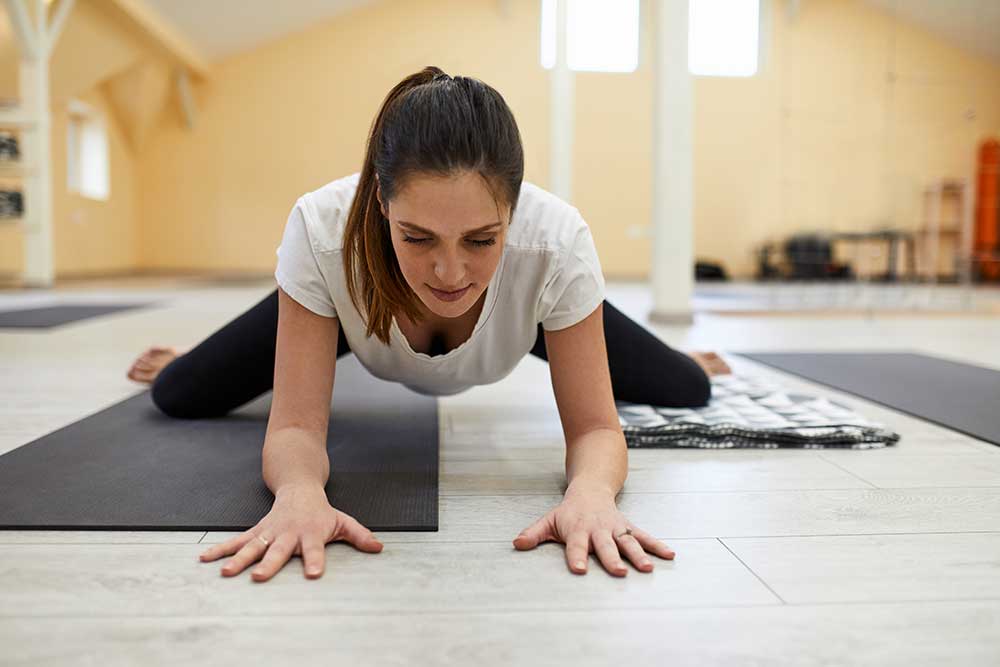
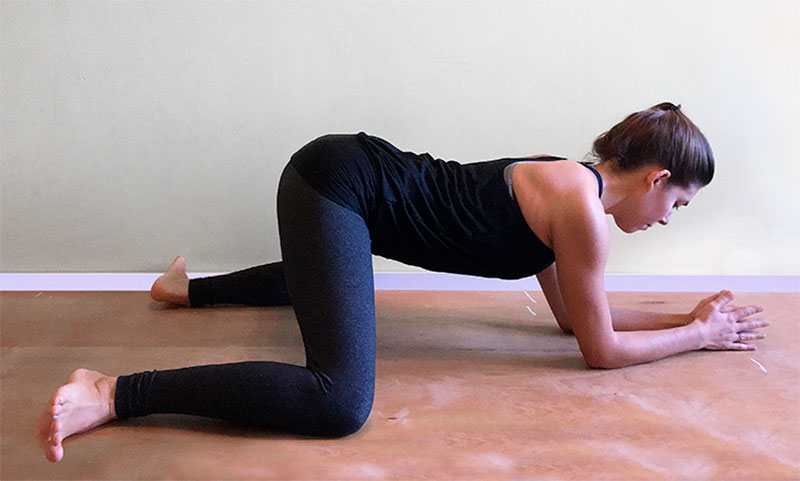
Mandukasana Step-by-Step
- Start in a table top position on your mat.
- Begin to walk your knees out sideways. They will extend wider than your mat. Only bring your knees as far as they are still comfortable for you and you can still breath steadily and slowly. Flex your feet to protect your knees with your toes pointing away from your center.
- Walk your hands forward to lower your chest towards the ground while keeping your tailbone pointed towards the back. Keep your hips on the same plane as your knees or higher.
- Engage your core so your navel lifts up and away from the ground.
- Reach the crown of your head forward as you keep your gaze towards the floor to prevent compression of your cervical spine.
Modifications and Variations for Madukasana
The most vulnerable parts of your body in this pose are your knees and hips. So just like in every yoga asana, be mindful and honest about what you are capable of. This pose is supposed to encourage introspection and being present – not about achieving a specific shape. When needed, pull back if issues arise and make generous use of props to help you ease into the pose more gently.
As your knees will be off your mat, it may help to place a folded towel underneath each knee. This will not only help with padding but also allow your knees to slide more easily into place – but careful not to slide them too far out. Still use muscle control in your inner thighs to hold your legs together so that the stretch is not forced.
Blocks underneath your forearms may also help ease too much weight off your spine and hips which might cause pain as you first practice this asana.
A bolster underneath your entire torso to lay on belly down can also turn this asana into a restorative one where you can stay in for a longer length of time without getting tired or strained.
As you hold the pose in any variation, don’t be afraid to do small micro-movements in your hips like rocking back and forth and drawing small circles in both directions with your tailbone. These tiny movements can help release tightness without putting more effort on your body.
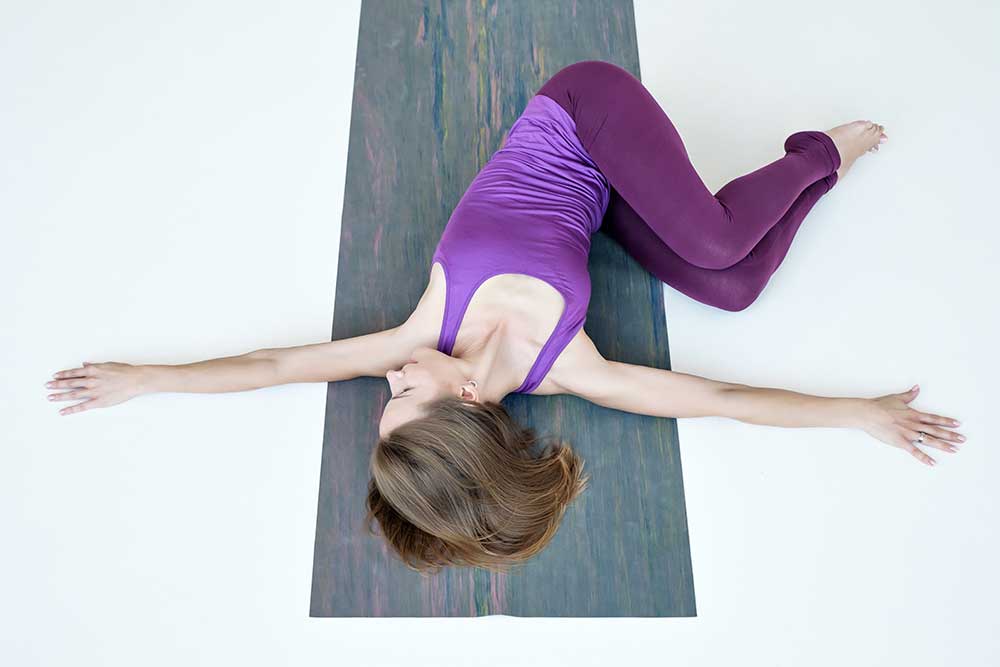
Uttana Mandukasana is a variation of Frog Pose with your hips completely on the floor, knees apart and bent so that the soles of your feet touch. Your arms may be folded under your forehead, behind your neck, or stretched out horizontally.
5 Follow-up Poses to Frog Pose
Gomukhasana — Cow Faced Pose

This seated pose will relieve the compression in your sacrum that Frog Pose tends to create. Practice it as a follow-up to Mandukasana with or without the arms and don’t forget to practice both side since it’s an asymmetrical asana. Even though this asana is a hip opening in another direction, also keep your ankles flexed to protect your knee joints.
Ananda Balasana — Happy Baby Pose
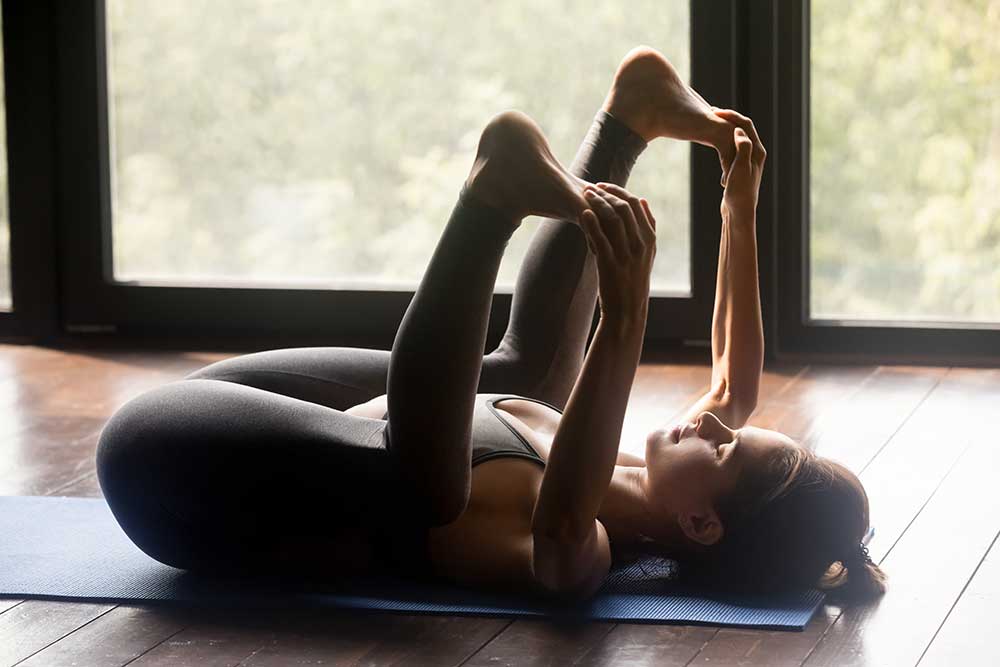
After such a deep hip opening, you’ll be able to get into Happy Baby Pose just like you were able to do when you were an infant. Hold on to the outsides of your feet, your big toes, anywhere on your shins, or even use a strap if necessary. Keep your heels pushing in the direction of the sky and your knees pulled downwards towards your armpits.
Jathara Parivartanasana — Supine Twists
Even though Frog Pose is primarily a hip opener, it also strengthens and stabilizes your back muscles, and can also put some strain on your legs. Relieve those muscles with twists while laying on your mat. In addition to releasing your lower back, especially your sacrum, twists will also help lengthen your IT bands in your side legs which tend to get sore with hip opening poses like Mandukasana.
Apanasana — Wind Removing Pose
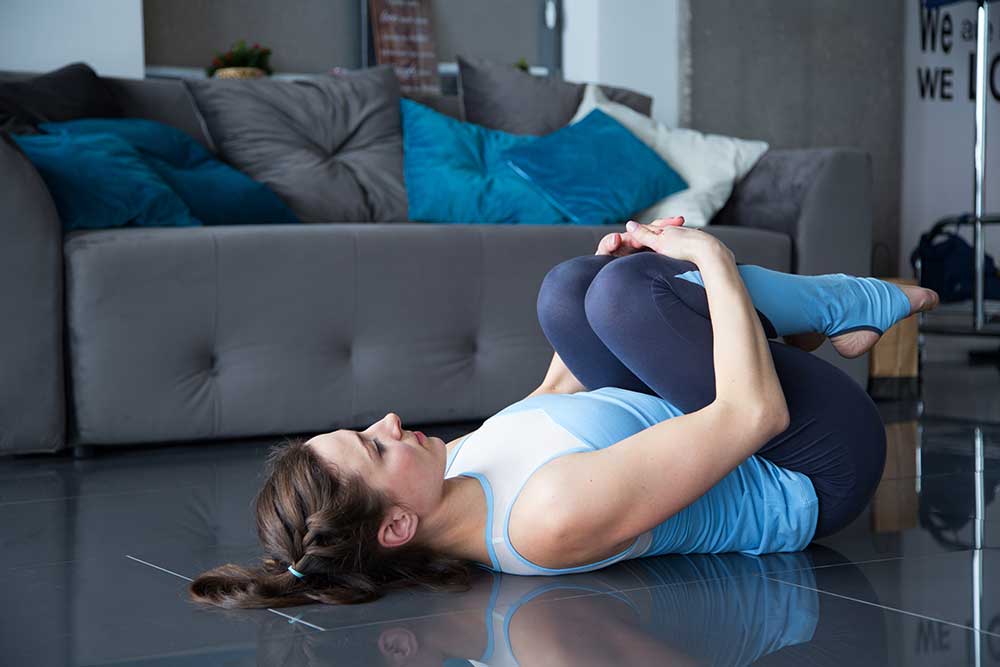
Apanasana — Wind Removing Posepanasana, or Supine Knees to Chest Pose, helps lengthen your spine, and release your pelvis and lower back. Stay in this pose for a minimum of 30 seconds to one minute to prepare your whole body for Savasana.
Savasana — Corpse Pose or Final Resting Pose
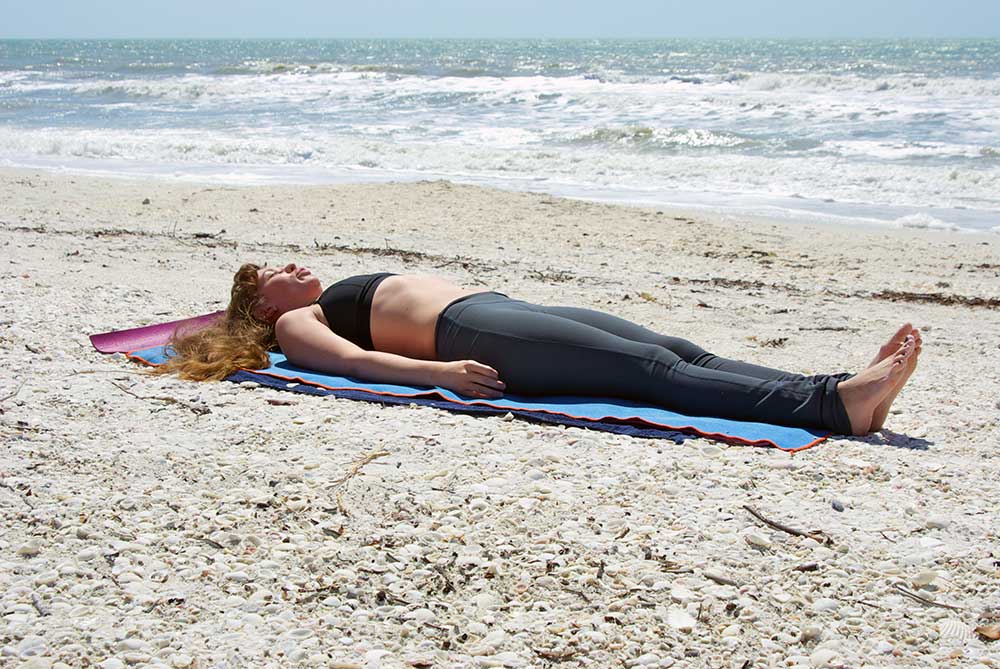
Every yoga class ends with Savasana to allow complete and total relaxation. The key to this pose is to stay present and let go of everything that has happened before, and anything you need to to afterwards.
Conclusion
Mandukasana is a pose that is simple and intense. It will really push you to stay present with yourself and your body to not overdo or force yourself into situations that are too much for the moment.
Prepare your body with a few rounds of Surya Namaskar or Pranayama that will encourage warmth throughout your body, and practice some poses that will ease you into Frog Pose.
When you are holding Mandukasana, focus on taking deep, long breaths and keeping your spine long. This is help you stay centered and in the moment.
Just as carefully as you eased into Frog Pose, also take the time to practice some asana to help release your body from such an intense posture.
This pose is great to keep your hips mobile and healthy for long quality of life and a rewarding yoga practice.