Susan views the world through a lens of spirituality, health,…
The Surya Namaskar or Salutation to the Sun sequence in yoga is a series of 12 yoga asana strung together with breath. It is usually practiced as a warm-up for the whole body in many Vinyasa Yoga or Flow Yoga classes and it may be practiced by any yoga practitioner of any skill level.
Although there are several versions of the Surya Namaskar sequence, such as Surya Namaskar A and B which are part of the Ashtanga Yoga Primary Series, it is recommended to regularly practice just one version to understand best how it feels in your own body and to observe its benefits for your system.
The Story Behind the Surya Namaskar

In Vedic Mythology, Surya was the sun god who is one of the most enduring symbols of the ultimate teacher or guru. There is a story about how the monkey god, Hanuman, mistook Surya for a delicious, ripe, golden mango and tried to take a bite out of it.
This caused the whole universe to become dark and alerted the other gods of what was going on. To make Hanuman let go of Surya, Lord Indra, god of the wind, hurled a thunderbolt at him. Hanuman opened his mouth and the world was bathed in light again.
As punishment, Hanuman’s supernatural powers were temporarily removed and he was nicknamed, “the one with the broken jaw.” Many years later, his powers were returned to him, but in the meantime, his mother, Anjana, suggested that he ask Surya to be his guru to give him a proper education.
Surya, was at first still sour from the biting incident and told Hanuman that he was too busy driving his chariot around the world. He had no time to spare to take on a student.
But Hanuman insisted and Surya agreed to be his teacher, but only if he could keep up with him.
Hanuman positioned himself in front of Surya everyday and ran backwards as Surya drove his golden chariot around the world. He was a dedicated student and managed to memorize the Vedas which Surya recited to him in just a week.
When Hanuman learned all he could, Surya did not ask any payment from him, “Watching a devoted student learn was its own reward,” he said.
In reply, Hanuman said, “In I offer you my gratitude and namaskar.”
This is the story of how the Surya Namaskar came to be. It is a refelction on one’s devotion to practice and study, and expressing gratitude to the abundance of wisdom and beauty transmitted to us by great teachers just like the sun itself.
Even the asanas in the Surya Namaskar series make us move from the front of the mat towards the back, and back to standing up at the front – just like Hanuman had to keep up with his guru, Surya, by running backwards as he was taught his lessons.
The Best Time to Practice Sun Salutations

Traditionally, Surya Namanskar was practiced at day break facing the rising sun on an empty stomach. Many yoga classes in modern studios use this sequence to warm up the body and prepare for a dynamic vinyasa flow.
Sun Salutations have been proven to be the most beneficial in terms of physical fitness and cardio-vascular health. Studies have shown that a Hatha Yoga class alone is not enough to count towards the daily recommended 30 minutes of exercise. However, a few rounds of Surya Namaskar is enough to raise your heart rate and qualify as a moderate intensity workout.
Sun Salutation A Step-by-Step

— Tadasana to Hasta Uttanasana aka Mountain Pose to Arms Overhead Pose
Stand at the top of your yoga mat. Depending on the comfort level of your own stance, your toes and heels may touch or you may place your feet hip width distance apart. Engage your thighs to lift your kneecaps. Lengthen your spine by pointing your tailbone downwards, rolling your shoulder blades together, and reaching up through the crown of your head.
Take deep long breaths to center yourself in this pose before beginning the other movement.
When ready, on your next inhale, raise your arms up over your head. Follow your hands with your eyes and look upwards without compressing the back of your neck. If you have no back issues, you may tilt into a slight back bend.
— Hastapadasana aka Forward Fold
On your next exhale, keep your arms extended and spine long. Hinge from your hips as you fold over your legs. Only fold as much as your personal flexibility level allows without straining or forcing.
Allow your hands to rest anywhere they can reach, whether it be your thighs, shins, or on the floor on either side of your feet. If it’s more comfortable, you may also bend your knees as much as needed to reach the floor.
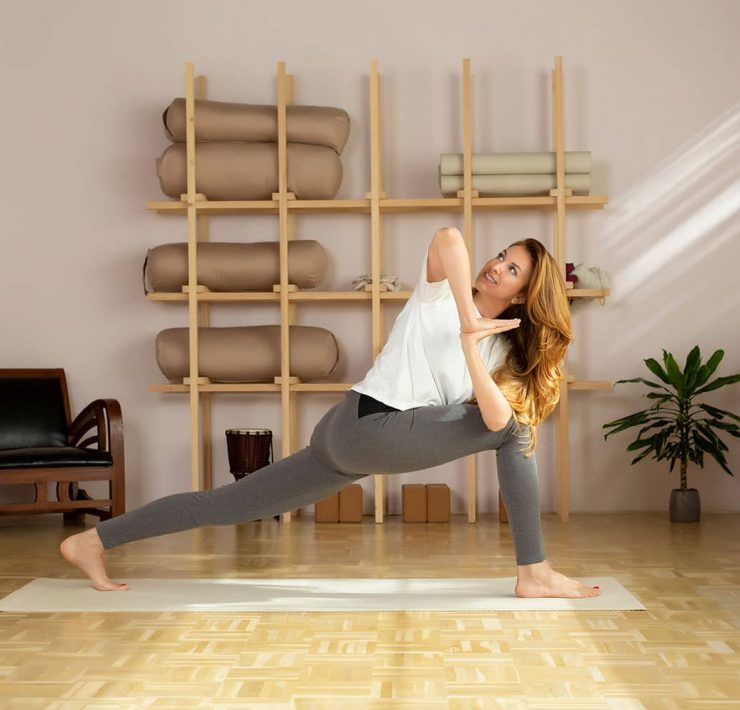
— Ashwa Sanchalanasana aka Lunge or Equestrian Pose
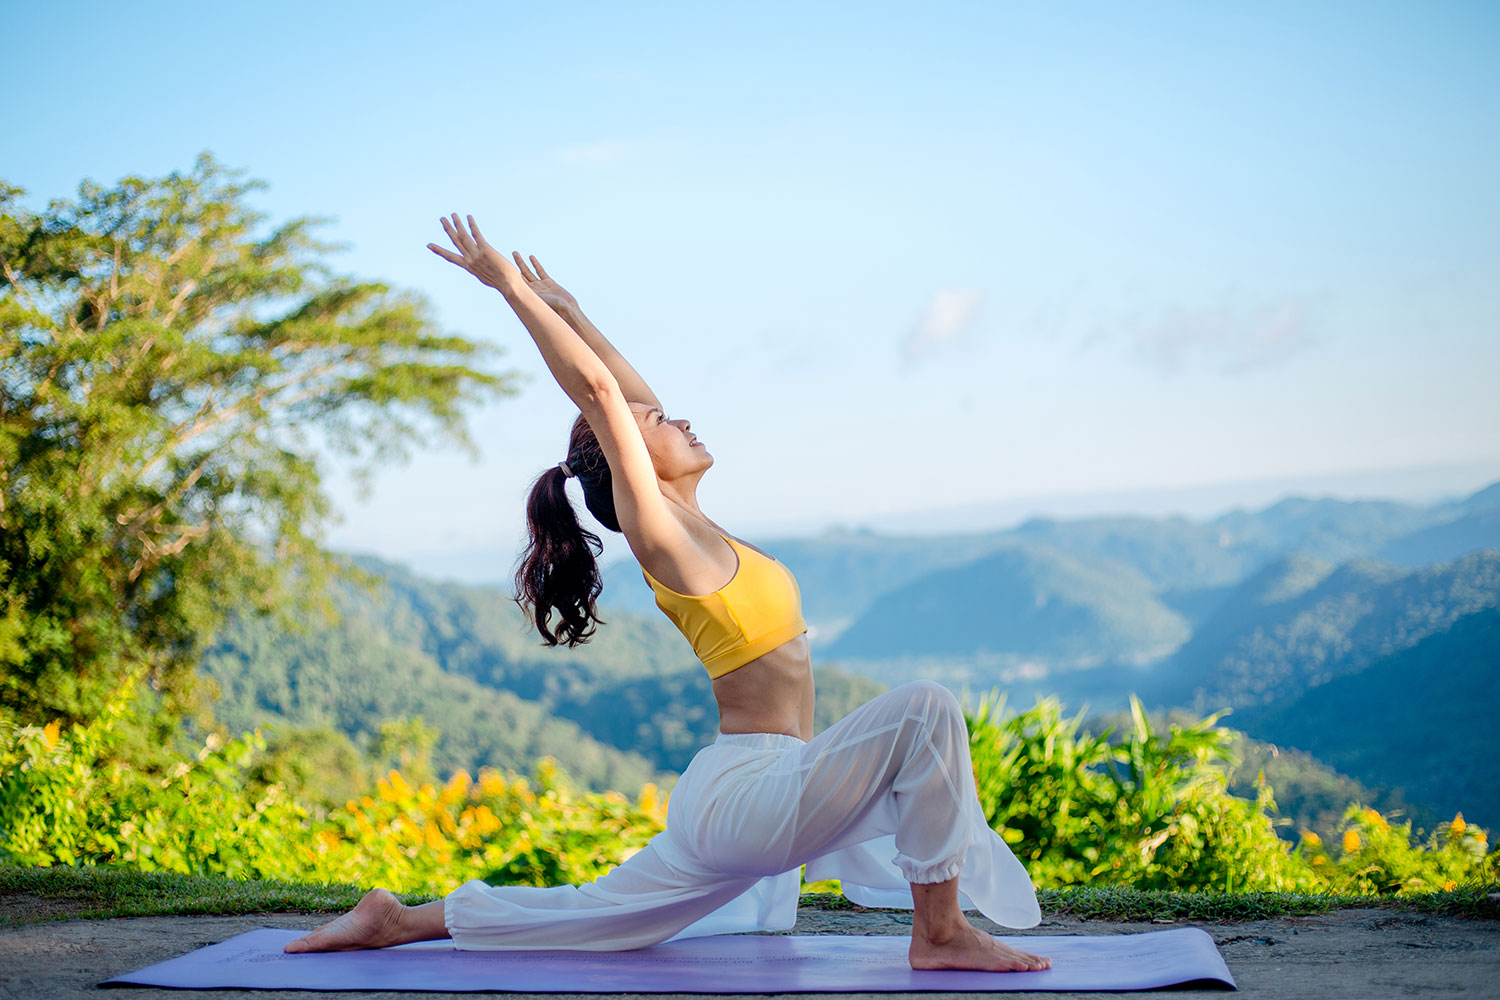
Exhale and step your left leg back. Push the leg as far back as possible and ensure your right foot is place between your palms. Bring your left knee onto the floor and expand your chest forward.
— Khumbakasana aka Plank Pose
Inhale and step your right leg back to meet your left leg. Keep your arms strong and core engaged. Aim to create a straight line from the crown of your head to the heels of your feet.
— Chaturanga Dhandasana
From plank, hold your breath and shift your weight forward until you shoulders go past your wrists and your come to the tips of your toes.
As you exhale, begin to bend your elbows but keep them strongly hugged in towards your rib cage. Aim to bring your arms to a 90-degree angle, but it’s more important that your shoulders don’t sink lower than your elbows.
— Urdhva Muukha Svanasana aka Upward Facing Dog
From Upward Facing Dog, inhale and straighten your arms. Allow your hips to sink towards your mat without resting them completely on the ground. Look upwards without compressing your cervical spine. Focus on pushing your heart forward to expand your chest.
— Ardha Mukha Svanasana aka Downward Facing Dog
As you exhale, push your hips upwards so your tailbone points up to the sky. Extend your arms and push into the earth with your fingers as wide as your can spread them.
Keep your head in-between your arms and push your chest towards your thight with your arms hugging in as if you want your armpits to face each other.
If necessary, keep your knees bend and heels off the ground. As you develop hamstring flexibility, you will be able to straighten your legs and bring your heels in the direction of the ground until they are flat.
— Lunge
Coming into the second Lunge of the Surya Namaskar A series, inhale as your bring your left leg forward and place your foot in-between your palms. Rest your right knee on your mat and look forward as you expand your chest.
— Forward Fold
Exhale and step your back foot forward to meet your front left foot. Straighten your knees as much as possible without straining or forcing your hamstrings. Keep your neck and head relaxed.
— Tadasana
As you transition to the final pose in the Sun Salutation A sequence, keep your spine lengthened and core engaged as you inhale, reach your arms forward and up back to standing. Alternatively, if you have any back issues, you may use your hands to help your “climb” up your legs or roll up vertebrae by vertebrae up into a standing position.
Reach your hands upwards to the sky at the top of your inhale. As you exhale, bring your palms together in front of your chest into Namaskar Mudra as you stand back where you started in Tadasana.
What's Your Reaction?
Susan views the world through a lens of spirituality, health, and compassion. Her positive outlook on life shines through her writing, which is heavily focused on yogic living, meditation, and conscious eating.


