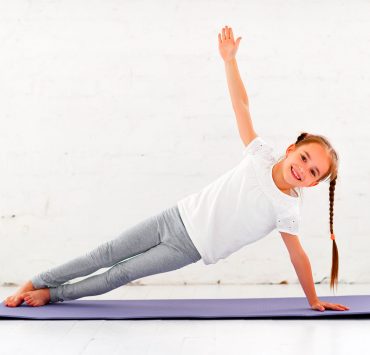
If you’ve spent enough time in the yoga studio, chances are you have heard some variation of the cue “take your vinyasa.” This sequence of postures is found in many Vinyasa, Ashtanga, and Power Yoga classes, and is often used to reset the body, keep it warm, and transition into another set of poses. Even if you haven’t been aware of the label for the sequence of poses, there is a strong likelihood that you have moved through some variation of a vinyasa at some point during your yoga classes.
Whether you have gone through a version of a vinyasa a thousand times or you are just now hearing of this sequence for the first time, this will help you establish a better understanding of the purpose of a vinyasa, as well as the variations you can take and the key postures within the sequence.
What Does Vinyasa Mean?
Broken down from its Sanskrit roots, vinyasa translates to “to place in a special way.” This word can get a bit confusing for new yoga practitioners, at it is often used in different contexts to describe a variety of aspects of yoga. However, most commonly, it is used as a label for a certain style of yoga, as well as for a specific sequence of postures, which will be covered in-depth below.
This word oftens refers to the connection of breath to movement as you find in many flow-centered yoga classes, which is why the Vinyasa yoga style is named as such. In this style, the students connect each breath to each movement. Typically, the inhales are connected to upward movements, while the exhales are connected to downward movements or twists. While this does refer to a specific style of yoga, many consider this breath connection to be vital to any yoga practice, as it allows for a deeper inward connection.
In the context of cueing the specific sequence of postures, vinyasa describes the flow of moving from Plank Pose to Four Limbed Staff Pose to Upward Facing Dog to Downward Facing Dog. If you take a flow style class, it is highly likely that you will practice this sequence (or a variation of this sequence, which will be outlined below) at least a handful of times within the class.
Why a Vinyasa is Done

A vinyasa sequence is used as a way to reset, connect, and energize. In many yoga classes, you will do a series of postures on one side of the body, and then repeat on the opposite side. Often, a vinyasa is cued between practicing these two sides in order to reconnect to your center and bring in balance. The graceful flowing movement of this sequence is also a great tool to keep the body warm and the mind connected to the practice. Since the poses within a vinyasa engage all parts of the body, it is the perfect way to work the entire body.
Two Vinyasa Flows
The full variation of vinyasa moves from Plank Pose (Phalakasana), and exhales into Four Limbed Staff Pose (Chaturanga Dandasana). From there, you inhale into Upward Facing Dog (Urdhva Mukha Svanasana), and then exhale back to Downward Facing Dog (Adho Mukha Svanasana).
There are also options to modify. This beginner’s sequence is particularly helpful for the student who is still building strength in their arms, or simply needs a less-impactful sequence to practice. In a beginner’s variation, you move from Plank Pose (Phalakasana), and exhale into Knees-Chin-Chest Pose (Ashtanga Namaskara). Then, you inhale into Cobra Pose (Bhujangasana), and then push back on an exhale into Downward Facing Dog (Adho Mukha Svanasana).
Breakdown of the Vinyasa Postures
These are the key postures found in both the full and beginner’s variation of a vinyasa. Test out the different poses, and find the options that best serve you.
Phalakasana — Plank Pose

Plank Pose, or Phalakasana, strongly engages your core, as well as your arms, legs, back, and spine.
Instructions:
Begin in a table top position on your hands and knees. Your wrists should be stacked underneath your shoulders. Your palms should press firmly into the mat.
Tuck your toes and step your legs back, so that you are in a straight line from your head to your heels. Your neck should be active but relaxed, with your gaze down at the mat.
Bring awareness to your hips, and make sure they are in line with your body, rather than sinking or coming up too high. Ensure that your shoulders are still stacked over your wrists, and focus on pressing through the thumb and index fingers.
Continue to press your thighs up towards the ceiling, while still maintaining a straight line, and drive your tailbone towards your heels.
Chaturanga Dandasana — Four Limbed Staff Pose

Four Limbed Staff Pose, or Chaturanga Dandasana, works off of Plank Pose, and adds an extra strength challenge to your arms.
Instructions:
Starting from Plank Pose, on an exhale, begin to bend your elbows back towards your feet and lower yourself down. Your elbows should hug in at your ribs, and your gaze should be directly below you.
You may feel an urge to add a curve in your low back, but remain in a straight line from your heels to your head. Ensure you keep your core engaged, and extend your tailbone towards your heels. Also be mindful of your shoulders, ensuring they aren’t creeping up towards your ears.
Urdhva Mukha Svanasana — Upward Facing Dog Pose

Upward Facing Dog, or Urdhva Mukha Svanasana, provides a wonderful opening of the chest and shoulders, and is also a great strengthener for the side body and arms. It also helps to stretch out the spine.
Instructions:
From Four Limbed Staff Pose, on an inhale, press your palms firmly into the ground and begin push your torso slightly forward and then up. Lift your head, torso, hips, and knees, so that your weight is placed on your hands and the top of your toes. Your legs should be fully off the ground.
Be mindful of your shoulders, ensuring they are rolled back and away from your ears. Keep your arms strong and straight as you press firmly into the ground. Your gaze should be forward or slightly up, being sure not to force your head back too far to avoid strain.
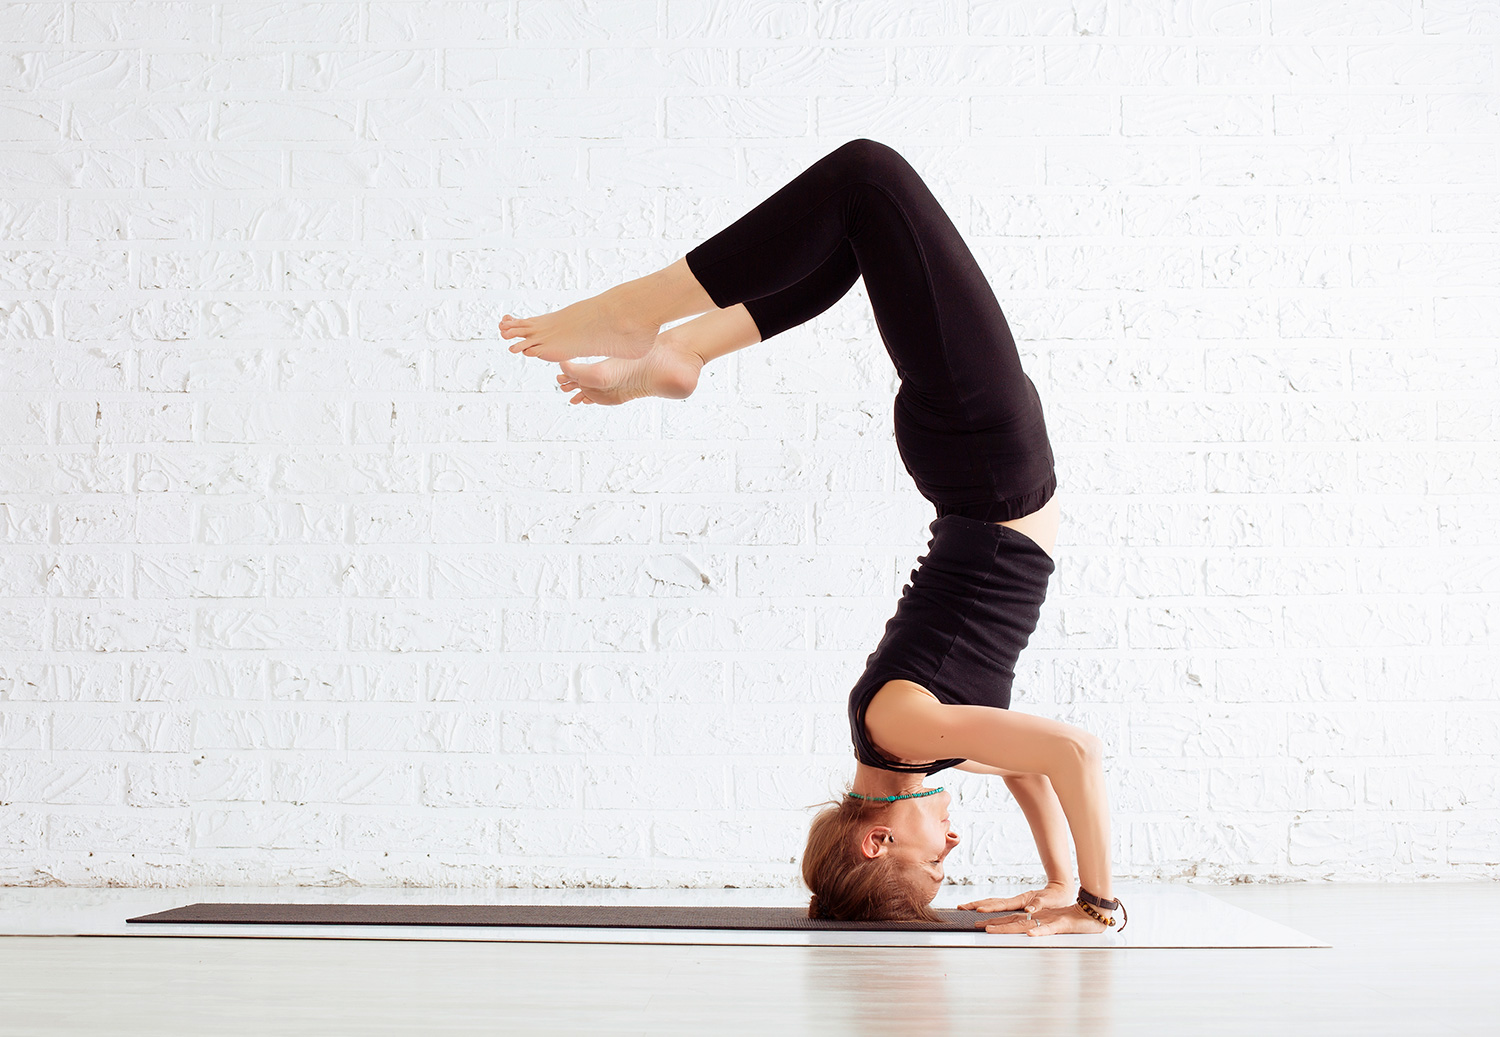
Adho Mukha Svanasana — Downward Facing Dog Pose

Downward Facing Dog, or Adho Mukha Svanasana, stretches and strengthens the entire body. As the final pose in any vinyasa variation, it is often used as the connecting posture into the next series of postures.
Instructions:
From Upward Facing Dog, on an exhale, engage your core as you begin to press through your palms and lift your hips towards the sky, pushing your weight back. Curl your toes as you move up, so that you can place your weight on the bottom of your feet.
Stretch your tailbone back and up towards the ceiling, so that you are making an upside-down ‘V’ shape with your body.
Your head should remain active, with your gaze focused in between your legs. Continue to push through your index fingers and thumbs.
The first time practicing this pose in a session, before settling into stillness, allow yourself to focus the stretch on the back of your legs by bending one knee and then the other. You may also choose to bend both knees at the same time, and then push back through your heels towards straight legs.
Ashtanga Namaskara — Knees-Chin-Chest Pose

Knees-Chin-Chest Pose, or Ashtanga Namaskara, is the alternative to Four Limbed Staff Pose. It helps to build up arm strength, while also opening up the back.
Instructions:
From Plank Pose, on an exhale, lower your knees to the floor. Lower your chest in between your hands to the floor, and bring your chin down as well. However, keep your hips lifted off the ground. As you bend your elbows, allow them to remain hugging into your sides. The pose can be a bit awkward to move into at first, so take your time in order to get the feeling of it in your body.
Bhujangasana — Cobra Pose

In the case of a vinyasa, Cobra Pose, or Bhujangasana, is the alternative to Upward Facing Dog. It provides a gentle backbend while opening up the shoulders and chest and engaging the core.
Instructions:
Start from Knees-Chin-Chest Pose, and on an inhale, begin to draw your chest forward as you lengthen out your legs. Your stomach and legs will be on the floor, with your chest slightly lifted. Your hands should be placed on the mat on either side of your chest, with your elbows close to your sides. As you are lifting your chest and head, keep your core engaged and press the tops of your toes into the ground. Try to place little to no weight into your hands. Your gaze should remain slightly out in front of you.
If you are just learning about how to properly do a vinyasa, test it out and see what variation works best for you. Whether you are an experienced yogi or an enthusiastic beginner, remember that you don’t have to do the full variation every time. Listen to your body and do what is best for you at that moment.