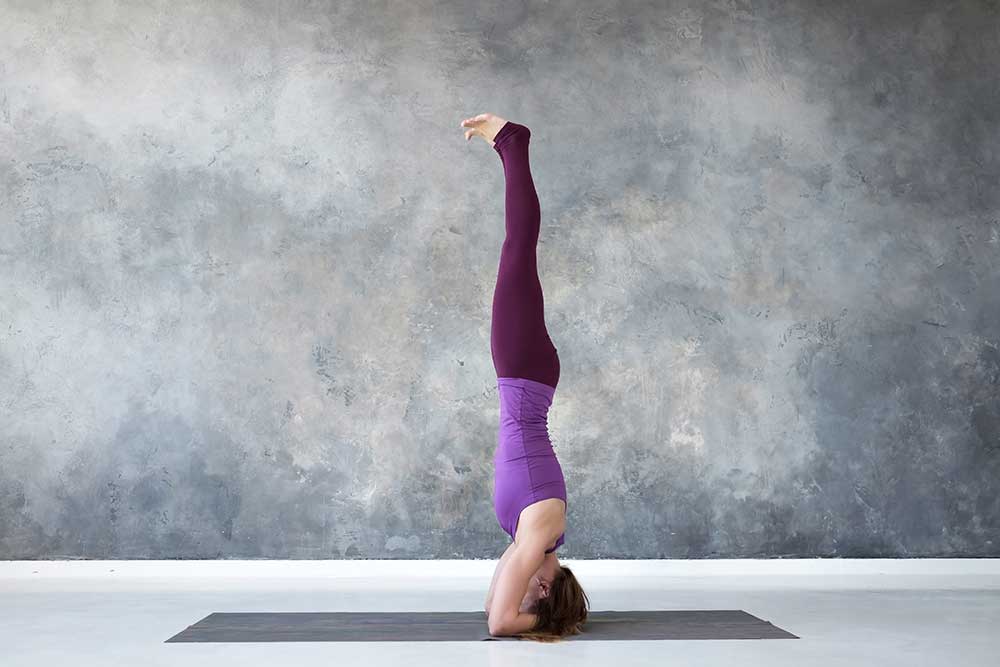
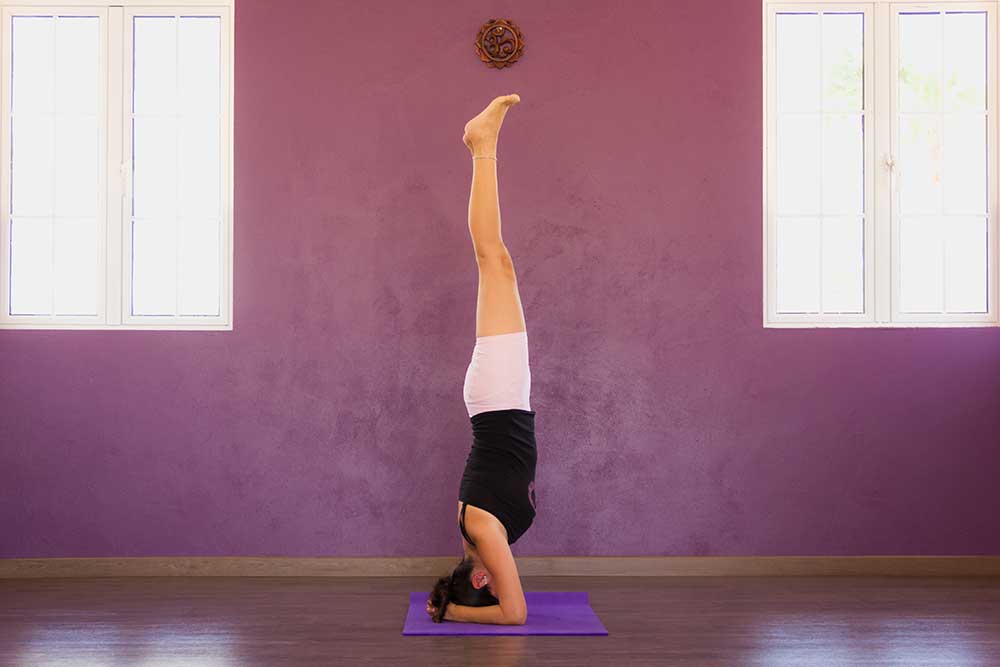
Is the Headstand Pose just a headstand? Yes and no. Visually, sure, but as with all poses in yoga, it’s much more than just the physical element.
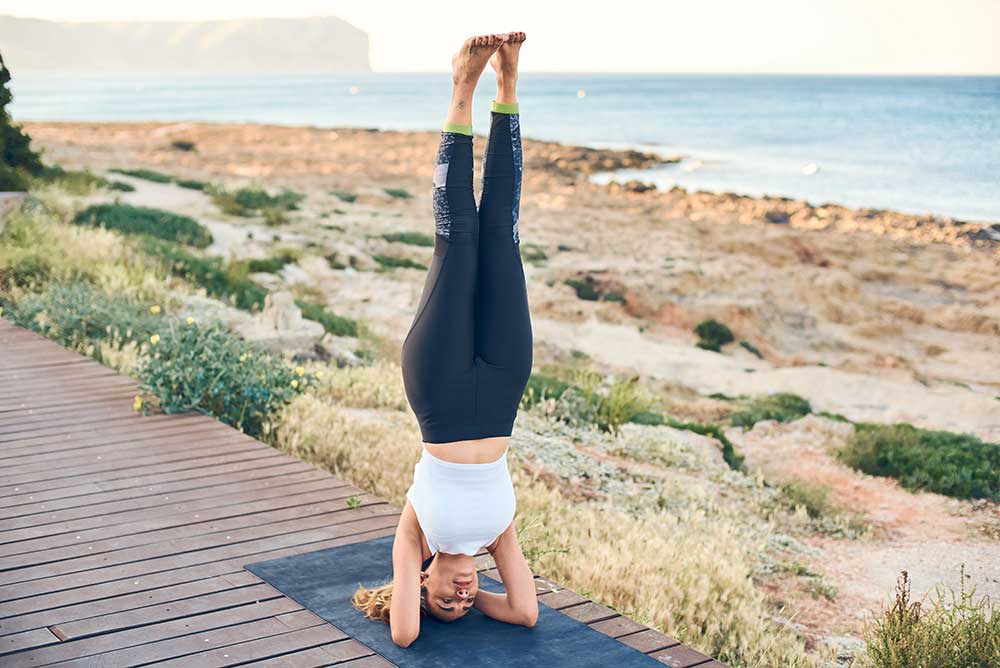
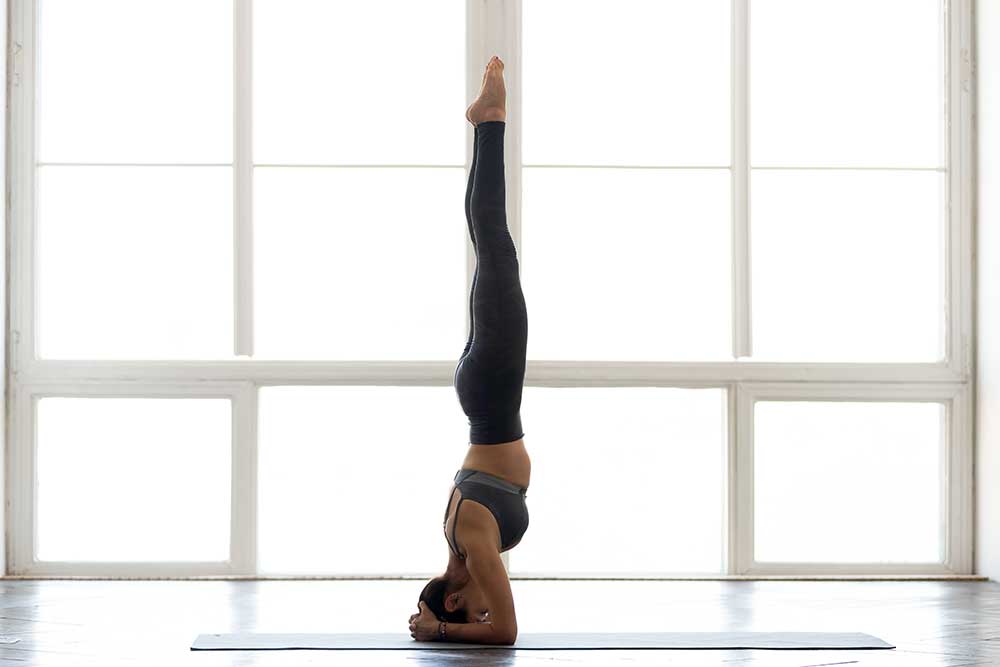
Headstand Pose is an energizing pose also known as Sirsasana in Sanskrit. Sirsa means “head” and asana means “pose.” It’s also called the “King of Asanas” due to all of the rich benefits offered by the posture.
Despite it being pretty straightforward, Headstand Pose is one of the more difficult poses to master. It requires solid upper body strength, long hamstrings, flexible spine and shoulders, and confidence. As yoga practitioners start getting more experience in yoga, they’re likely to want to try inversion poses and oftentimes Headstand is the one they’re drawn to first.
When Do You Use the Headstand Pose?
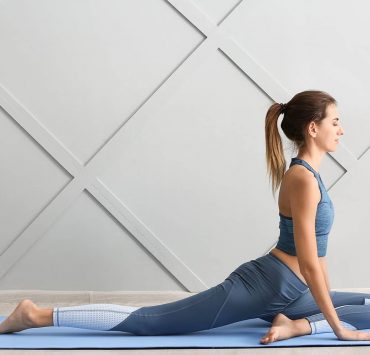
Sirsasana, or Headstand Pose, is not a pose for brand new beginners. You need to first gain some proficiency in some preliminary asanas. The most fundamental poses for learning the Headstand Pose is the Mountain Pose. The actions of the legs, torso, and neck are essentially the same in both poses – one is just upside down.
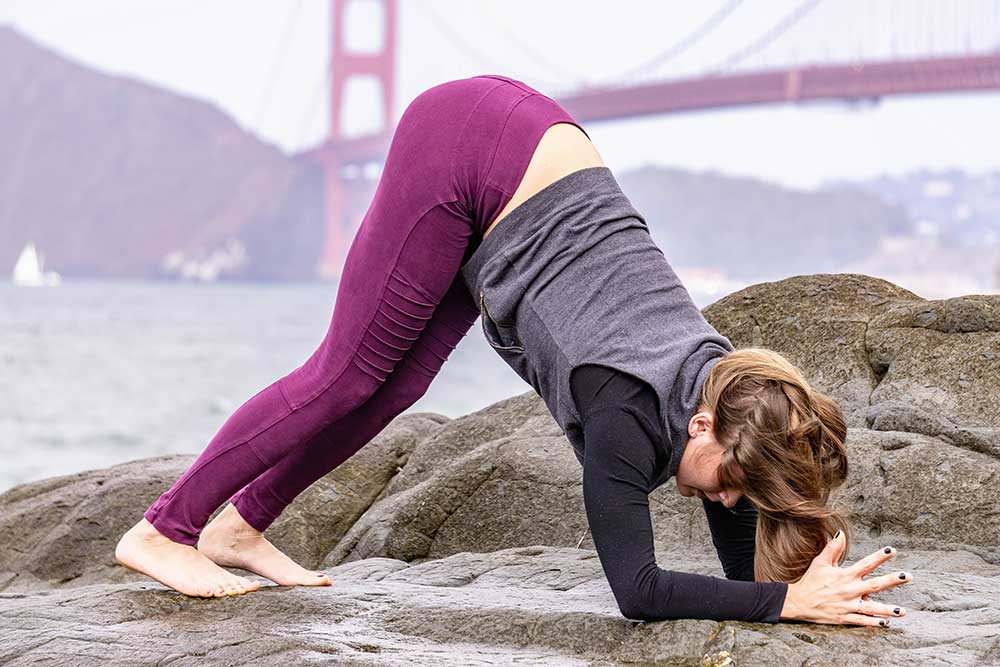
The standing poses, like Mountain Pose, develop strength, flexibility, and endurance, all of which are needed in Headstand. Additionally, Cow Face Pose (Gomukhasana) can help provide the necessary increase in shoulder mobility. Downward-Facing Dog (Adho Mukha Svanasana) opens and strengthens the shoulders and introduces you to a partial inversion. Shoulderstand (Salamba Sarvangasana) also prepares for Headstand as it tones your spinal muscles, teaches your legs to lift your body, and allows you to confront and reduce the fear and disorientation that can occur in inversion poses.
The Benefits of the Headstand Pose
While Headstand Pose requires focus, strength, and care, if done correctly, it can be very invigorating. This pose requires skill and mental fortitude.
Physically, it develops your core strength and challenges your entire body from your shoulders to your toes and improves your balance.
Some of the benefits of Headstand include the relief of stress, strengthening of the spine and upper body, stimulation of the pineal gland, helping with insomnia, and improving digestion. The pineal gland is in the center of the brain and is part of the endocrine system and is also referred to as the “Third Eye.” This gland produces melatonin – the hormone which modulates our sleep patterns.
Inversion poses in general are known for the benefit of getting the heart above the head which gives the blood a chance to reverse throughout the body.
Mentally, this posture is very valuable in overcoming fear as being upside down is not a natural feeling for most. Practicing inversions can slowly help develop comfort with experiencing new and unusual feelings.
Common and Suggested Preparatory and Follow-Up Poses
You can use one or more of the following poses and or sequences leading up to Handstand Pose: Downward-Facing Dog Pose, Shoulder Stand Pose, Standing Forward Bend Pose, and Dolphin Pose
You can use one or more of the following poses or sequences following Handstand Pose: Downward-Facing Dog Pose, Child’s Pose, or any pose that offers a brief rest after inversion.
Ways to Prepare for Headstand Pose
There are a number of ways you can start preparing yourself for Headstand Pose. It’s not something you can simply decide to do one day and master it. It requires practice and patience like many things do.
One of the first things you can do is to start building strength in your upper body and core. The Dolphin Pose is a perfect preparatory pose for this.
Another way to prepare yourself is to focus on proper hand placement. A common mistake is keeping your palms open and allowing your head to rest in your hands. Instead, imagine you’re holding a tennis ball in your palms and place the crown of your head at the base of your palms. To practice this, come into a kneeling position and place this area on top of your head so that you can feel the correct positioning. At the same time, engage your scapula and press the tops of your shoulders down away from your ears as you engage your shoulder blades. This feeling is how your shoulder girdle should feel when you’re inverted.
Using the wall for support is another great way to prepare your pose. Have your head and arms about five inches from the wall and start to walk your feet in as close as you can so that your hips come over your shoulders. You will probably feel like you’re going to topple forward but you won’t as long as you’re firmly pressing your weight into your forearms and outer wrists and engaging your core. From here, work on lifting your knees up into your armpits and allowing your lower back to meet at the wall. Press your weight firmly into your elbows and start to walk your legs up the wall until they are straight.
When you’re ready to come out of this pose, bring your knees to your chest slowly and lower your feet to the floor. As you’re ready, take your legs off the wall and try to find your midline as you balance in Headstand. Once you feel confident enough, you can start practicing Headstand in the center of the room.
Headstand Pose: Step-by-Step Instructions
The following step-by-step instructions are for the Headstand Pose.
Step 1
Start by getting on your hands and knees with your wrists placed under your shoulders and your knees placed under your hips.
Step 2
Next, begin bringing your forearms to the floor while continuing to keep your elbows directly under your shoulders.
Step 3
To continue, clasp each hand around the opposite elbow (right hand on left elbow and vice versa). Adjust your position as needed to ensure that your elbows are the correct distance apart. Then, release your hands from your elbows.
Step 4
Clasp your hands together on the floor while interlacing your fingers. Make sure to tuck your bottom pinky into the basket of your hand to avoid squishing it.
Step 5
Continuing, place the crown of your head on the floor. The very top of your head should be positioned down, neither too far forward nor too far back. The back of your head will rest at the bases of your thumbs rather than your hands holding your skull.
Step 6
Lift your hips and straighten your legs similarly to how you would do in Downward-Facing Dog. Now, walk your feet in toward your head until your hips are as close to over your shoulders as possible.
Step 7
Finally, you lift your feet off the floor. There are a couple methods that work well for beginners.
- Method 1
- Lift your right foot to bring your right knee to your chest.
- Take a few deep breaths and when you feel steady, inhale and engage your core muscles.
- In a slow, controlled movement exhale as you lift your left foot and bring it alongside your right towards your chest.
- Breathe deeply and keep your core engaged for as long as you remain in the Headstand Pose.
- Method 2
- Keep both of your legs straight.
- Inhale as you lift your right leg straight up toward the ceiling.
- Exhale while making sure your right leg is completely in line with your torso.
- Once you feel steady, inhale and engage your core to life your left leg up beside your right.
Step 8
Once you’ve chosen your method and are in position, balance there. Remember to continue to breath and keep your core strong. When first beginning, try to remain in the pose for 10 seconds. WHen you’re ready to come down, reverse the steps you used to get into the post, remaining slow and controlled the entire time.
Common Mistakes & Solutions
Kicking Up
Don’t forget that your movements need to be controlled and you don’t want to kick up into the headstand. Slow down.
Your Weight Isn’t Distributed
You do not want the bulk of your weight to be on your head despite the name of the post. Your forearms are bearing weight as well. If you find that you’re having trouble getting a feel for how to distribute your weight properly, try placing a blanket under your forearms for stability.
You’re Moving Too Fast
Doing a headstand incorrectly or rushing through the steps to get in or out of the post can cause serious damage or injury. Slow down, stay focused, remember to breathe – no matter what level of yoga practice and fitness level you’re at.
Modifications & Variations
First things first, do not practice Headstand Pose if you are injured, sick, or you feel pain at any time during your practice or class.
Headstands are intimidating even for those who aren’t beginners to yoga. There are several modifications you can use to work on building strength and confidence.
- Practice against a wall. As you are learning the concept of getting into and out of a headstance, this modification can be very helpful. The wall can support you as you practice your breathing techniques while holding the pose.
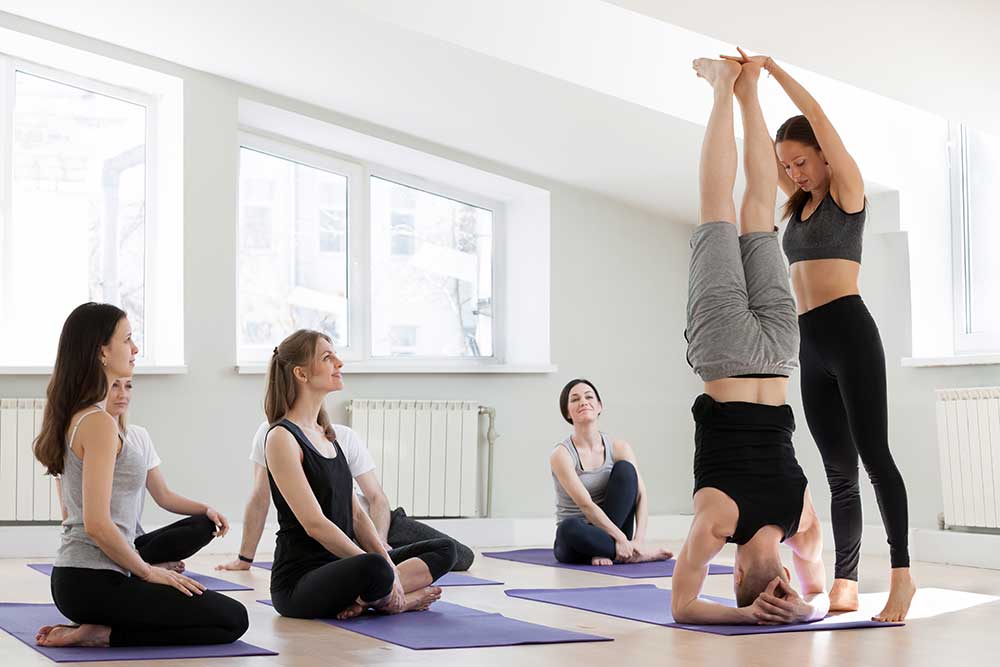
- Use a spotter. It’s always a good idea to have a spotter when attempting something new like this. They can help you avoid injury, provide encouragement, remind you to breathe and more.
- Consider using a tool such as yoga blocks or a feet-up trainer to assist you with this pose.
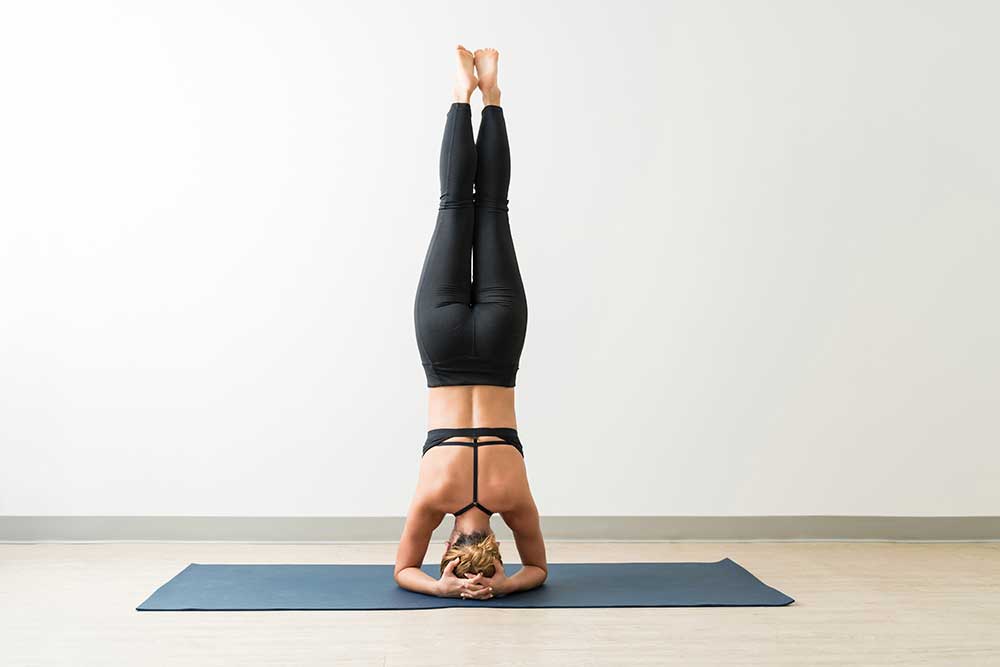
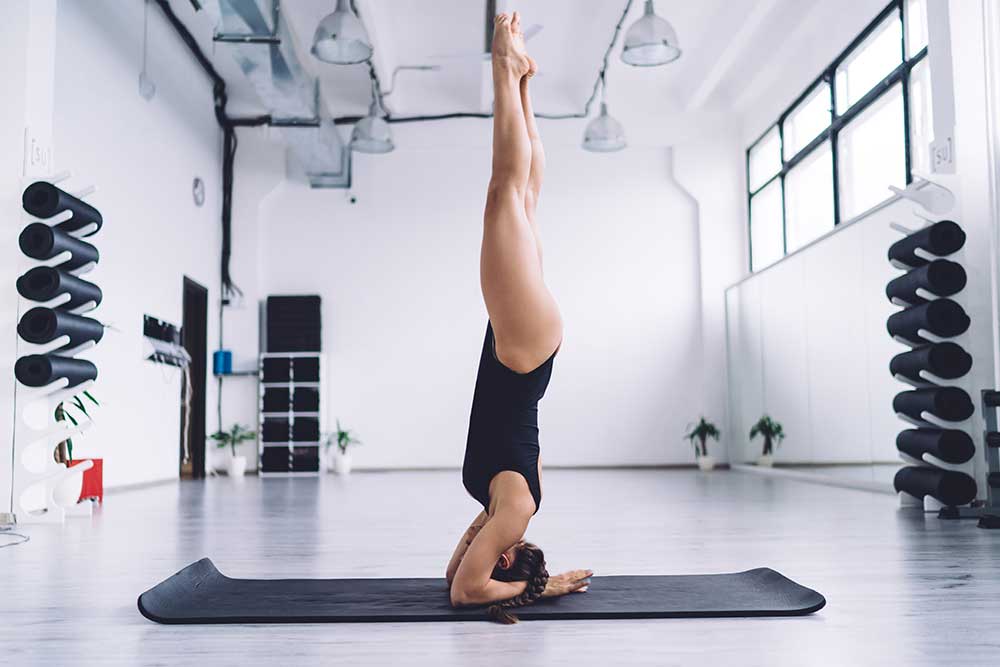
There are two major variations of this pose: Supported Headstand and Tripod Headstand. The difference between these two variations is the hand and arm placement. The Supported Headstand is done with the forearms on the ground and the hands cupped behind the head. The Tripod Headstand is practiced with the palms on the ground on each side of the torso with the hands and head forming three points of contact in a tripod-like stance.
Up for An Extra Challenge?
If you’re an experienced yogi and have already practiced Headstand Pose, you may be ready for an extra challenge. Aside from the previously mentioned two methods above for getting into your headstand, there’s also a third one you can try. This method requires more abdominal strength.
This method will have you keep both legs straight as you lift them at the same time to a vertical position. Once you’re in the position, you will slowly straighten your legs if your knees are bent. If your legs are already straight, slowly lift your bottom leg to meet the one that is already up.
Once both legs are up, reach through the balls of your feet while pressing down strongly into your forearms. Hold this for at least three breaths (or up to 10 breaths).
Safety Precautions and Tips
Doing a headstand pose incorrectly can cause serious injury to your neck. The small bones of the spine in your neck are not designed to bear the weight of your entire body.
Headstands are tricky poses and the safest approach is to build your way up from the ground and check along the way to ensure you have good alignment, that your focus is intact, and that you have the strength you need to get into the pose safely.
First things first, work with your instructor or trainer to get your body conditioned and to get focused before you attempt a full headstand on your own to avoid neck strain or disc herniation.
When to Avoid Headstand Pose
If you have a history of high blood pressure or take medication for it or have glaucoma, your doctor may wish for you not to do inversion poses. It’s best to check with them first. Also consider skipping Headstand Pose if you have a headache or are menstruating.
Many yoga teachers advise avoiding inversions or headstands when they are especially stressed out, haven’t been sleeping well, or are weak and/or fatigued. It is best to skip this pose if you’re feeling this way.
It’s best to avoid Headstand pose (and other inversion poses) completely if you’re pregnant due to changes in circulation and a shifting center of gravity.
Be aware of wrist and hand injuries if practicing the tripod variation. And, do not practice this pose if you suffer from a back or neck injury.