Paving the way for yogic living in Nebraska, Jacqueline Roberts…
There is beauty in the basics. Setting up a strong foundation in any hobby, sport, or endeavor is crucial for long-term success. In fact, having a rooted mastery of the basics allows you to find more substantial meaning and confidence in your entire experience of your activity.
Yoga is no different. Although we may be excited to jump into more intermediate and advanced postures as our study of yoga progresses, there is much to be learned from spending time really getting to know the basics.
If you are new to yoga or just starting your journey with this practice, there’s no better way to dive in than to get to know these twenty essential yoga asanas. The poses that follow are some of the most practiced and widely used poses in all yoga styles and will help develop your strength, flexibility, focus, and balance. They are the cornerstone and the foundation for developing a dedicated yoga practice. Return to these poses often as you progress – there is always a benefit to practicing the basics.
Tadasana — Mountain Pose

So many yoga sequences start with the solid stance of mountain pose. It may seem just like standing tall at the edge of your mat, but there are actually many subtleties that can make mountain pose an extremely involved and developmental pose.
Stand tall at the top of your mat with your feet together, shoulders back, neck straight, and chin tucked in slightly to elongate your spine. Your arms can hang by your side. Make sure to keep shoulders down and palms facing out front. Intentionally engage your thigh muscles, lift your kneecaps, and image a straight line connecting your pelvis to the top of your head. Take a few full breaths here.
Uttanasana — Standing Forward Fold Pose

Similar to Mountain Pose, Forward Fold seems simple but can deepen your practice greatly. Many people struggle with Forward Fold, fighting to get their hands to touch the ground or keep their knees straight. Taking it slow and building up to a strong and steady Forward Fold can greatly enhance your practice and improve many other poses as well.
Start in Mountain Pose and take a deep breath in, swoop your arms to your sides and overhead. On the exhale, swoop them back down while slowly bending downward, one vertebrae at a time until you come to forward fold. You may touch your toes, shins, or knees, depending on what is comfortable for your body. Bend your knees slightly if needed. You can grasp your elbows and allow your head to hang free. Take 3-5 breaths in this position.
Paschimottanasana — Seated Forward Bend Pose

The seated forward bend is the perfect pose to start engaging and the hamstrings and quads. This pose is a precursor to many seated asanas and practicing this deep bend can help develop strength and flexibility.
Come to your mat in a seated position with your legs stretched out in front of you. Take a deep breath in and raise the hands overhead, then on the exhale, lower the torso and arms to collapse over your legs. If you can reach comfortably, grasp the foot or toes. You may also rest your hands on the legs. Take a few deep, full breaths here. With each inhale, lift the torso up and with each exhale, stretch the body and arms further towards the feet.
Prasarita Padottanasana — Wide-Legged Forward Bend Pose

The Standing Wide-Leg Forward Fold is a great way to practice balance and stretch the inner legs. It also opens up the spine and directs blood flow to the head.
Start in a standing position, then move your legs out to slightly wider than hip-width apart. Inhale, lifting your arms up along your sides and overhead. Point your fingers towards the sky. Stay here for one breath cycle, then on an exhale, slowly bend forward. Bring your chin to your chest and reach your arms down to touch your feet or shins. Engage your thighs and lift the kneecaps to maintain stability throughout the bend. Rest here for several breaths and focus on your breathing. Slowly inhale and lift back up, one vertebra at a time.
Adho Mukha Svanasana — Downward Facing Dog Pose

Downward Dog may be one of the most well-known yoga positions across the world. This position is used for engaging the legs, core, arms, shoulders, and wrists. It acts as a transition pose, a resting pose, and strength-building pose.
Come down to the floor on your hands and knees into a tabletop position. Plant your hands firmly on the ground, tuck your toes and prepare to raise up. Stretch the knees and lift the hips in the air to come to downward dog. Start with your knees slightly bent and let your heels hover off the ground. Then exhale and slowly straighten the legs bringing the feet fully to the ground if possible. Rest here for a few breath cycles.
Trikonasana — Triangle Pose

The Triangle pose is an elegant and graceful pose. It creates length and stability in the body while opening the joints and stimulating balance.
Begin in mountain pose, then widen your feet to about 3-4 feet apart. Stretch your arms out to your sides, parallel to the floor. Reach through your fingertips as to lengthen the arms. Turn your left food inwards slightly, then your right at a 90-degree angle to the left, maintaining them on the same line. On an exhale, move your torso over your right hip. Drop your right hand to fall at the shin, ankle, or floor next to the right foot and bring the left arm straight up overhead. Gaze up at your left thumb and rest here for 3-5 breath cycles. Repeat on the opposite side.
Phalakasana — Plank Pose

The Plank is one of the best arm strength building exercises. It encourages upper body strength and is often a transition between poses, especially in the Chaturangas of Vinyasa yoga.
For Plank, start in Downward Dog. Stabilize your hands on the mat and move your torso forward so that your shoulders are aligned over your wrists with arms perpendicular to the floor. Your torso should be parallel to the floor. Lengthen your tailbone towards your heels and your head away from the base of the neck. This opens and lengthens the whole spine. Breathe deeply into the abdomen. Exhale and slowly lower knees to the ground.
Bhujangasana — Cobra Pose

Cobra is another pose that is often used on its own or in transition as in Chaturangas. This pose is excellent for the chest, shoulders, and low back.
Lie face down on your mat, keeping your legs together and feet pointing towards the wall behind you. Place your hands below your shoulder joints and spread your fingers wide. Inhale and straighten the arms while lifting the chest high. Be sure to keep your legs and pubic bone firmly on the ground. Open the chest further by reaching the shoulder blades back towards the spine. Take a few deep breaths. On an exhale, release and gently lower back to the ground, laying the face on one side and resting for a few breaths. Repeat 2-3 times.
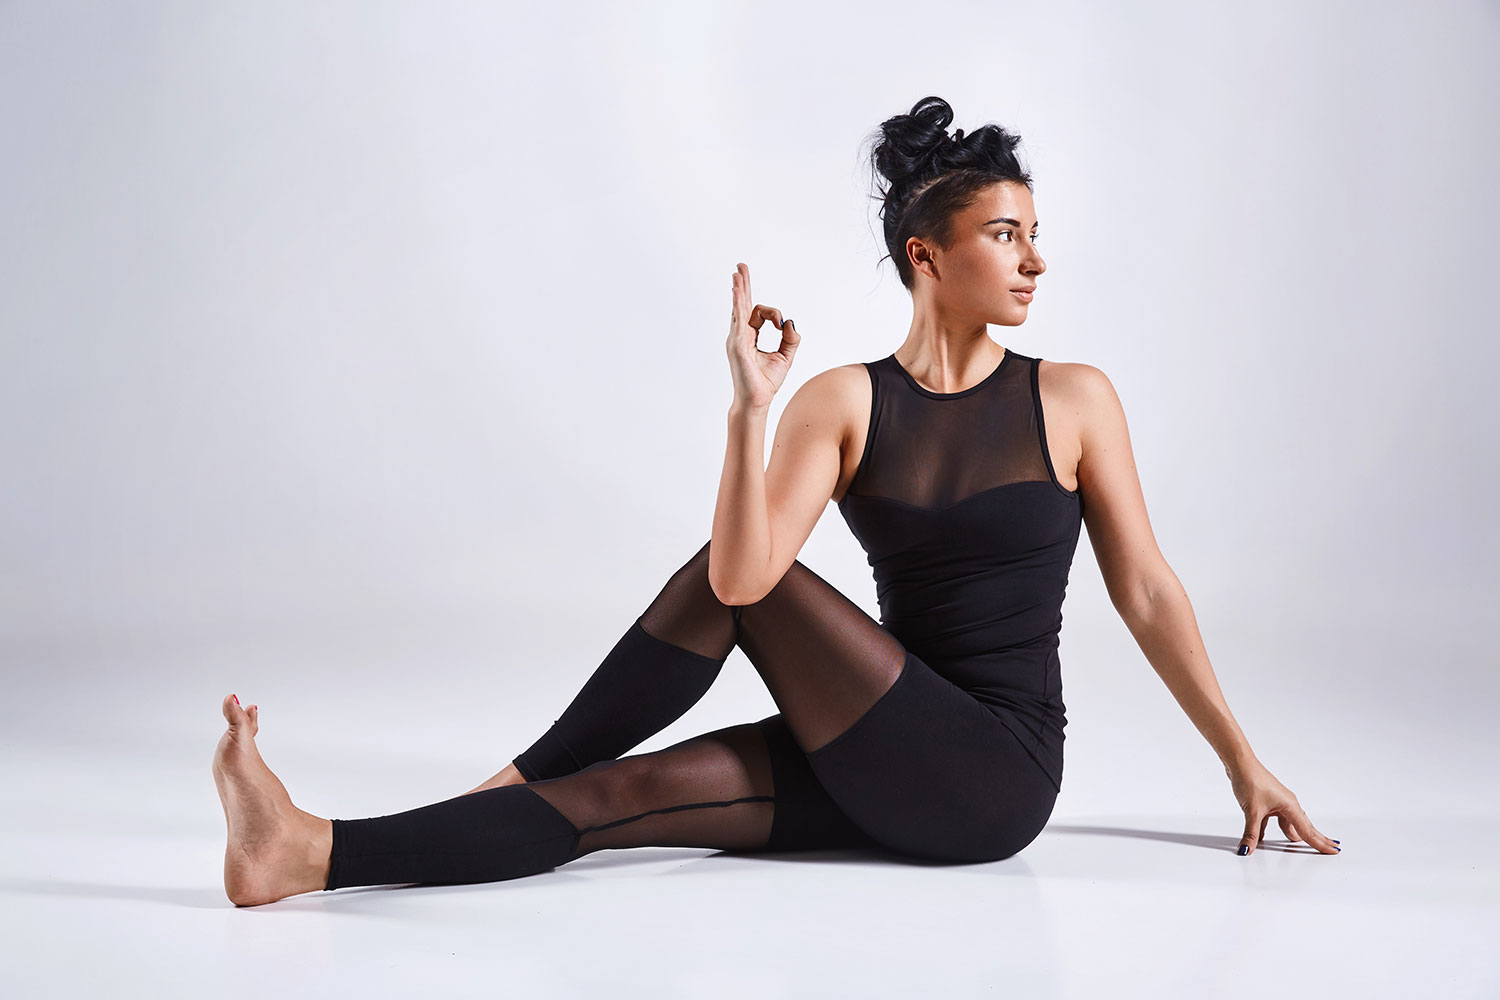
Ardha Matsyendrasana — Half Lord of the Fishes Pose

The Half Lord of the Fishes pose is a favorite among yogis for stretching and flexing the spine.
Start in a seated position on the floor, with your legs straight in front of you. Bend your knees and rest the feet on the floor. Slide your left leg under the bent right knee. Let the left leg rest on the floor beneath the right leg and twist your torso to the right. Place your left elbow on the outside of the right knee, and your right arm down to your side by your right hip. Breathe in, lift your chest and head up, then deepen your stretch with each exhale. Repeat for 5-8 breath cycles. Repeat this pose on the opposite side, placing your left foot on the outside of the right knee, the right elbow to the left knee, and the left hand to the left hip.
Vrksasana — Tree Pose

The classic Tree pose: strong and mighty, balanced and focused. This pose can take a lot of practice to perfect, but it is all worth it to master this proud posture.
Stand tall, with feet firmly on the ground such as in mountain pose. Slightly shift your weight on to the left foot and lift the right foot. Grab your right foot and place it on your inner left knee, thigh, or groin (whichever is most comfortable for you). Center your pelvis over the left foot to maintain balance and look straight ahead. You may now bring your hands to a prayer position at the chest and breathe deeply while focusing your attention to the heart and chest. You may also lift the arms above your head for a different stretch. After 5-10 breaths, slowly release your foot and return to mountain pose. Repeat with the opposite side.
Virabhadrasana I — Warrior I Pose

The Warrior poses are classic yoga stances that help to improve strength and encourage a warrior mentality.
Begin in a standing position or Mountain pose. On an exhale, step your feet about 3-4 feet apart. Lift your arms above your head, parallel to each other. Try not to left your shoulders up, but rather draw your shoulder blades down to the coccyx. Turn the right foot out 90 degrees to the right, and the left foot in 45-60 degrees to the right. Exhale and move the hips forward to the right so you are now facing the same direction as your right foot. Square your hips and strengthen your stance. Then slowly bend the right knee and sink into Warrior I. Continue reaching with your arms and engage your leg muscles to stabilize the spine. Arch your back slightly for a good stretch. Repeat on the opposite side.
Virabhadrasana II — Warrior II Pose

Like Warrior I, Warrior II is an essential pose for most yoga styles. Warrior II builds upon the strength and stature of Warrior I.
Begin in a standing position or Mountain pose. On an exhale, step your feet about 3-4 feet apart. Raise your arms and extend them out to the sides, parallel to the floor. Reach through your fingers to lengthen them further. With your heels on the same line, turn your right foot out to the right slightly and the left foot to the left 90 degrees. Bend the left knee over the left ankle while pressing into the right heel for stability. If possible, bend the left leg until it is parallel to the ground. Slightly stretch the left arm forward without moving the torso forward. Rest here for several breath cycles, then repeat on the right side.
Balasana — Child’s Pose

Child’s pose is one of yoga’s most cherished restorative positions. This pose is a great pose to come back to when you need a rest or if you need to focus, center, or relax.
Start in a seated position, stretch the arms out in front of you, reach for the ground, and bend into child’s pose. Open your shoulder joints and extend your fingers. Feel the stretch in the lower back, breath into this space. Take a few slow breaths here.
Marjaryasana — Cat/Cow Pose

Cat-Cow has a major focus on stimulating the spine but can be used as a warm-up for all kinds of exercise or types of yoga practice.
Begin on all fours with your knees bent directly below your hips and your palms planted firmly on the ground below your shoulders. Inhale and look up while gently bending your back. Try not to bend too deep in the lower back. Exhale and draw your back up, roll your shoulders, tuck your head down, and feel the spine open. Repeat several times, breathing deeply throughout.
Malasana — Garland Pose

Garland pose is an excellent way to center and restore. It stretches the legs while also rooting the body and connecting to the earth. This pose will help you build confidence in all the squatting poses.
Bend your knees to a squat, keeping the heels on the floor if possible. If you need extra support, roll up a towel to place beneath them. Place your elbows on the inside of your knees, bring your hands to prayer position at the heart. Press outward with your elbows against the knees while pressing inwards with your knees. Rest here for 30 seconds to one minute.
Setu Bandha Sarvangasana — Bridge Pose

While it may not be the first choice for the very early beginner, Bridge pose (sometimes called Wheel) is definitely a pose to work up to and master. This pose embodies strength, flexibility, and poise.
Lie on your back and bend your knees to place your feet firmly on the ground. Bring them as close to your sitting bones as possible. Bend your elbows to place your palms on the ground behind your shoulders with the fingers pointing back towards the shoulder joint. Exhale and lift the tailbone to the pubis, engaging the buttocks, with the thighs parallel. Take a few breaths here. Press your hands into the ground to lift the crown of the head. On an exhale, straighten the arms, lift the pubis further, and come into wheel pose. Take 2-3 breaths here, then gently lower back down to the ground to rest. Repeat 2-3 times.
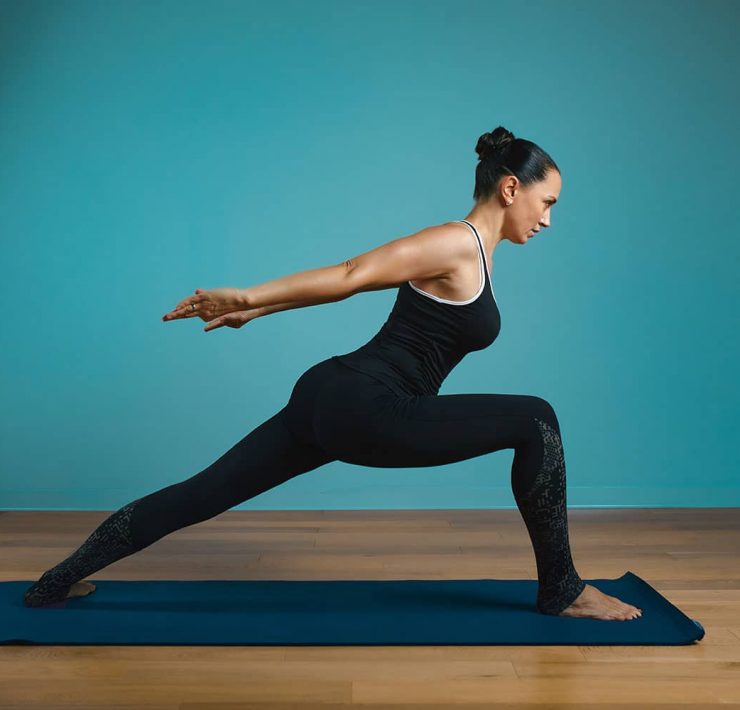
Ashta Chandrasana — Crescent High Lunge Pose

The High Crescent Lunge is definitely a yoga pose to master. Pay attention to your hip placement and remember to engage your core and legs.
Begin in Downward Dog, then step your right foot up between your hands. On an inhale, raise your chest up. Swing your arms up along your sides and raise them overhead. Lengthen the spine being careful not to overarch the spine. Drop your shoulder blades down and look up to your thumbs. Hold this pose for 30 seconds to one minute. On an exhale, swing the arms back down your sides and down to the floor. Return the leg behind you to fall back into Downward Dog. Repeat on the left side.
Eka Pada Rajakapotasana — Pigeon Pose

Pigeon Pose can be challenging for those with hip stiffness but is one of the best poses to practice to open the entire hip girdle.
Begin on the ground on all fours, then slide the right leg towards your head. The right knee should reach the right wrist, then the leg can bend so that the right foot reaches the left wrist. Move the left leg back behind you keeping your leg internally rotated and relaxed. You may either stay upright here or gently lower yourself to rest on your forearms. Place hands in prayer position and rest your forehead on your thumbs. Rest here for several breaths or as long as you can while comfortable. Repeat on the opposite side.
Ananda Balasana — Happy Baby Pose

Happy Baby is a popular way to wrap up a practice and enliven your day with a little play.
Start by lying on your back, then exhale and bend your knees into your belly. Grasp the outsides of your feet, hold on to your pinky toes, or use a strap. Open your knees and pull them towards your shoulders. Keep your ankles in line with your knees so as not to overextend them. Push your feet into your hands for resistance. You may choose to rest here or sway a bit back and forth to massage the back.
Savasana — Corpse Pose

The traditional yoga close, corpse pose asks us to release our control, rest, let go of tensions, and relish in the peace that our practice provides.
Lay flat on your back with your legs extended. Release any tension in your muscles and allow your feet to turn out. Pull your shoulders down away from your ears and allow your arms to lay. Gently by your sides with palms facing upwards. Rest here for 3-5 minutes.
Back to Basics
As you can see, these 20 yoga poses make up a great deal of traditional yoga sequences. There are many sequences that only make use of these highlighted basics and provide a strong foundation for developing a true connected practice. As you move into more challenging poses and practices in your yoga journey, make sure not to forget the basics. Even if they feel easy, each pose still provides a challenge; there are small nuances to perfect in any pose. Don’t miss these opportunities to master the basics!
What's Your Reaction?
Paving the way for yogic living in Nebraska, Jacqueline Roberts is adored by her students as a constant source of support and inspiration. A knack for writing allows her to share what she has learned with the world.


