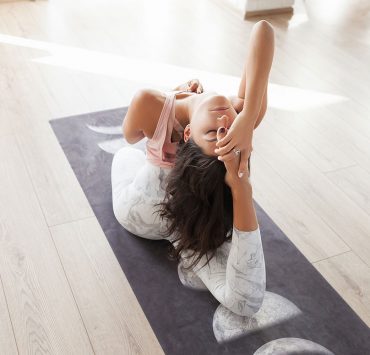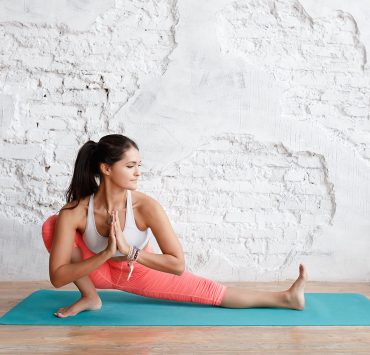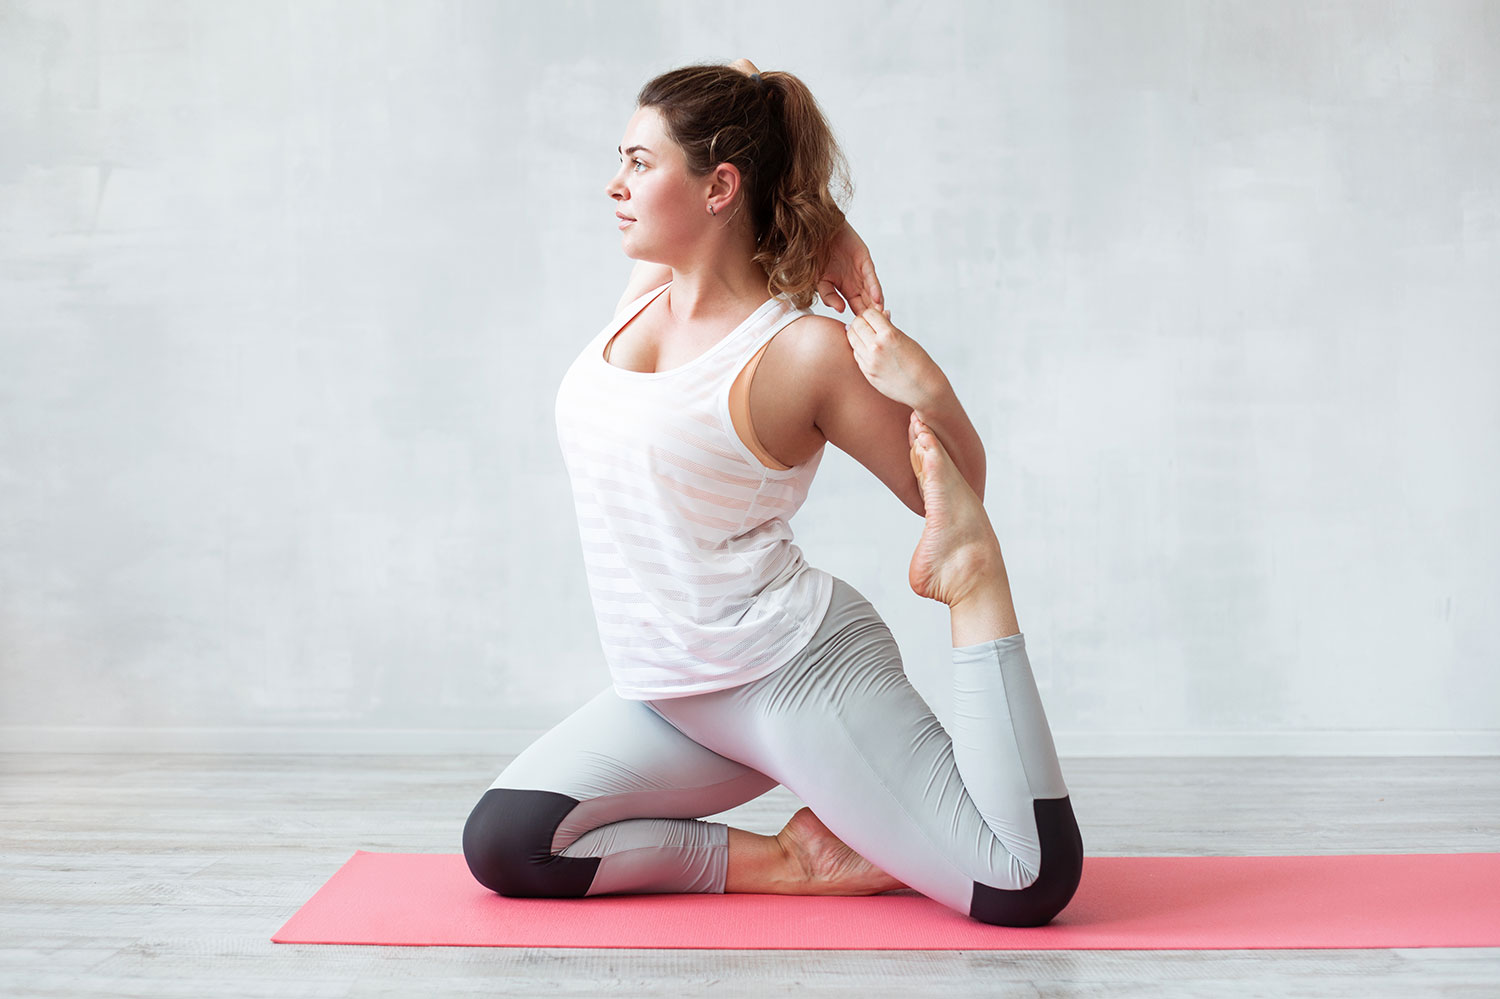
Yoga is a practice that is accessible for people of all shapes and sizes. Thankfully, regardless of your level of flexibility, balance, or strength, there are always poses available for anyone to try, and modifications to put in place when necessary. If you are a plus-sized yogi, try out some of these poses and modifications in your practice.
Marjaryasana — Cat/Cow Pose

Cat/Cow, or Marjaryasana, is a gentle warm-up pose that brings movement to the entire spine, making it a great back and neck tension reliever. It’s the perfect pose to start with to prepare for more challenging postures.
Instructions:
Start in a tabletop position, with your hands and knees on the ground. Ensure your palms are stacked directly underneath your shoulders, and your knees underneath your hips.
On an exhale, move into Cat. Round your spine up towards the ceiling while tilting your tailbone down, and tuck your chin down towards your chest. While your head is tilting down, ensure you still leave space between your chin and chest.
On your next inhale, move into Cow. Raise your head and face forward, and tilt your tailbone up, letting your back curve. Ensure you don’t tilt your head back too far or over arch your back, as it can result in strain.
Continue slowly alternating between Cat and Cow pose for about 30 seconds or longer. Give yourself time to fully feel the stretch as you breathe through the pose.
Dandayamana Bharmanasana — Balancing Table Pose

Balancing Table Pose, or Dandayamana Bharmanasana, is another warm up posture that fires up your core and tests your balance. It can be challenging, especially if you are still developing your balance, but you can modify to work with your body’s needs.
Instructions:
Start in tabletop position, just as you did in Cat/Cow. Begin to straighten your right leg back behind you, and lift it so it is parallel to the ground. Flex your right foot so your toes are pointing towards the mat, and extend through your right heel.
Lift your left palm off the ground, and straighten your arm straight in front of you. Your arm should be parallel to the mat, with your fingers pointing towards the front and your palm facing inwards. Remain balanced here for 30 seconds, and then repeat on the opposite side.
If the balancing is too challenging for you, you can modify by just straightening one leg back, and leaving both palms on the ground for support. You can also leave the toes of the extended leg on the ground while you continue to extend through the heel of your foot.
Adho Mukha Svanasana — Downward Facing Dog Pose

Downward Facing Dog, or Adho Mukha Svanasana, will help to stretch your entire body, especially your hamstrings, while also strengthening your arms and legs. It is easily modifiable if necessary, and you’ll still benefit from the posture, even if not performing the full expression.
Instructions:
Start from a tabletop position, with your hands below your shoulders and knees below your hips. On an exhale, engage your core, curl your toes, and lift your knees off the ground, working towards straight legs. Stretch your tailbone back and up towards the ceiling.
Your head should remain active, with your gaze focused in between your legs. Continue to push through your index fingers and thumbs.
If you need to modify, place your hands on the seat of a sturdy chair and do the pose from there. It will still allow you to feel the stretch in your legs and get the feeling of folding over, but will bring the ground closer to you to make the stretch less intense.
Before settling into stillness, allow yourself to focus the stretch on the back of your legs by bending one knee and then the other. You may also choose to bend both knees at the same time, and then push back through your heels towards straight legs. Find stillness and hold for 30 seconds to a minute, and then release back down to your knees.
Virabhadrasana II — Warrior II Pose

Warrior II, or Virabhadrasana II, will allow you to access your power in your legs, as well as tone your core and arms.
Instructions:
Begin standing, with the outer edge of your left foot paralleling the front edge of your mat, so that you are facing the side of the room. Step your feet about 3 and a half to 4 feet apart, keeping them aligned. You can step your feet closer together if this is too wide of a stance for you.
Turn your left toes about 90 degrees, so that your toes are pointing towards the top of the mat. Turn your right toes slightly in, so that they are at a 45 degree angle.
Lift your arms up to shoulder height, with your left arm pointing forward and right arm pointing back. Your palms should be facing down, and your arms should be engaged.
On an exhale, bend into your left knee, working towards creating a 90 degree angle with your shin perpendicular to the floor and your thigh parallel. Your knee should align directly over your left ankle. Adjust your stance by bringing your feet closer together if this feels too intense.
Your hips should be squared towards the side of the room, and your gaze should be in front towards your left finger tips. Push through the outer edge of your right foot, and ensure that your torso is upright and not leaning forward. Bring awareness to your shoulders, ensuring they are not creeping up towards your ears.
To release, straighten your left knee, release your arms, and step your feet back together to repeat on the opposite side.
Utthita Parsvakonasana — Extended Side Angle

Extended Side Angle Pose, or Utthita Parsvakonasana, both stretches and tones the abdominal muscles, while also strengthening your legs and building stamina.
Instructions:
Start in Warrior II, with your right leg in front. With your hips facing the side, tilt your torso forward towards your right leg, and place your right elbow on your thigh. Extend your left arm up above your head, and send it towards the front of the room.
Continue to elongate your spine in this pose, and don’t allow yourself to dump too much weight into your right arm. You want to ensure you are creating space between the side of your torso and the top of your front thigh, so make sure to continue to stretch your upper body not only forward, but up.
If you would like to take it further, you can straighten your bottom arm along the inside of your right thigh. You can hold it in space, use a block to support you, or bring it down to the mat if your flexibility allows for it.
Hold the pose for about 30 seconds, and then release and repeat on the opposite side.
Vrksasana — Tree Pose

Tree Pose, or Vrikshasana, is a great option if you are trying to work on your balance. It is easily modifiable, so you can practice the pose even if you aren’t completely confident in your balancing skills.
Instructions:
Begin standing, with your arms relaxed at your sides. If you think you’ll need extra support while balancing, stand by a wall, or place a chair on your left hand side with the back of the chair closer to you than the seat.
Bend your right knee, and place the sole of your right foot on either your ankle, calf, or inside of your thigh. The lower the foot, the easier it will be to balance. Ensure that you avoid placing it on your knee, as putting side pressure on it can cause injury.
Once your foot is in position, bring your palms together at heart center, or keep your hand against the wall or on the chair if necessary. You can keep your hands here, or bring them up above you. Your eyes can remain open with your gaze in front of you, or you can close your eyes for an added challenge.
Deeply breathe in this pose for 30 seconds to a minute, and then release your foot back down to the ground on an exhale. Repeat on the opposite side.
Ardha Matsyendrasana — Half Lord of the Fishes Pose

Half Lord of the Fishes Pose, or Ardha Matsyendrasana, is another pose that has plenty of options for modifications. It lengthens, strengthens, and realigns the spine. The twisted element also helps to decompress the spine and release tension.
Instructions:
Start in a seated position. Hug your left leg into your chest, and then bring it over your extended right leg, so that the sole of your left foot is alongside your outer right hip. If this is intense enough for you in your hips, you can leave your right leg extended as is. If you would like to take it further, you can bend your right leg and bring your foot towards the outside of your left hip. The entire outer leg and foot should remain resting on the ground.
Elongate your spine, and then twist your torso and shoulders over to the left, placing your left hand on the ground behind your glutes. Bring your right arm up, bend at the elbow, and then place it along the outside of your left thigh, with the lower half of your arm extended up. If this is too intense of a twist, you can simply hug your bent leg with your arms.
Bring your gaze over your left shoulder. Stay in this pose for about 30 seconds, and then release and repeat on the opposite side.
Setu Bandha Sarvangasana — Bridge Pose

Bridge Pose, or Setu Bandhasana, is excellent if you want to strengthen your legs and glutes. It also helps to open up the chest and shoulders.
Instructions:
Begin on your back with your knees bent and feet flat on the ground. Lift your hips up to create a diagonal line from your head to your knees, while keeping your glutes soft but core engaged.
Keep your neck relaxed and roll your shoulders away from your ears. You can go further by bringing your shoulder blades closer together underneath you, and clasping your hands under your back. Hold the pose for 30 seconds to a minute. To release from the pose, unclasp your hands and slowly roll down from your shoulders to your glutes.
Bhujangasana — Cobra Pose

Cobra Pose, or Bhujangasana, is a gentle backbend that works to open up the shoulders, back, and chest, while engaging the core.
Instructions:
Start lying on your stomach, with your legs together. Bring your hands up towards your shoulders, placing your palms firmly into the mat and your elbows close to your sides.
On an inhale, lift your head and chest, without putting much weight into your palms. Ensure your legs are active and tops of your toes are pressing into the mat. Hold for a couple breaths, and then release back down. Repeat the movement a few times, potentially working towards bending further back each time.
Kapotasana — Pigeon Pose

If you want to open up your hips, Pigeon Pose, or Eka Pada Rajakapotasana, is one of your best options. Beyond that, it also stretches the thighs, groin muscles, and abdomen.
Instructions:
Start in Downward Facing Dog. On an inhale, lift your right leg up behind you, keeping your hips squared to the ground. On on exhale, bend your knee and bring it into your torso, towards your right wrist. Place your entire right leg on the ground, creating a ‘7’ shape.
Keep your right foot flexed. Your left leg should be on the floor directly behind you, with the tops of your toes touching the ground. Try to drive your right hip down towards the floor. If there is a lot of space between your right glute and the ground, you can place a block there for support.
Continue to elongate through your spine as you breathe through this posture. You can remain with your torso upright, or you can go down into Sleeping Pigeon for a deeper stretch: begin to walk your hands out in front of your, lowering your torso to the ground. Place your forehead on the ground or on a block.
Remain in this pose for 30 seconds to a minute. Release, and then repeat on the opposite side.
Conclusion
Yoga allows anyone who is dedicated to get fit, develop their balance, and explore their spiritual side. As you go about practicing these poses, do any modifications that feel right for your body, and remember to enjoy the journey!