Yoga inversions can get a bad reputation because of the fear of flipping our bodies upside down. Living in a right-side-up kind of world, it’s helpful to gain a new perspective for mind and body. Inversion practice benefits you in more ways than one.
Inversion elicits a lot of different emotions for students. Some can look forward to it with excitement while others may feel a lot of anxiety. It’s important to recognize both feelings are valid and that feeling nervous is normal. Inversions go against our physical nature.
Yet, the same reasons students fear inversions is the very same reason they grow to embrace them. Yoga likes to challenge us on different levels; mentally, physically, emotionally, and spiritually. Yoga inversion is no different. Learning to embrace changes and challenges helps to strengthen ourselves on these levels. We will break down ways to introduce inversions into your practice that make it second-hand in nature.
How To Do Inversion Yoga Fearlessly
Yoga is about going at your own pace and comfort. That’s why when looking into inversion yoga, don’t let the poses intimidate you. Instead, introduce the poses as a sort of practice to incorporate to gradually overcome the fear. That, or find modifications that work for you. Inversion yoga isn’t for everyone. In fact, people who have certain medical conditions are not advised to do inversion yoga. So, don’t feel like you’re the only one struggling. Let’s direct how to introduce it slowly.
1. Walls Are Our Friends
If you’re new to inversion yoga, walls become your best friend. Walls will support you while you try to tackle that handstand and become your encouragement to get a deeper stretch. Ensure you are close enough to the wall to use it, but not too close to the wall where it pushes you back towards your mat. The balance of using a wall will come over time and by using the wall, you will also build strength. Once you build strength in the upper body and get used to the upside-down sensation, you will eventually be able to leave the wall behind. Strength and confidence are key to inversions!
2. Know Your Exit Strategy
It seems counterintuitive but for inversion yoga, learn how to fail – and gracefully at that. Knowing your exit strategy can save you injury and also the anxiety of doing the inversion in the first place. Consider mixing up your location to an area with a softer landing. This could be outside at the beach, or all the pillows in your house. Whichever is accessible to you and makes you feel comfortable and confident in your practice.
3. Strength And Stability
Every inversion pose you tackle will always ask you to focus on a strong foundation. Like any house, the foundation must be strong to hold the other components up. In the same fashion, we must ensure that before stacking our joints, we have the strength to support them. Try poses that help to build that upper body strength before jumping into the ultimate handstand. Anyone rushing into the pose without taking the patience to build a solid foundation generally finds themselves collapsing. To avoid injury, take it slowly and build a strong house.
4. Patience And Consistency
Taking the time to strengthen the necessary muscles will help you perform the inversions. And, taking the patience and time to let your body build-up to that will give you mentally the confidence you need to complete the pose. Patience is essential to our lives and for good reason. Be patient with yourself, great things come in their own time and we’re no exception to that.
How To Begin Yoga Inversions
The best way to introduce yoga inversions into your practice is to expand on poses that you may already be familiar with. For instance:
Beginner Poses
Adho Mukha Svanasana — Downward Facing Dog Pose
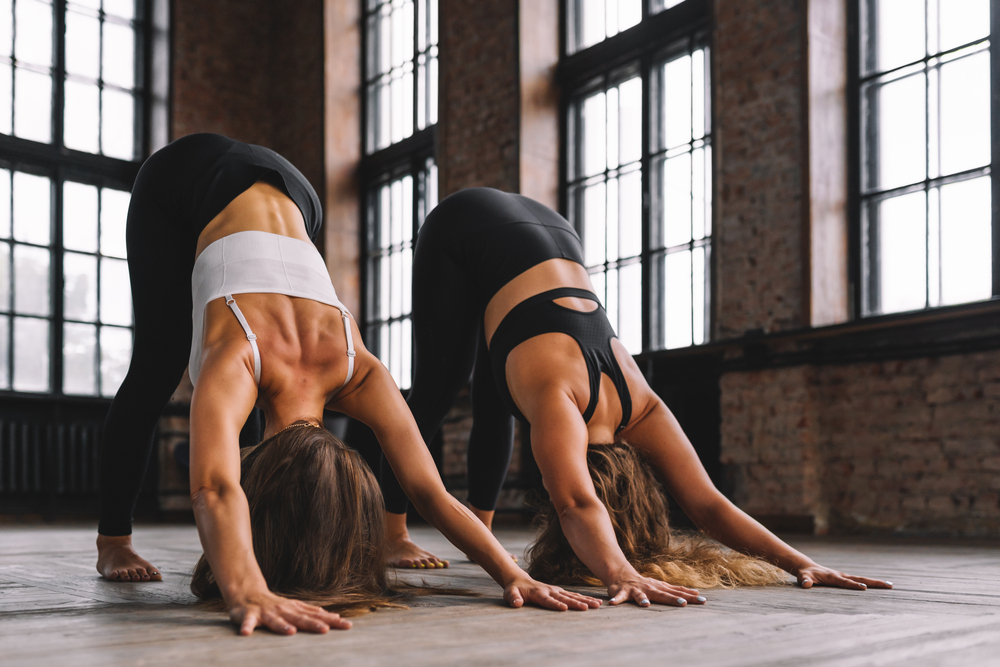
This pose is a staple in almost every yoga notebook. It’s a pose that works in all areas and can still make us feel secured onto the ground before moving onto more challenging poses. Here’s how to get started:
- From the mountain pose, have the torso fall forward.
- Step back into a plank pose and look downwards.
- Make hands shoulder-width apart and turn hands away from the body.
- From here, lift the hips and pull the upwards and back.
Ardha Pincha Mayurasana — Dolphin Pose
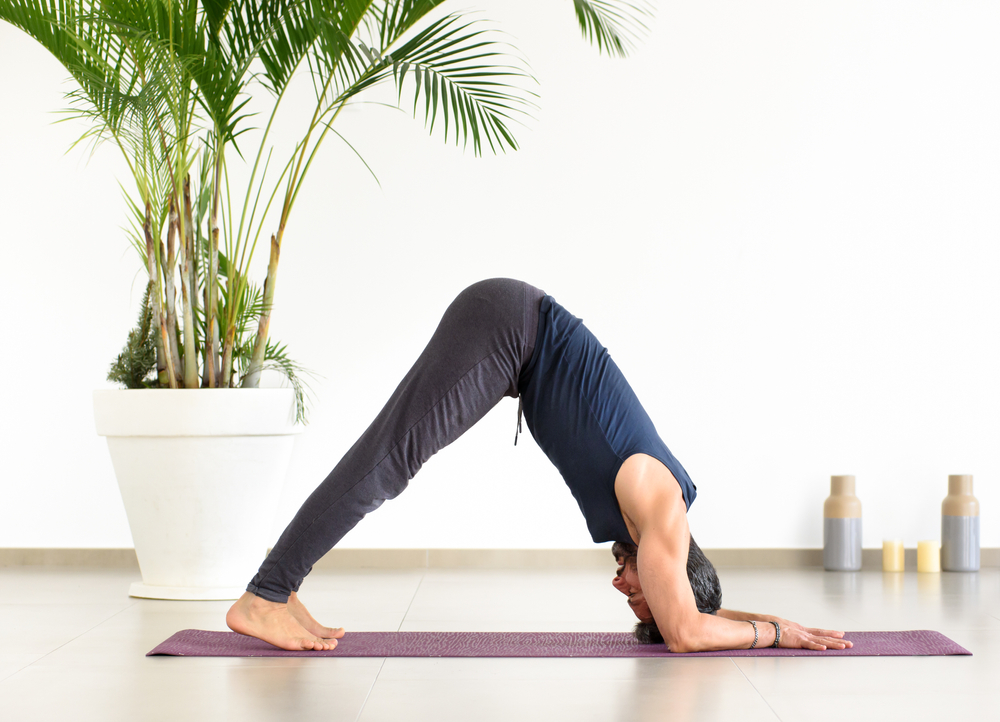
The dolphin pose is very similar to the downward-facing dog. This asana is very complimentary for beginners just starting to introduce themselves to the idea of upside-down poses.
To start this pose:
- Start on all fours, placing forearms on the floor with elbows beneath shoulders. Place hands down with forearms parallel with one another.
- Exhale and curl toes under. Engage the lower abdomen and lift the knees upwards.
- Lift the rear and elongate the tailbone to straighten your legs away from the floor (as you would in the downward-dog pose).
- Engage the thigh muscles and keep the lower belly drawn in, putting the forearms to the floor.
- Firm shoulders and hold head between arms, off the floor.
- Stay within this pose for up to 3 minutes or for however long it is comfortable.
- To exit, let the knees come to the floor and enter the child’s pose.
Experienced Poses
Now that we’ve conquered some of the easier poses and we’re now more confident we can introduce some of the more challenging inversion asanas. For instance:
Chakrasana — Wheel Pose

The deep backbend of the wheel pose strengthens the upper body and tightens our abdominal muscles.
To enter this pose:
- Start in Shavasana and bring knees towards the body. Keep feet firmly flat onto the ground.
- Have palms near your ears facing the floor with digits pointed towards your feet.
- Begin to gradually lift the hips, and bring the torso into an arch through the use of your upper body and lower. The Head should be up off the floor.
- Breath into this pose while keeping the extremities as straight as you can. After holding, then lift the heels.
- From the neck, gently return your spine back onto the mat and return to Shavasana.
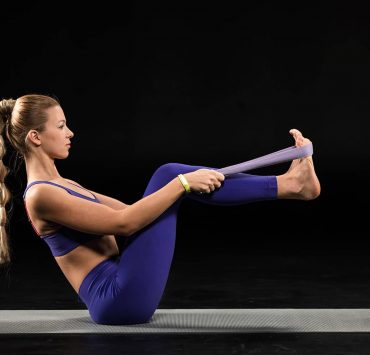
Bakasana — Crow Pose
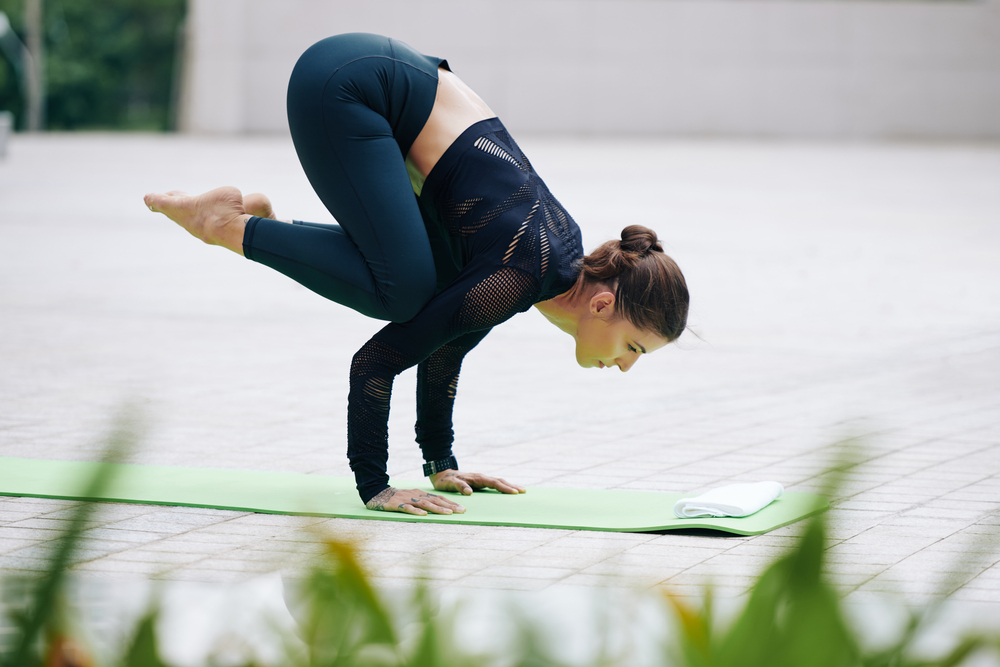
This pose is often one introduced to yoga enthusiasts who want to start their first arm balances. It’s the perfect pose to start when you need to improve your upper body strength and balance.
To enter this pose:
- Begin on all fours.
- Walk feet up towards your hands as close to the wrist as possible.
- Bend the elbows, using the triceps to act as a “shelf” for your knees.
- Keep your focus in front of you as you bring your hips upwards. Start to distribute your weight on your upper body.
- From here, begin to balance by lifting one foot off at a time. Once you feel confident, lift both feet off the floor or mat. Balance onto the upper body.
- Remain here for up to a minute or for however long you feel comfortable.
- To exit, return the legs back onto the floor and realign the spine.
- Recommended: Enter the child’s pose for a few breaths.
Advanced Poses
These poses will actually ask for the lower body to come up off of the floor. For instance:
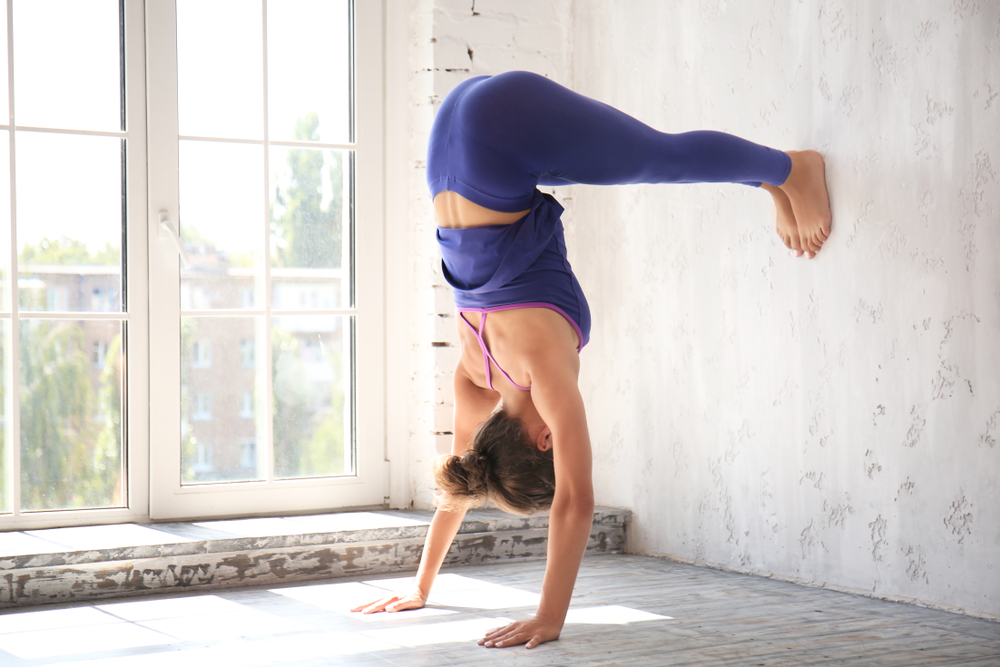
Adho Mukha Vrksasana — Handstand Pose
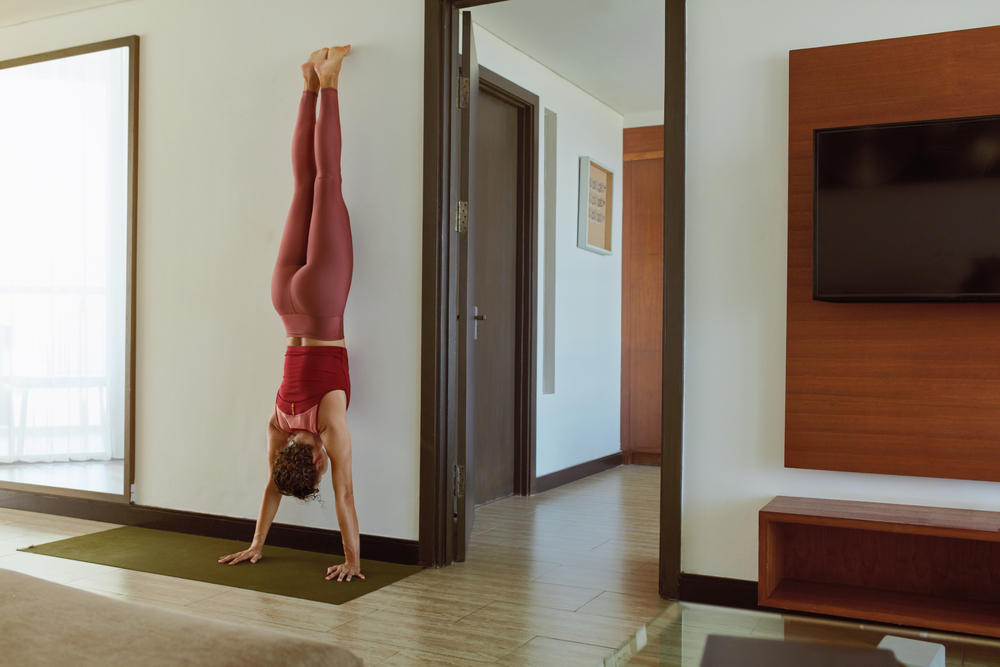
I’m sure we were all waiting for this one. The handstand is often the first pose that comes to mind when thinking of inversions. Although, this pose may cause a little anxiety it’s actually the best one to try as it’s easy to exit. It doesn’t cause too much strain on the shoulders or upper body. And, because it’s easy to catch yourself this also helps avoid injury.
To enter this pose:
- Start in downward-facing dog.
- walk your feet close to your hands and bend the knees.
- Align shoulders above wrists and hips above shoulders.
- Now, begin lifting one up. Return the leg. Lift the other. Then return. Feel the weight distribute when lifting either of your legs. Once comfortable, bring one leg into the air and bend the remaining standing leg at the knee hopping forward.
- Here, it’s okay to rely on a little hopping until you get comfortable enough to kick the other leg up.
- Ultimately, both legs are above the hips.
- When ready, bring one leg down followed by the other.
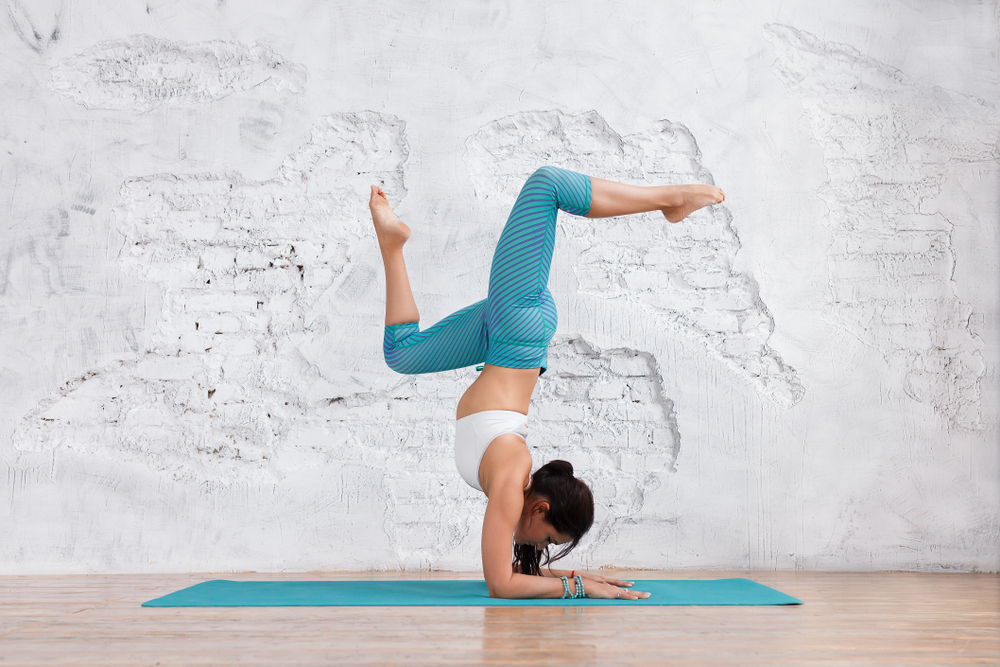
Vrschikasana — The Scorpion Pose
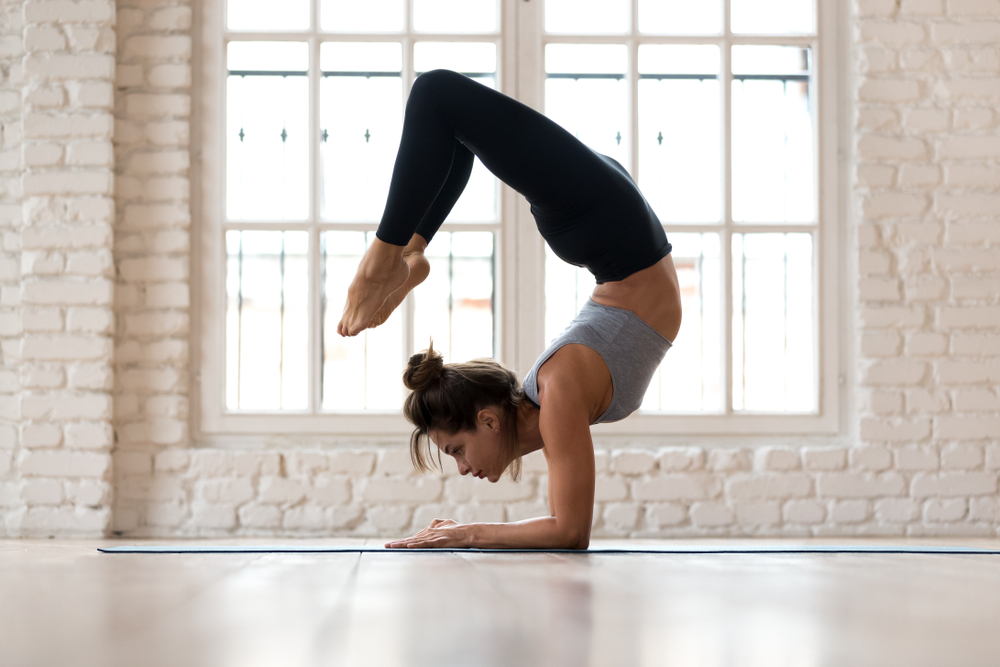
This is another pose that’s similar to the handstand that can be rather intense. The scorpion pose is only for people confident in their strength and agility and improper form could be damaging. Practice against a wall before performing this pose unsupported.
To enter the pose:
- Start in the dolphin pose; positioning yourself on all fours and then place your forearms flat in front of you. Your arms should be parallel to each other and shoulder-width apart. Lift the body upward to enter the “v” shape in the dolphin pose.
- Walk your feet towards your forearms and begin to slowly bring one leg above. Keep your leg straight and aligned with your spine.
- Next, kick your other leg up off of the ground so now both legs are up in an inverted forearm stand.
- Once you’re stable and feel confident in the forearm stand. lift your chin so you are meeting your gaze towards your hands.
- Point the toes and move them towards the direction of your head, gradually bending them downward. You will feel a stretch deepened during the hips and shoulder during this move.
- To exit the pose, return to a forearm stand and gradually lower one leg back onto the mat. Followed by the other leg.
- Ensure that you’re moving gradually to prevent injury. To cool down, enter children pose and stay for a few breaths to rest after the scorpion’s backbend.
The Importance of Inversions

Any yoga postures that require our body to be upside-down is considered an inversion. Although our minds go directly to a handstand, there are many poses that offer a wider breadth of benefits. Let’s review some of the ways that inversions help benefit us:
Better Circulation: Inversions cause the blood to rush in a different direction. As gravity is pulling us downward this helps the brain receive more oxygen. Consequently, this helps our minds improve focus, and memory retention.
Improve Immunity: The lymph in our body moves due to the contractions in our muscles and because of gravity. When entering an inversion like pose, we’re given the opportunity for the lymph to channel through us with more ease. This is a way for lymph to collect toxins and boost our immunity.
Mental Revitalization: As mentioned above, when turning upside-down you’re having the blood rush to the brain. This can help give us an extra boost of energy.
Improve Strength: Since you’re working with different muscles of the body, you’ll be increasing your strength. It tones the body, not to mention increases your balance.
Fun In Practice: Although it may seem frightening to some, inversions can be fun- we promise! Inversions help to reawaken our youthfulness and bring creativity and play to our day-to-day practice. Sometimes we all need the reminder, even in our asanas, to not take things too seriously.
Are Inversions Right For You?
Inversions are not recommended for individuals that have certain health conditions. Definitely consult your medical health professional before taking on inversions. For instance, people who use blood thinners, experience heart complications, or issues with their eyes. Inversions may not be the perfect marriage given these medical conditions. Talk to your physician to ensure that you’re not taking on too much or anything that could be potentially harmful to an underlying medical condition.
Inversion yoga can be really fun and a refreshing challenge for seasoned yoga enthusiasts. However, if you’re new to yoga and interested in taking the challenge on, know that there are plenty of gradual steps to get you started!