


Have you ever been in a yoga class and felt a bit intimidated by the advanced postures that your fellow students made look so easy?
Many of these crazy looking postures are embedded within Ashtanga yoga, which is a more physically demanding practice than other yogic styles.
Flexibility Poses

While flexibility can definitely improve with practice, not everyone is designed to become a contortionist. According to MIT research, a lot of internal and external factors influence flexibility. These include:
— Joint resistance
— Elasticity of muscle tissue, ligaments, skin, and tendons
— Outside and body temperature
— Quality of connective tissue
— Other physical factors such as age, gender, and body composition
This research indicates, too, that just because you are innately flexible in one area of the body does not automatically mean you are as agile in another. For example, if you can put your legs behind your head, you still may not be able to touch your elbows together behind your back just yet.
That being said, you can always improve your strength and flexibility. In fact, both go hand in hand. Before you take on an advanced posture, it is important to do several warm ups to condition certain areas of the body.
Warm Ups Poses

Ideal warm ups for the following postures involve opening the joints in the hips and shoulders, while strengthening the arms, core, back, and legs.
The best prep poses are plank, downward dog, happy baby, hero, pigeon, bridge, butterfly, handstand,
tripod headstand, seated forward fold,, standing side angle, cobra, and wheel.
Eight Angle Pose — Astavakrasana Pose

Astavakrasana is an arm balance twist that tests your strength and flexibility in the arms, back, abs, and legs.
Step 1: Sit on your mat in Dandasana. Hug your right knee into the chest, then hook it over your shoulder or upper arm with the elbow bent. The back of your thigh should rest on the tricep with your left leg still extended.
Step 2: Place both palms firmly on your mat, shoulder width apart. Draw your shoulders back and lift the spine, keeping the core engaged and tucked. Hook your left ankle around the right ankle. At this point, the knees are still bent with the feet flexed.
Step 3: Inhale, press into your hands and lift the legs and hips off the mat. Bring your chest and shoulders forward, and bend the elbows at 90 degrees.
Step 4: Exhale, squeeze the arm tightly between your thighs. Shift your legs over to the right and straighten them out to the side. Hold posture for 5 – 10 breaths.
Step 5: To release, straighten the arms, bend the knees, and release the hips down to the earth. Repeat the same sequence on the other side.
Shoulder Pressing Pose — Bhujapidasana Pose

This arm balancing posture is great if you are an intermediate yogi looking to take your practice to the next level!
Step 1: Start in a squat with your hands on the earth. Make sure all your weight is forward.
Step 2: Take the hands behind the feet, lifting the hips off the ground. Reach the calf all the way around the shoulder. Step the heels on both hands until palms are flat against the mat.
Step 3: Bend the arms, allowing the knees to also bend. With the feet on the floor, cross them over each other.
Step 4: Inhale, press into the hands, and lift the feet off the floor. Hold posture for 5-10 breaths.
Step 5: To release, place the feet on the floor, and uncross the ankles. Take one leg behind the arm, then the other, and lower the hips to the earth.
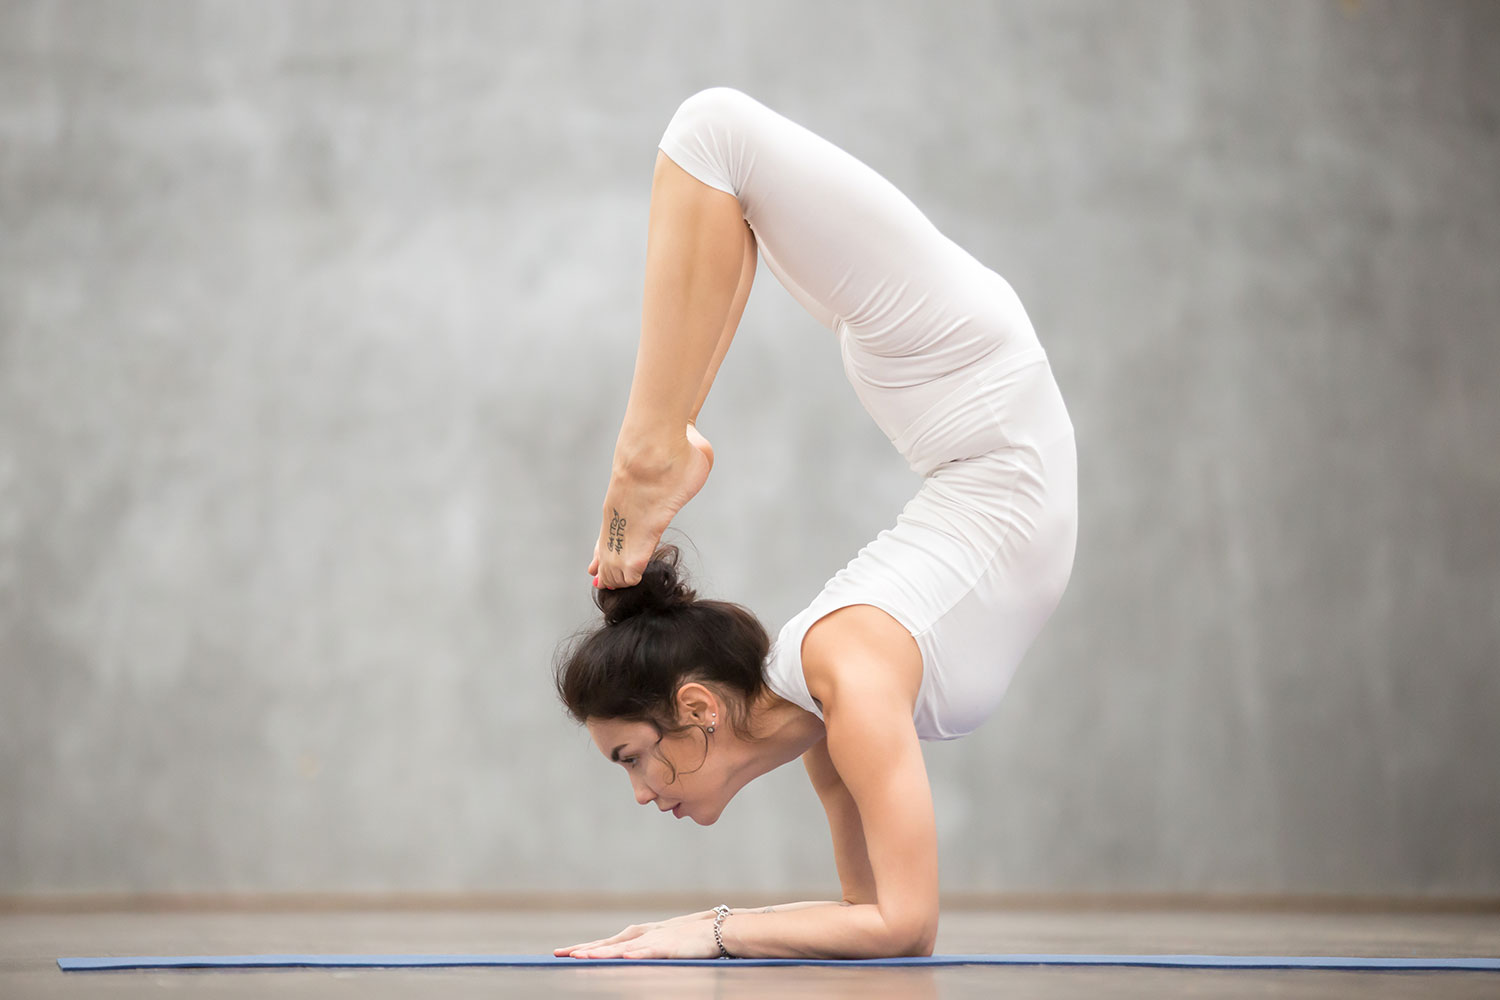
Ear To Knee Pose — Karnapidasana Pose

This is an inversion and a shoulder stand that can quiet the mind and release tension in the spine.
Step 1: Lie flat on your back with legs extended. Inhale and lift the legs to 90 degrees.
Step 2: Lift your hips off the mat and place your hands behind the low back, bending the elbows at 90 degrees.
Step 3: Lower your legs behind your head until your toes touch the ground. Lower your arms straight down to your mat.
Step 4: Bend your knees and bring them besides the ears. You can leave your arms where they are or wrap them around the back of your legs. Hold here for 10 breaths.
Step 5: To release, straighten the legs, support your low back and lift the legs back up. Bend your knees and lower the back onto the mat.
Sleeping Yogi Pose — Yoga Nidrasana

Yoga Nidrasana requires a lot of flexibility in the hips, especially external rotation.
Step 1: Come onto your back and bend the knees into your chest. Open the knees out to the side and cross one foot over the other.
Step 2: Reach under the legs and bring the feet towards your forehead, letting your sitz bones come off the ground.
Step 3: Press the feet towards the floor behind you and weave your head through the legs. Let your head rest on the feet and bring your hands in prayer. Hold posture for several breaths.
Step 4: To release, bring the feet back in front of the head and release the legs down to the earth.
Iron Cross Headstand Pose — Mukta Hasta Sirsasana C Pose

This inversion requires patience, focus, and hardcore balance!
Step 1: Come to hands and knees in a table position. Place the top of the head on the ground with the elbows bent at 90 degrees, forearms to the earth.
Step 2: Walk your hands out to the sides of the head, keeping the elbows bent, and straighten the legs. Walk the legs in towards the head.
Step 3: Inhale, shift your hips over your shoulders and use the muscles of the core to lift both legs up and off the mat. Straighten the legs and keep them together with toes pointed so you are in a tripod headstand.
Step 4: Once you feel stable, walk the hands out further away from the head and straighten the arms with palms faced down to the floor.
Step 5: Hold posture for 5 breaths. To release, bring your feet down to the earth and come into a child’s pose.
Peacock Pose — Myaurasana

This beautiful posture requires power in the glutes and the core.
Step 1: Come to your mat on hands and knees. Point your wrists in towards each other and spread your fingers out on the mat. Experiment with your hands touching and being slightly apart here.
Step 2: Shift your weight forward and bring your heels up close to the glutes. As you lean forward, bend the elbows and bring them inline with the belly button.
Step 3: Keep the eyes looking forward and lift the knees off the floor. The chest will be far forward as you lift the legs up and out behind you. Hold Peacock for at least 5 breaths.
Step 4: To release, bend the knees back and bring the feet to the earth. Lift off of the arm balance and back into table position.
Handstand Scorpion Pose — Vrschikasana Pose

This posture is a handstand and deep backbend. Any handstand posture requires strength in the upper body and stability within the core.
Step 1: Begin in a downward dog posture. Move the shoulders over the hands and lift the legs off the floor. Straighten the legs up to a straight line to find your balance.
Step 2: Move your chest forward and gaze in front of you. Shift the hips over the shoulders so your legs are extended over the head. At this point your back is in a deep bend.
Step 3: Open the legs and bend the knees. Bring the toes together over the head and hold for 5 breaths.
Step 4: To release, straighten the legs back up and into a handstand. Lower the legs to the floor behind you back in downward dog.
After any deep back bend, it is important to do a counter posture. Take child’s pose for 10 breaths after Vrschikasana.
One-Legged Inverted Staff Pose — Eka Pada Viparita Dandasana Pose

This posture is a deep back bend that stretches the backs of the arms and opens all front chakras of the body.
Step 1: Lay on your mat on your back. Bring the feet close to your sitz bones with the heels hip width apart. Place the hands up by the shoulders.
Step 2: Lift your body off the mat, and place the crown of your head on the floor. Drop both forearms to the floor by the head. Straighten both legs slightly as you lift through the feet and the pelvis.
Step 3: Lift one leg up to the ceiling. Hold here for 5 breaths. Lower the leg back down and lift the other. Hold for another 5 breaths.
Step 4: To release, bend your knees and place the crown back on the earth. Lift your forearms off the mat and place your palms by the head. Lower down one vertebrae at a time.
Pose to Visvamitra — Visvamitrasana Pose

You might as well be a superhero in this powerful posture that was dedicated to the Guru Visvamitra.
Step 1: Begin from downward dog. Inhale, right leg lifts to the ceiling. Exhale, bring the right leg into a lunge with the foot between the hands. Tuck the right shoulder underneath the right knee. Turn the left foot out.
Step 2: Grab the outside of the right foot with your left hand, balancing on the right arm. Open the ribcage and the left side body up to the sky.
Step 3: Straighten the right leg out to the side, stretching the side body deeply. Lift through the arch of the left foot. Hold here for 5 – 10 breaths.
Step 4: To release, return to a lunge and into downward dog. Repeat these steps on the left side.
Dancer Pose — Natarajasana Pose

This deep backbend requires core strength and balance.
Step 1: Stand in tadasana and find your dristi. Transfer the weight into the left leg. Take the right foot with your right hand and straighten the leg. Externally rotate it out to the side.
Step 2: Bend your knee behind you and press your chest forward. Grab the foot on the outside and lift it up towards the shoulder.
Step 3: Flip the shoulder by grabbing the top of the foot with your hand and bend the elbow at 90 degrees.
Step 4: Reach back with the other hand to grab the foot with both hands. Stretch the leg up and open the front of the body all the way up through the arms. Hold here for 5 breaths.
Step 5: To release, loosen the grip off the foot and lower the leg back down to the floor. Repeat this on the other side.
Handstand Lotus Pose — Padmasana Pose

Step 1: Begin in downward dog. Stack the shoulders over the hands. Lift the legs one at a time into a handstand posture.
Step 2: Cross the legs and fold them into lotus pose. Lower the hips and hold here for 5 breaths.
Step 3: To release, uncross the legs and lift them back up into handstand. Bend the knees and place the feet back on the earth behind you.
Tortoise Pose — Kurmasana Pose

This posture is a deep stretch for the hips and hamstrings.
Step 1: Sit in dandasana. Bend both knees and open the feet one legs length distance apart.
Step 2: Open the knees and slide the arms out to the side and slightly back behind the line of the hips. Wiggle the shoulders underneath the knees and bring the feet closer together.
Step 3: Lower the torso to the mat and straighten the arms under the legs. Straighten the legs as much as you can over the arms with the feet flexed. Hold here for 5 breaths.
Step 4: To release, inhale and release the arms out from underneath the legs and bring them forward in between the legs.
Big Toe Bow Pose — Padangustha Dhanurasana Pose

This deep backbend activates the sacral and root chakras while stretching the entire body.
Step 1: Begin in sphinx pose. Bend the right leg behind you and reach for the foot with the right hand.
Step 2: Bend the left leg behind you and reach for the foot with the left hand.
Step 3: Inhale, lift the feet and hands to balance on the pelvis and the belly.
Step 4: To release, let go of each leg at a time and return to sphinx posture.
Frog Pose — Bhekasana Pose

Frog pose deeply stretches the hips and quadriceps and opens the root chakra.
Step 1: Begin in sphinx posture. Bend the right leg behind you and take the calf muscle out to the side of the thigh and hip with the right hand.
Step 2: Bend the left leg behind you and out to the side. Press the tops of both feet down on the mat with your palms.
Step 3: Lift the upper torso off the mat and open the chest.
Step 4: To release, lower the body down and release the legs behind you.
Firefly Pose — Tittibhasana Pose

Firefly is a challenge for the legs, core, and arms. This balance requires strength and flexibility.
Step 1: Begin standing on your mat with your feet slightly wider than the hips, toes pointed out to 45 degrees. Bend the knees and come down into a squat with your heels on the earth.
Step 2: Press the palms together in anjali mudra, opening the knees with the elbows. Place your hands down on the mat and lift the hips, pressing the legs into your upper arms.
Step 3: Bring your hands behind the heels on the floor. Place the knees over the upper arms and come into a squat.
Step 4: Shift the weight into your hands, lifting each foot off the mat. Straighten the legs out in front of you, squeezing the thighs against the arms. Hold for 5 breaths.
Step 5: To release, bend the knees and bring the feet to the earth. Release the arms and come down onto your sitz bones.
Disclaimer

Yoga isn’t just about turning yourself into a soft pretzel!
Even if you have posture envy sometimes, remember that your journey is your own. There is no need to compare yourself to anyone except yourself.
Be safe, have fun, and meet yourself where you are today!
An fascinating dialogue is price comment. I think that it’s best to write extra on this topic, it might not be a taboo topic however usually persons are not enough to speak on such topics. To the next. Cheers