Hannah is a former email marketing manager and long-time yoga…
Hip pain can come in many forms whether it be pain, discomfort, or tightness.
It can affect your everyday life. Even the simplest tasks can be difficult such as standing, walking, or even sitting.
Your hip flexors, gluteus medius, and gluteus maximus can be weak and/or short. This not only causes pain but can cause issues with your posture. You’re also more prone to injuries in your lower extremities.
Let’s dive into 15 yoga poses you can do at home to release tightness and improve your mobility.
First, let’s discuss what tight hips are, the causes, and the muscles of your hips to be aware and adjust your movement.
Seek medical attention immediately if the pain is severe or continues to persist.
How Can You Tell?
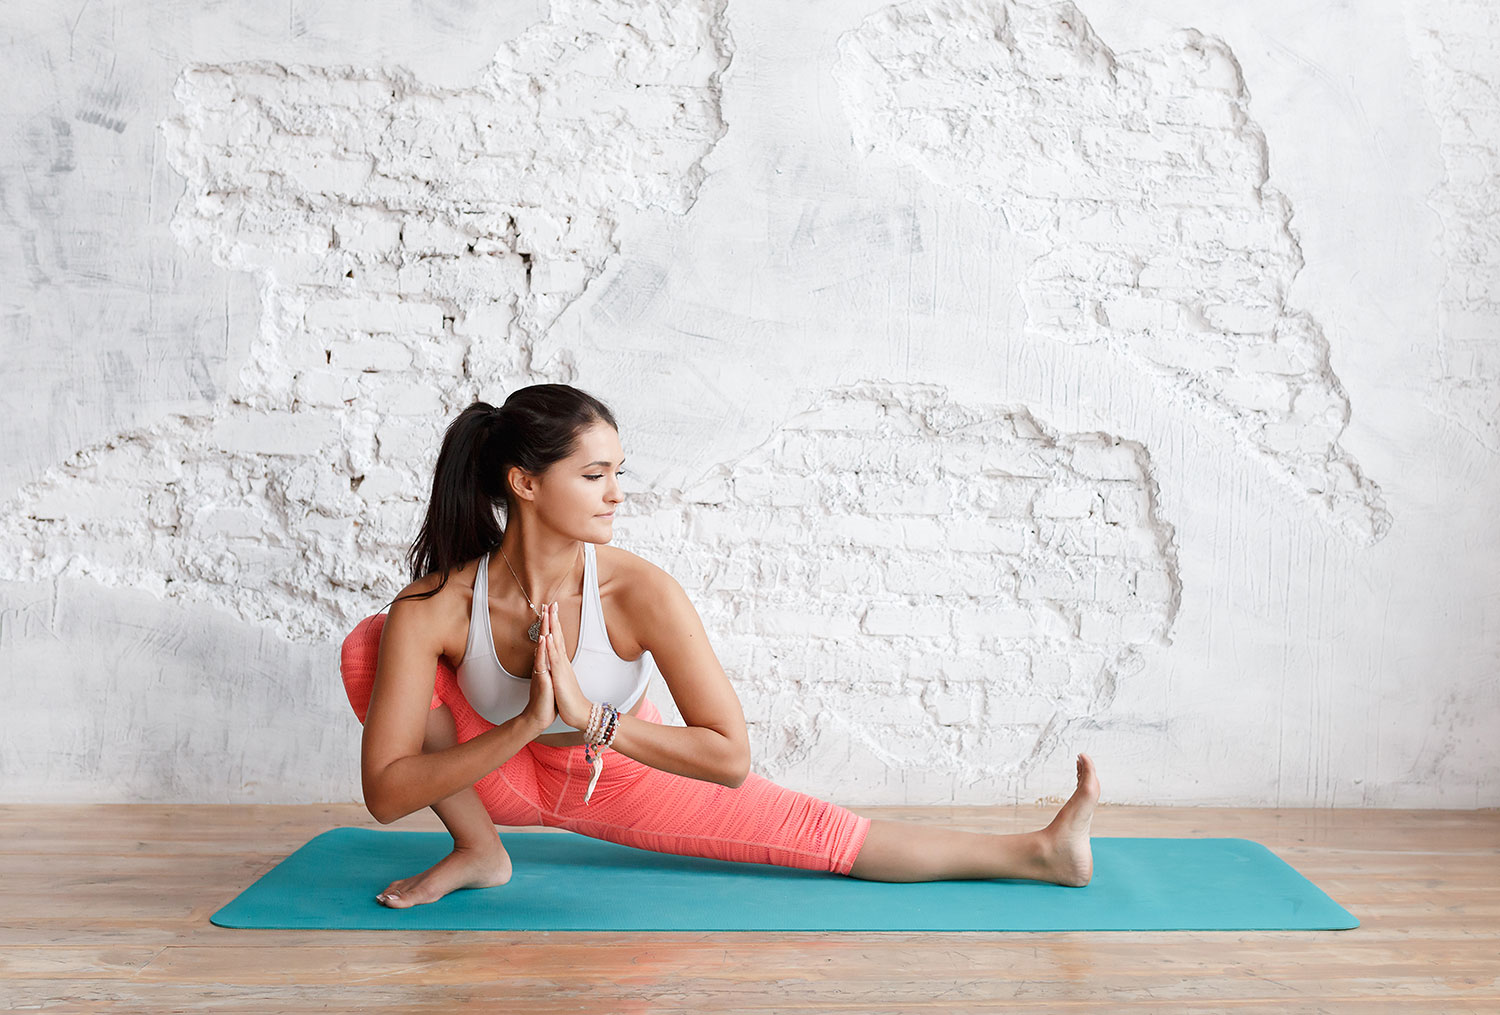
Other than the obvious discomfort in your hips, how else can you tell? There are a few other signs you should be aware of.
First is an ache or tightness in your lower back. This can be particularly noticeable when you’re standing. You may have difficulty standing in the first place or poor posture.
You could have pain in your glutes or even tightness or pain your neck.
It’s amazing how one part can affect the rest of your body!
Causes of Tight Hips
There are many causes for tight hips. Some can be structural such as a tipped pelvis or having one leg longer than the other.
Other causes can be habitual. Examples are sitting for long periods or sleeping all night on only one side of your body.
Lastly, your posture can also cause tight hips. If you have a habit of leaning over on one hip or leaning forward while standing, this too can affect your hips.
Be aware of these habits and adjust accordingly. Especially if you start feeling tightness or discomfort in your hips.
Muscles of the Hip Flexor
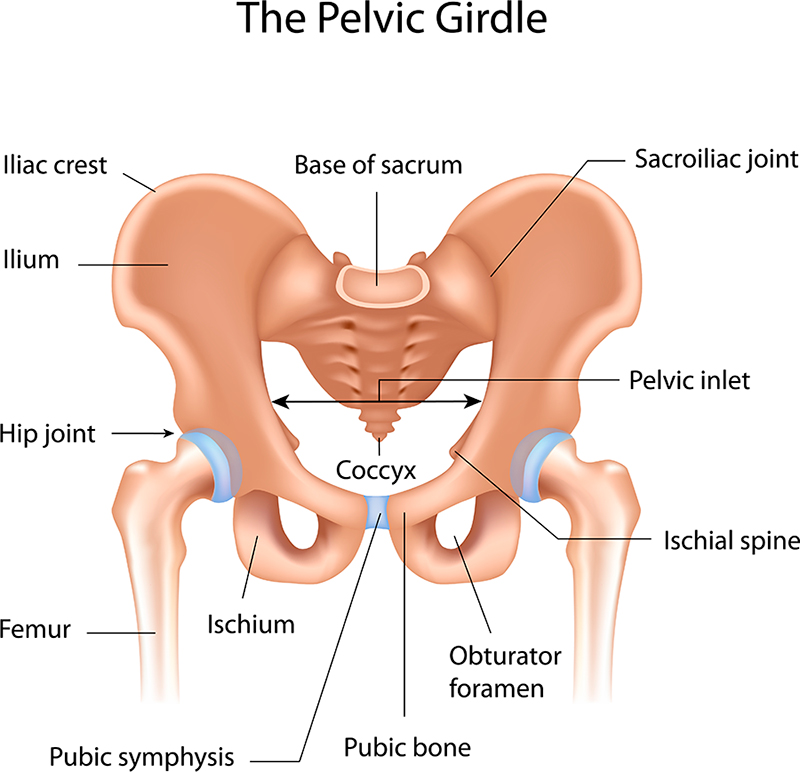
There are 5 muscles of the hip flexors to be aware of and what they do.
- The Psoas Major is the muscle connecting your spine to your leg through your lower back and pelvis.
- The Iliacus attaches your pelvis to your thigh bone. This is the muscle that flexes and rotates your thigh.
- The Rectus Femoris is a muscle in your quadriceps. It’s one of the four and attaches your pelvis to the patella of your knee.
- The Pectineus is your groin muscle known for hip flexion and rotating your thigh and adducts.
- The Sartorius runs down your thigh connecting the pelvis to the knee. It assists in flexion of the knee and leg.
Keep these muscles in mind and be aware of where the pain is located as you practice these 15 beginner yoga poses. Each pose targets various muscles and movements of your hips.
15 Beginner Yoga Poses
Below are 15 beginner yoga poses. Each one targets the various muscles and movements of your hips. Props are not required but you may want a yoga mat, 2 blocks, or a yoga strap on hand.
1. Bitilasana Marjaiasana – Cat Cow Pose
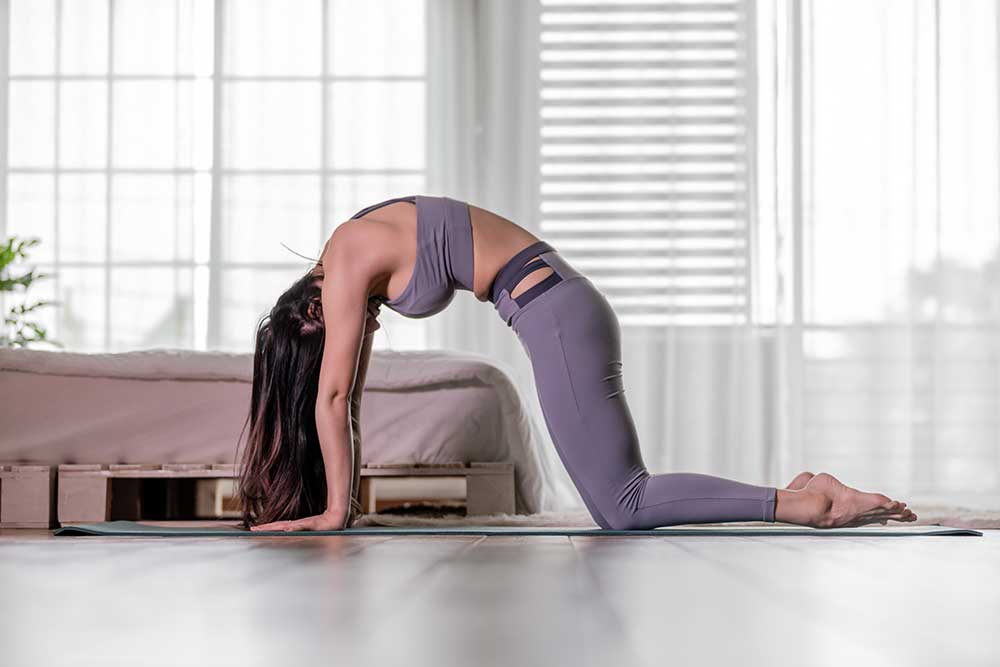
Try this basic pose to target your back, hips, core, and chest. Start in a tabletop position. Your wrists are directly under your shoulders and your knees under your hips. Your shins are parallel with the sides of your yoga mat. As you inhale, drop your belly towards the ground. Squeeze your shoulder blades together turning your gaze to the corner of the room or sky. This is cow pose.
As you exhale, round your back and separate your shoulder blades. Turn your gaze toward your belly button. This is cat pose. Alternate between the two poses matching your inhales and exhales.
Repeat for at least 10 breaths, more as needed.
2. Paschimottanasana – Seated Forward Fold Pose
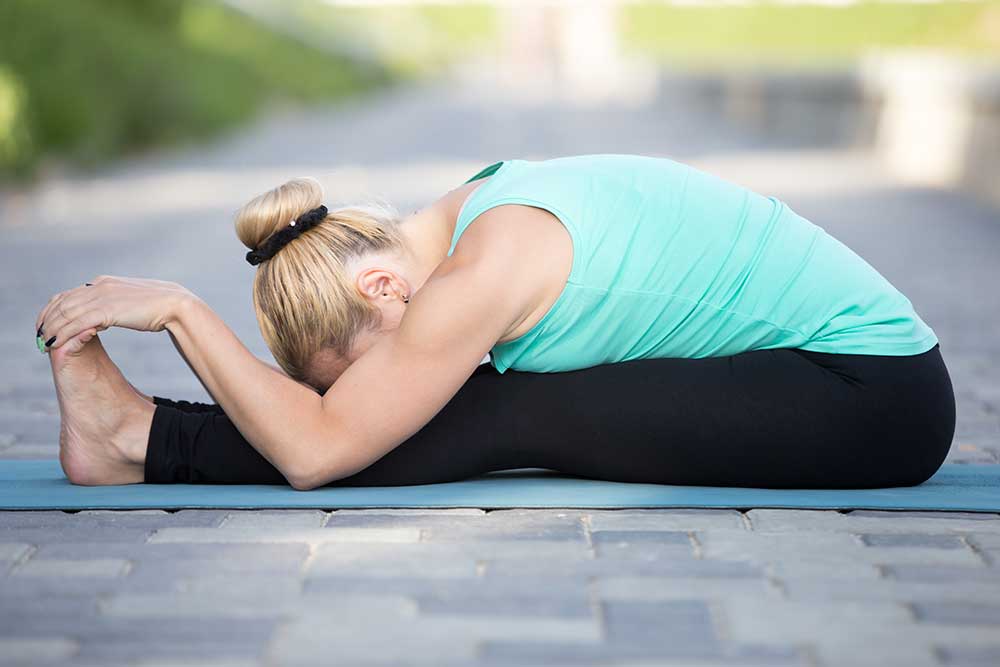
The seated forward fold will target tight hamstrings. Start in Dandasana, staff pose. Have a seat on the ground. Stretch your legs out in front of you, feet hip-width distance apart. Keep a straight spine and shoulders stacked over your hips. Press your hands into the ground each side of your body.
To move from staff pose into a seated forward fold, inhale your arms by your ears. On an exhale, hinge forward at the hips reaching for your shins, ankles, or feet. You can get deeper into the pose by using a yoga strap. Loop the strap around the arches of your feet and forward fold.
Hold for 5 breaths, then release back to Dandasana.
3. Janu Sirsasana – Head to Knee Forward Bend Pose
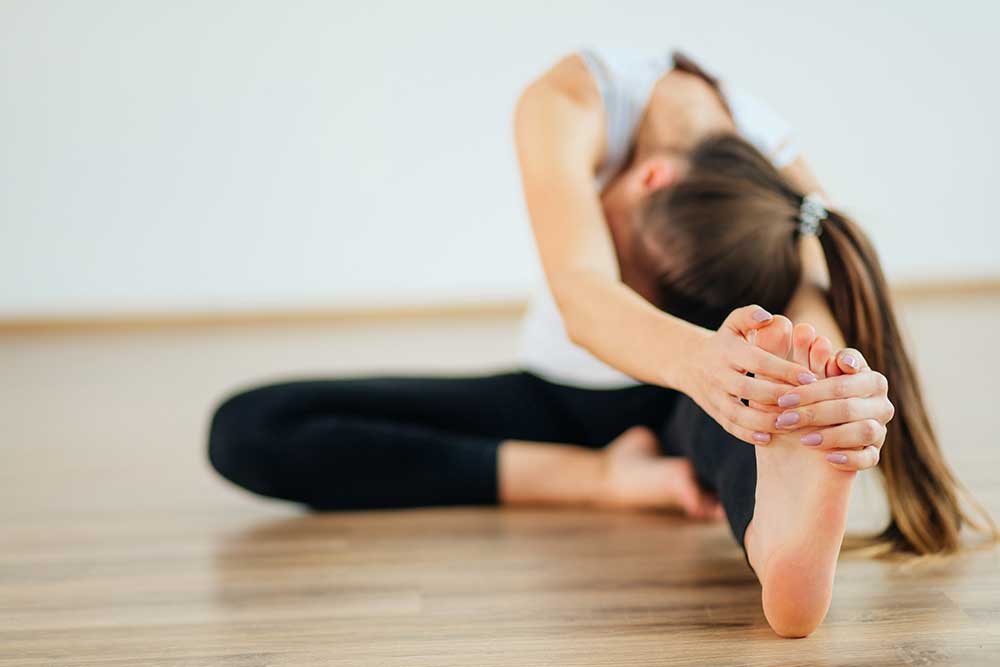
This pose also targets tight hamstrings. Starting in Dandasana, grab your right ankle with your hand. Place the sole of your foot to the inside of your left thigh. Inhale your arms over your head. Hinge forward at the hips, keeping a flat back as you reach your hands to your shin, ankles, or foot. You can use a yoga strap to pull yourself deeper into the stretch.
Hold for 5 breaths, then release back to Dandasana.
Repeat on the other side. Grab your left ankle with your hand and place the sole of your foot to the inside of your right thigh.
4. Baddha Konasana – Bound Angle Pose
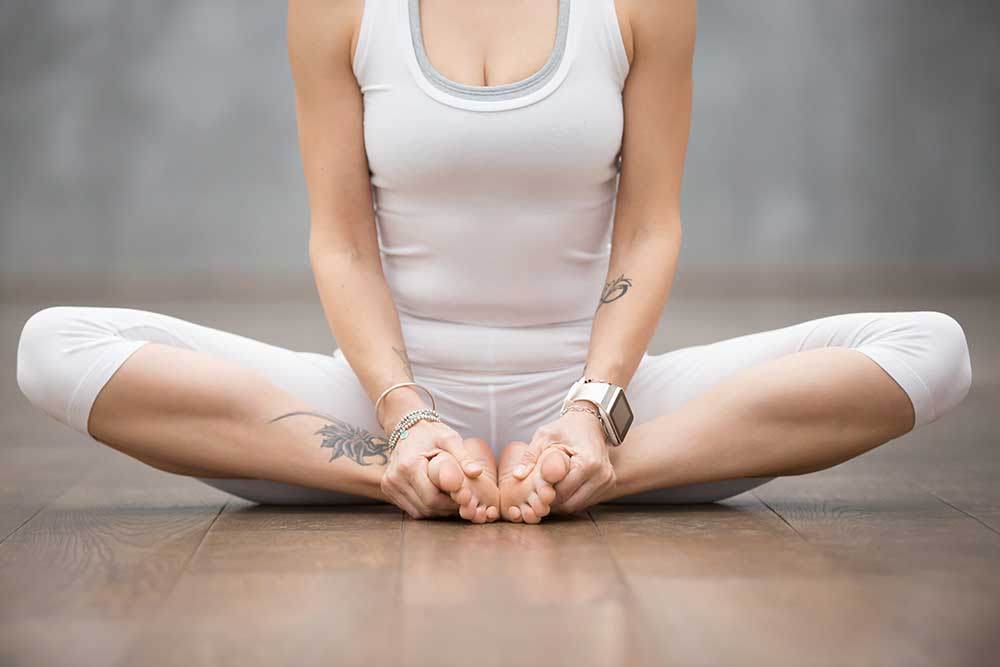
Bound angle pose and it’s variations target the inner thighs. Start in Dandasana, then grab both feet in each hand and bring the soles of your feet together. This will create a diamond-like shape with your legs on the ground.
Scoot your heels in towards your pelvis. If this is intense on your hips, add a yoga block under each knee for support.
If you’d like to make this more of a challenge, you can press open your knees or take a forward fold.
Hold for 5 to 10 breaths.
5. Virasana – Hero Pose
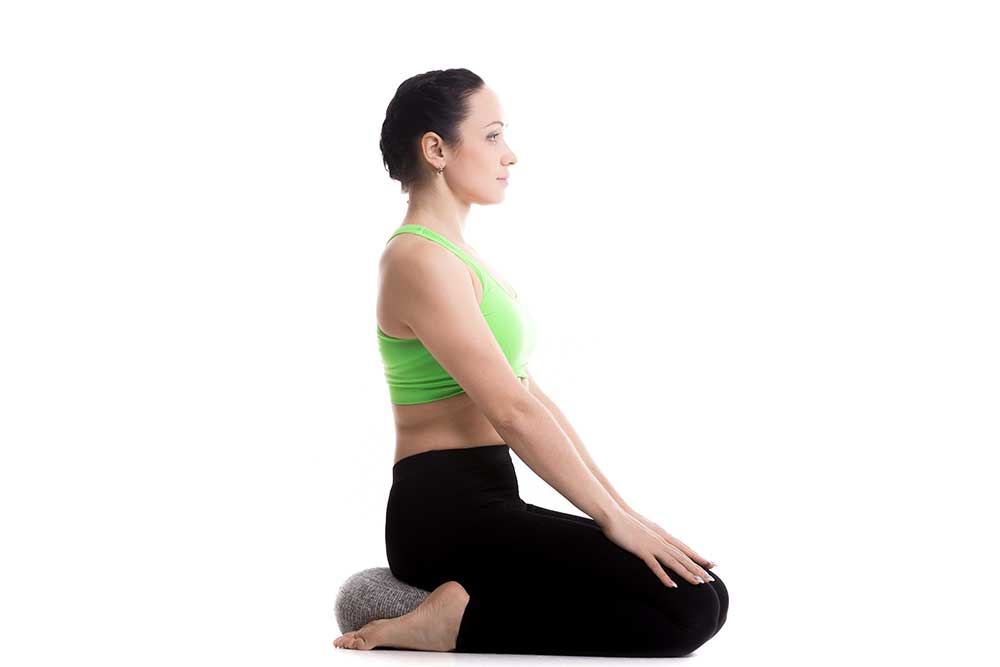
Hero Pose targets the internal rotation of your thighs. Start in a kneeling position, with your shins on the mat and feet wider than your hips. Sit back on your heels with your hands resting on your legs. Place a yoga block on it’s lowest height between your ankles for more support.
To intensify the stretch, lean back onto your hands or forearms. You can even go as far as laying on your back. Focus on keeping your knees internally rotated.
Hold for 10 breaths.
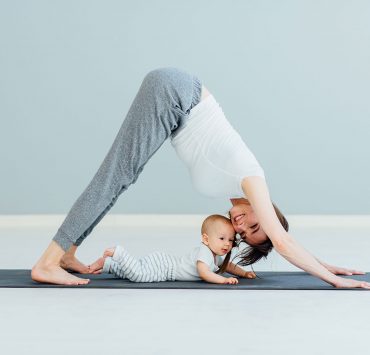
6. Eka Pada Adho Mukha Svanasana – Downdog Splits Pose
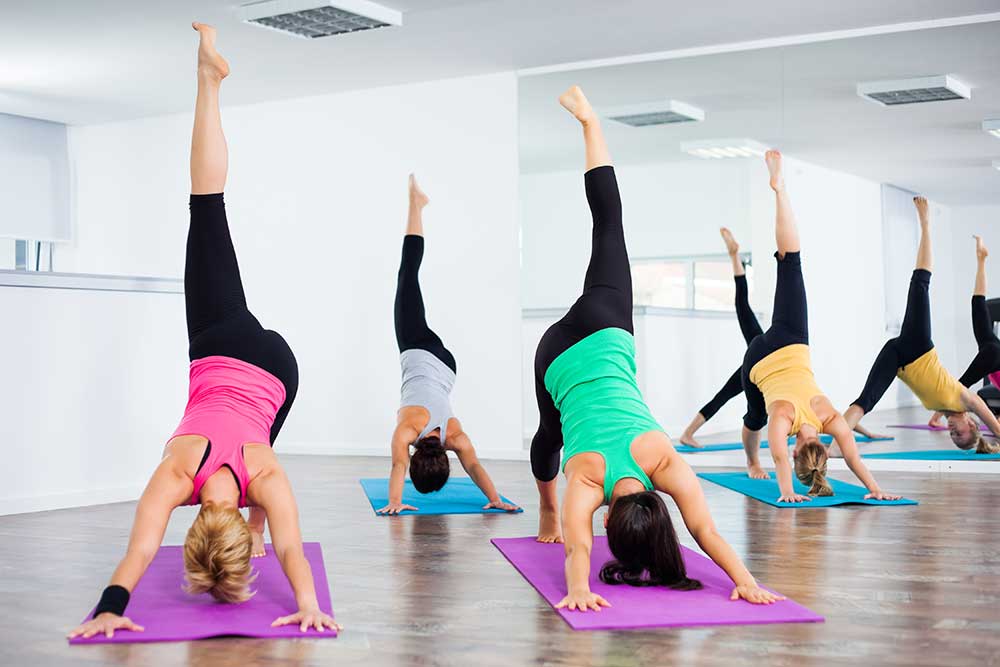
This pose targets your hip flexors. Start in a downward-facing dog. Inhale your right leg up to a 3-legged dog. Create length from the tip of your right fingertip to your right big toe.
Bend your knee at a 90-degree angle and open it to the left side. Your hips stack on top of each other. Peak under your left armpit and find your toes, they should be pointing toward the ground. You can also find movement in the foot. Wiggle the toes or take clockwise and counterclockwise rotations of the ankle.
Hold for 3 – 5 breaths, then reset in downward facing dog and repeat on the left side.
7. Ananda Balasana – Happy Baby Pose
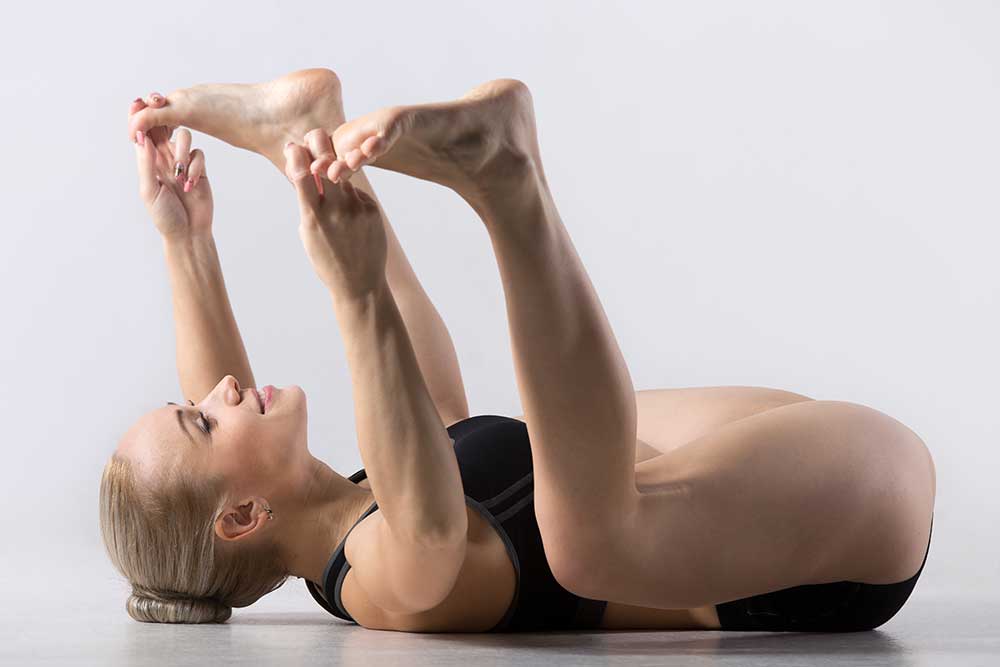
Happy baby pose targets your inner thighs. Start on your back in Apanasana also known as knees to chest pose. Lie on your back, pull your knees into your chest and wrap your arms around your shins. Move from Apanasana to Ananda Balasana. Reach both arms to the inside of the knees grabbing the outer blades of your feet. Your forearms cross at your shins. The soles of your feet are facing the ceiling as you pull your knees towards your armpits.
Option to rock from side to side to massage your lower back!
Hold for 10 breaths, release to Apanasana.
8. Supta Kapotasana – Supine Pigeon Pose
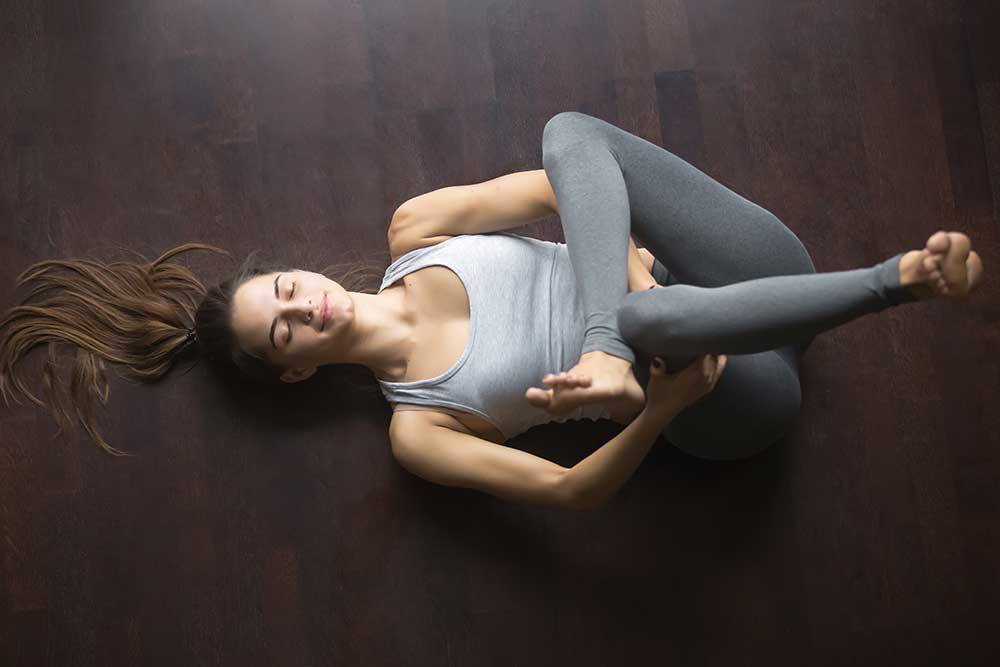
Supine pigeon targets the outer thighs. Start on your back in Apanasana. Place your right ankle on your left knee creating a figure 4 shape. Bring your hands behind your knee and gently pull the leg towards the front of the mat.
Hold for 5 breaths, then release and switch sides bringing your left ankle to your right knee.
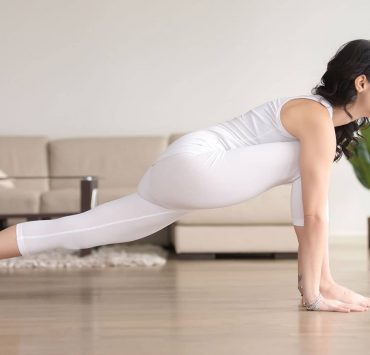
9. Anjaneyasana – Crescent Lunge
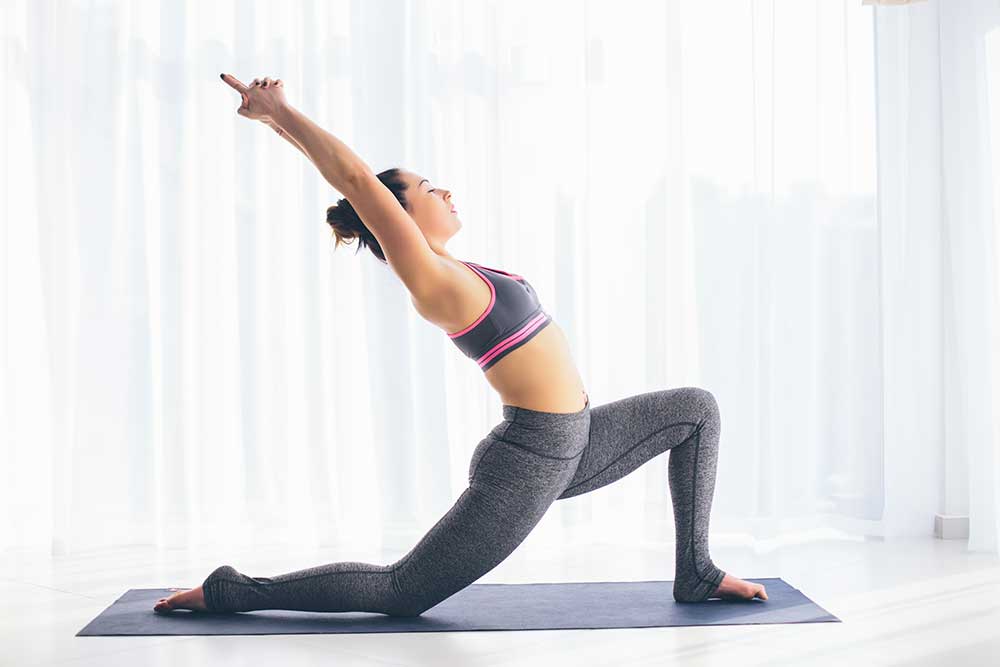
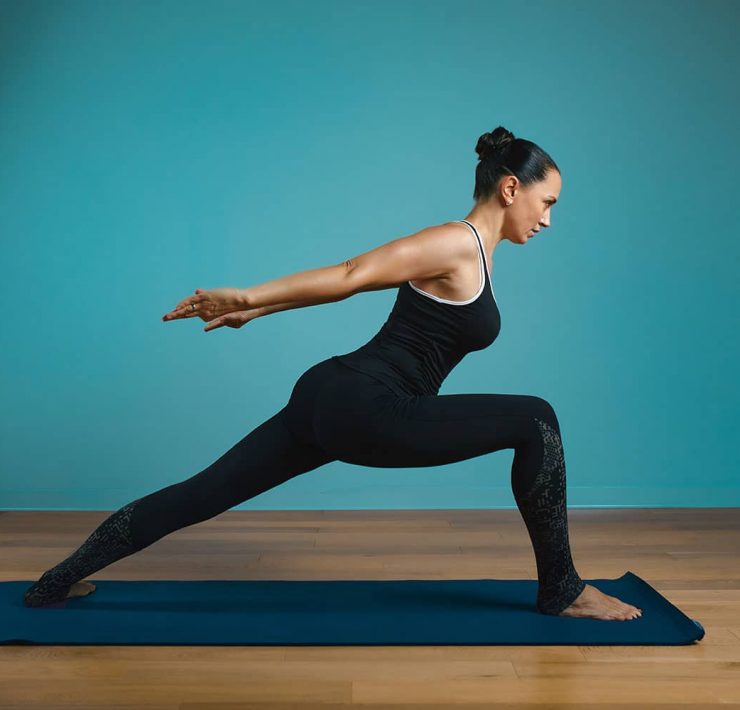
This pose targets your hip flexors. Start in your low lunge on the right side. Pay close attention to your alignment here. Your right knee should always be stacked directly on top of your right ankle. Drop your left knee onto the mat and sink your hips into this pose.
To take it even deeper, pick up your left knee and set it down an inch or so towards the back of the mat.
Hold for 5 breaths and repeat on the left side.
10. Jathara Parivartanasana – Reclined Spinal Twist
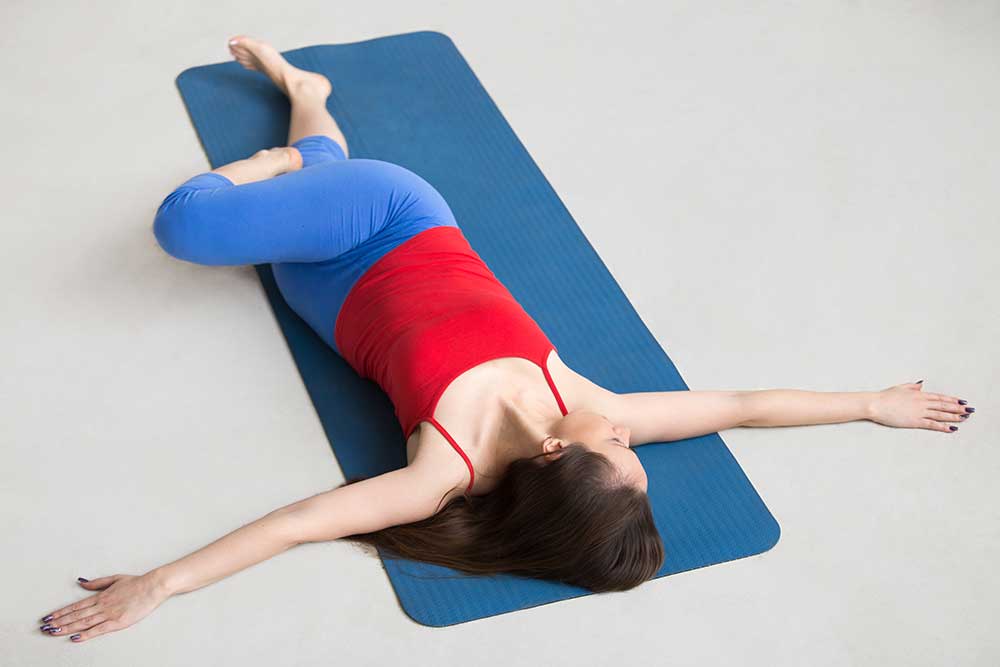
This pose also targets the hip flexors. Start on your belly face down on the mat, bring your arms out to your sides in a letter “T”. Lift the right leg, bending the knee to 90-degrees just as you did in your downdog splits. Twist through your torso bringing your right toes toward the ground outside of your left hip. Hold for 5 breaths.
Release and repeat on the other side.
11. Setu Bandha Sarvangasana – Bridge Pose
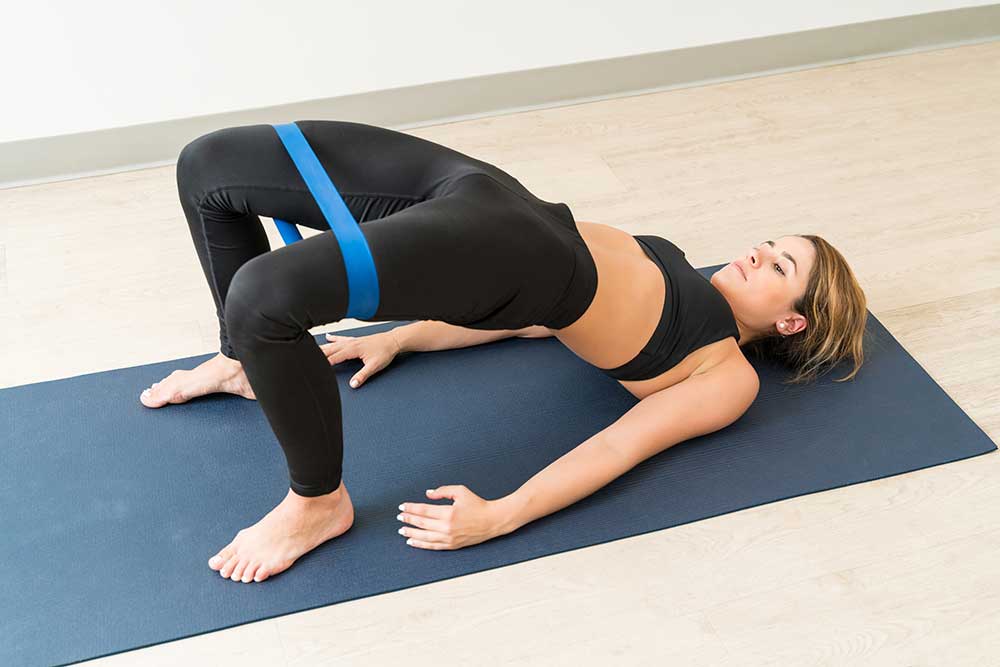
Bridge pose targets the hip flexors. Start on your back. Have your knees bent, feet flat on the floor, hip-width distance apart. Walk your heels comfortably close to your pelvis.
With your arms by your side, see if you can graze your heels with your fingertips. Press through your arms and feet, engage your glutes, and lift your hips on an exhale. Hold for 5 breaths, then release to Apanasana.
Variation: externally rotate your shoulders as you interlace your fingers under your sacrum. Keep your hands on the ground.
12. Ustrasana – Camel Pose
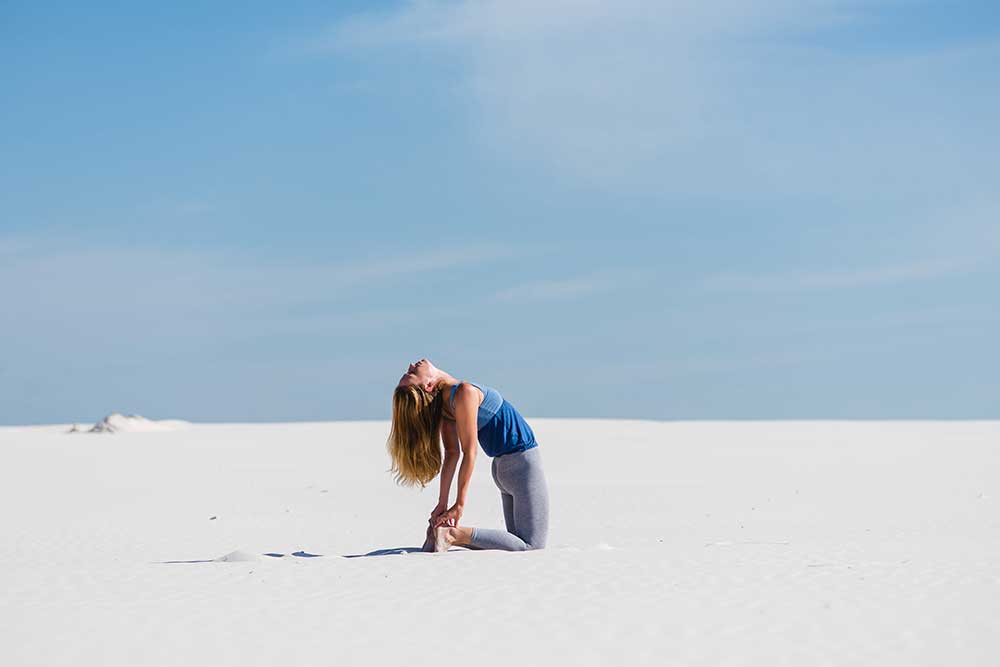
Camel pose is a backbend that targets the hip flexors. Practice this pose only if you are appropriately warmed up.
Start in Virasana, hero pose. See the above for instruction. Rise onto your shins with your toes tucked. Place your hands on your sacrum with your fingertips facing toward the ground. Gently press your hips forward as you lean back, creating a “C” shape with your spine.
To get deeper into this pose, reach your hands to yoga blocks. They should be on their highest height placed to the outside of your ankles or reach for your heels. For the deepest expression of this pose, reach for your heels and untuck your toes.
Hold for 5 breaths.
13. Eka Pada Rajakapotasana – Pigeon Pose
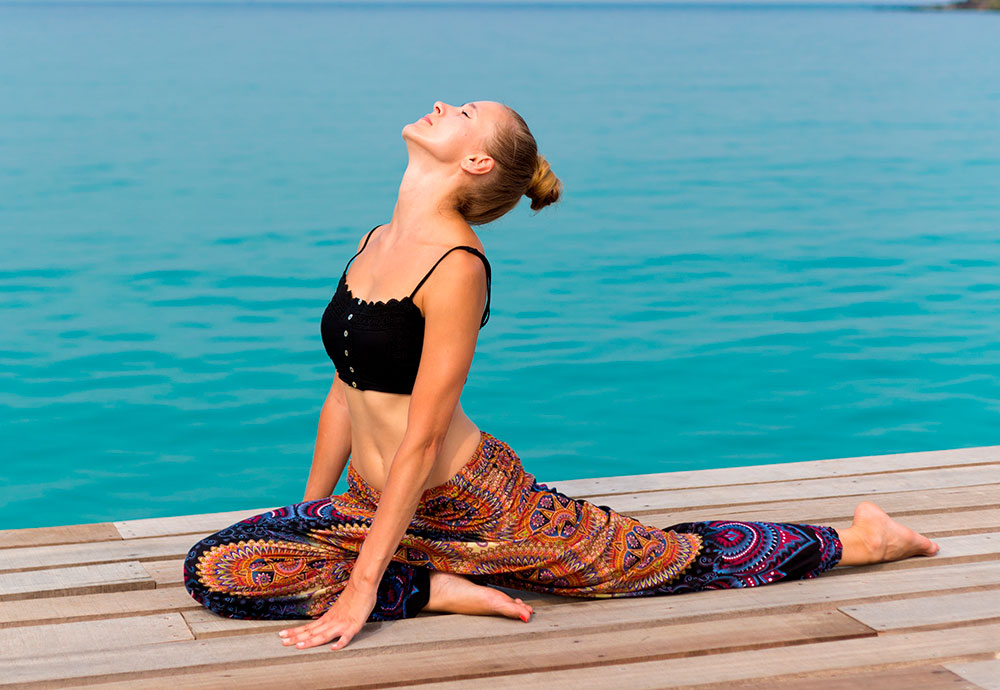
Pigeon pose targets your outer thighs. Starting in a downward-facing dog, inhale your right leg up to a 3-legged dog. On your exhale, place your right shin down on the mat at a 45-degree angle.
Make sure your right knee is to the outside of your right wrist. Keep your hands underneath your shoulders. Start to walk your hands forward, hinging at the hips over your right shin. Bring your forehead to a yoga block, your hands, or the mat.
Hold for 5 – 10 breaths. Release back to downward facing dog and repeat on the left side.
14. Agnistambhasana – Firelog Pose
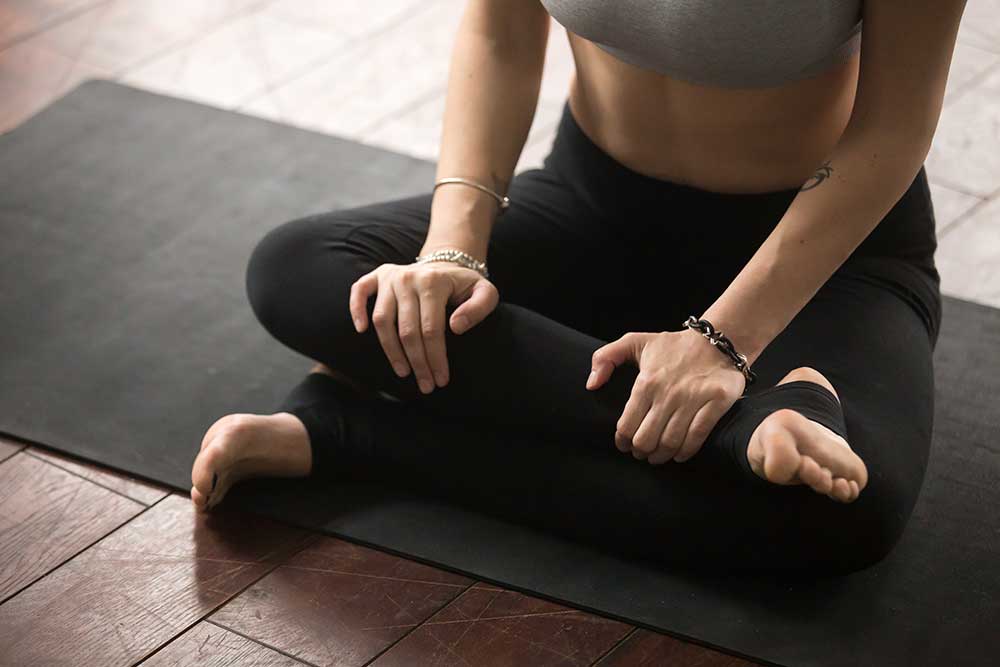
Firelog pose targets your outer thighs. Start in Dandasana, then reach down and grab your right ankle. Set your right shin on the mat parallel with the front of your yoga mat. Take your left outer ankle and set it on top of your right knee creating an “equals” sign with your shins.
If there is space between your left knee and right ankle, fill the space with a yoga block.
Hold for 5 breaths, then release and repeat on the left side.
15. Mandukasana – Frog Pose
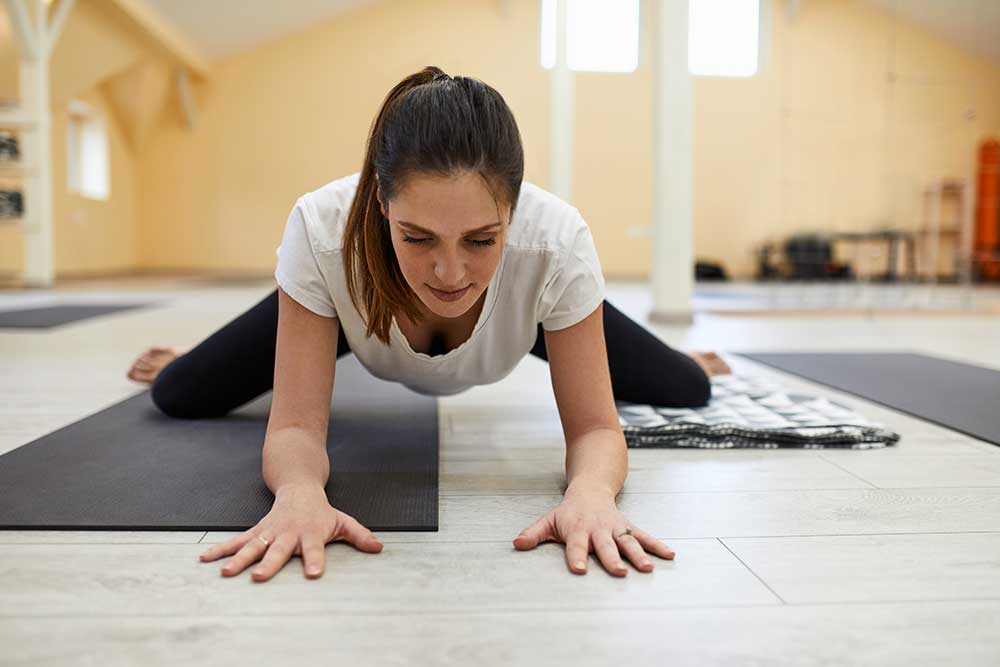
Frog pose targets your inner thighs. Start in a tabletop position, keeping your hands under your shoulders. On an inhale slide your right shin to the side stretching through the inner thighs.
On an exhale, press through the ground, returning to tabletop position. Repeat on the left side.
Hold each side for approximately 5 breaths.
For the full expression of the pose, slide both shins out to their respective sides at the same time. Hands remain under your shoulders. To get even deeper, bring your forearms to the mat.
Now what?
Now you’re aware of the signs of hip pain: tightness in your lower back, neck, or the glutes.
You’re aware of the causes. They are sitting for long periods or sleeping on the same side of your body all night. Postural issues come from leaning onto one hip or forward when standing.
You also know the 5 muscles of the hips. They are the Psoas major, Iliacus, Rectus femoris, Pectineus, and Sartorius.
Practice the 15 poses covered to release tightness and improve your mobility!
But again, please note that if the pain is severe or persists, first seek medical attention.
What's Your Reaction?
Hannah is a former email marketing manager and long-time yoga practitioner with an affinity for creative writing. She uses a combination of soothing language, compelling information, and relevant advice to appeal to readers and provide a sense of warm understanding.


