Yoga, meditation, and spirituality are at the top of the…
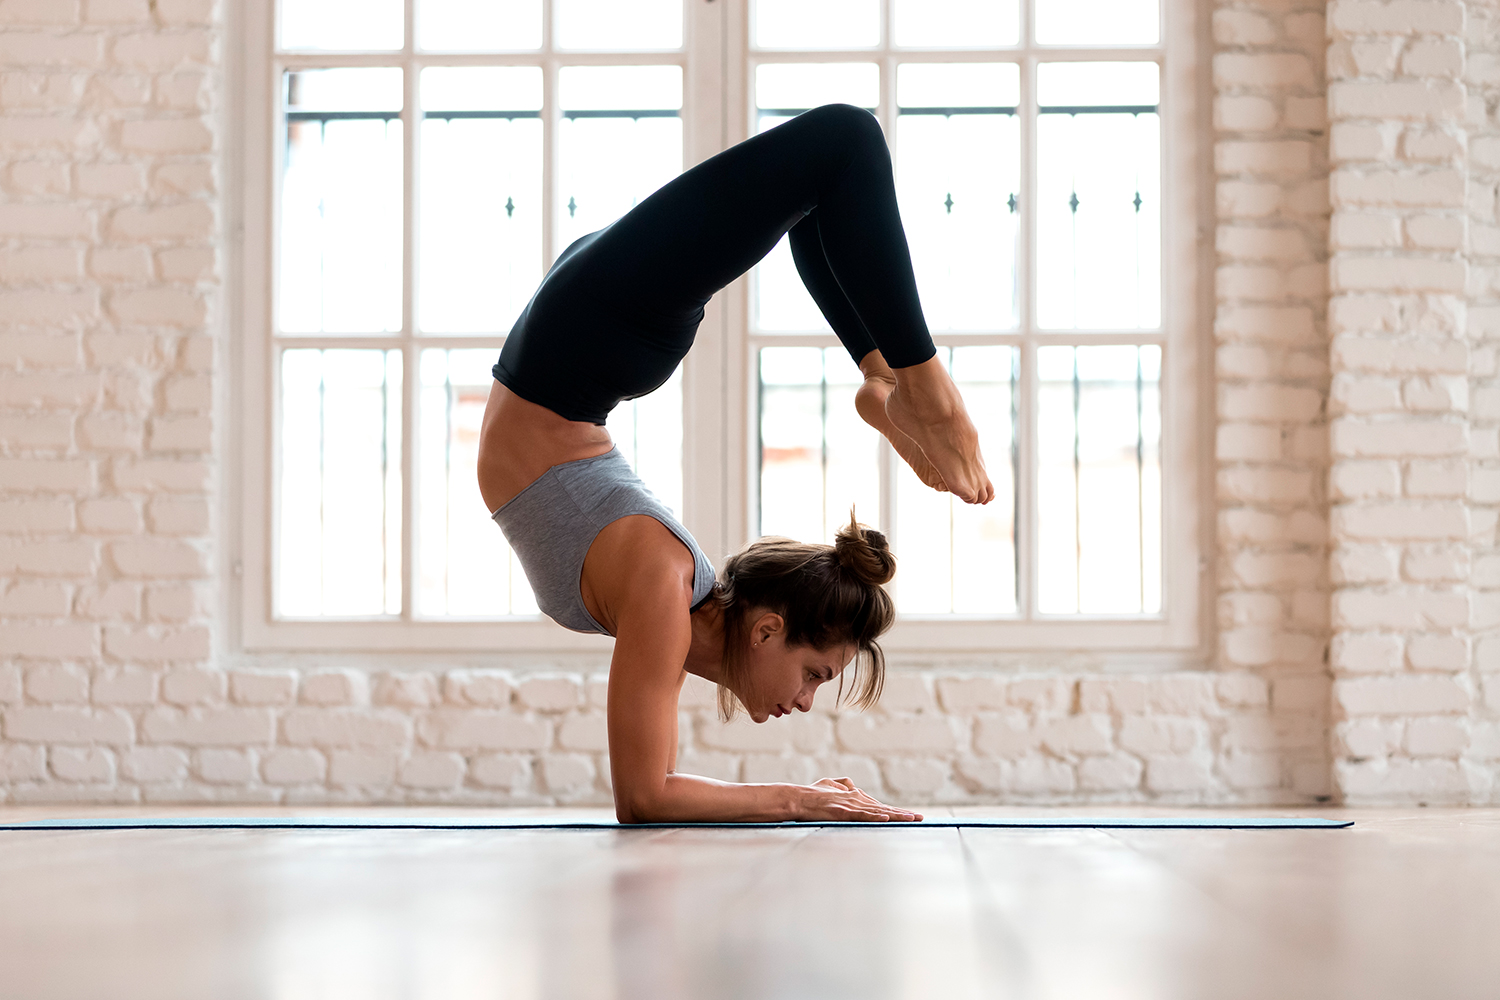
Handstand, or Adho Mukha Vrksasana, is one of the most intimidating poses in yoga. This inversion is physically demanding, not only because it requires incredible strength of the entire body, but because it also completely challenges our sense of balance by turning our world upside down and putting our weight into our hands. While it may be tempting to move into child’s pose when a yoga teacher cues to practice handstand, the pose can be made accessible with independent work and dedication. If you are ready to start working towards handstand, follow these guidelines to make the inversion a part of your practice.
Prep Poses
In order to work towards a full handstand, you need to not only work on your strength, but also get used to going upside down and putting your weight into your hands. In addition to continuing your well-rounded practice to help you develop your strength and balance, work on these poses so that you can make progress towards a full handstand.
Headstand Variations
Headstands can help you work on your balance while upside down, with the benefit of having a wider and more supportive base than a full handstand. Try these variations to begin to prep yourself for handstand.
Headstand Single Leg Kick Ups:

Bring your mat up against the wall so that you have a support behind you while you are in a headstand. Begin on your hands and knees. Interlace your fingers and place them approximately 5 inches away from the wall on the mat. Your forearms and elbows should be on the mat and separated from each other so that there is room for your head.
Put the crown of your head on the floor, so that your thumbs are resting against the back of your head. Ensure that the top of your head is on the mat, so that you aren’t putting weight too far forward or back on your head. Most of the pressure should be on your forearms, rather than your head.
Lift your knees off the mat and begin to straighten your legs with your feet remaining on the ground, so that your hips are aligned over your shoulders. Once you feel stable in this position, play with lifting one foot off the ground, bending the knee towards your torso. Place the foot back down and try on the other side.
As you get comfortable with this, you can try alternating more quickly to further challenge your balance. Continue doing this for about 30 seconds to a minute. Rest before moving into the next variation.
Headstand Tuck:

Recreate a steady forearm and head base as outlined above, with your hips above your shoulders and toes on the ground.
Lift one foot off the ground as you did above, and bring the bent leg into your chest. Keep that leg lifted, and then bring the opposite leg into your chest as well, so that the weight is fully in your arms and legs. Engage your core and hold for up to 30 seconds, bringing a foot back down for balance if necessary. If you feel stable, you may want to play with straightening one leg up, and then possible the other so that you are in full headstand.
Ensure that you continue to breathe through this pose, and that your core remains engaged. Remember that the majority of the pressure should be in the arms, so keep them active and engaged as well.
Urdhva Prasarita Eka Padasana — Standing Splits Pose

Standing Splits pose, or Urdhva Prasarita Eka Padasana, is a precursor to handstand that allows you to get used to the sensation of having your head below your heart, while also warming up your legs.
Instructions:
Begin in a low lunge, with your right leg bent in front and palms on either side on the foot. Walk your hands a few inches in front of you, and start to place more of your weight in your front right foot.
On an inhale, start to straighten your right leg as you lift your left leg behind you, so that it is approximately parallel to the ground. Don’t force your left leg to go higher than your body allows–if it is more comfortable closer to the ground, leave it there.
Your hands should be on either side of your right foot, slightly in front of it, either on the mat or on two blocks. Your gaze should be behind you. Ensure that your hips remain squared to the front, and fight the urge to let your left hip rotate up. Also ensure that your right leg is rotating outwards, so that your knee is facing towards the front.
You can keep your palms on the ground (or blocks), or grab hold of your right ankle with one or both hands for more of a balance challenge.
Hold the pose for 30 seconds. Bring your leg back down on an exhale, and repeat on the opposite side.
L-Hops

L-Hops allow you to take Standing Splits one step closer to a handstand by putting your weight fully into your hands and kicking your legs up in an ‘L’ shape. It will also help you build up strength in the arms and core.
Instructions:
Start in Standing Splits, with your left leg extended behind you. Your palms should be pressing firmly into the ground, and your arms should be straight. Ensure that your gaze is behind you.
Begin to tilt your weight forward into your palms, so that your hips are working towards stacking above your shoulders. After playing with the sensation of putting more weight into your hands, begin to take small hops. Your left leg should work towards being perpendicular to the ground, while your right should work toward being parallel, creating an ‘L’ shape. You may not initially get your left leg fully up, so be patient as you are working towards it.
Be sure to land on slightly bent legs so that you are being gentle on the knees. Continue practicing on this side, and then switch to putting your weight on the left leg to balance your practice.
L-Pose with Wall Support

L-Pose will help you get used to the sensation of getting the upper half of your body perpendicular to the ground, while also strengthening your arms and core.
Instructions:
Bring your mat up to the wall, with the shorter edge lined up against it. Begin by sitting with your back against the wall and your legs straight out in front of you. Put a block (or any other object) in line with where your heels are. This will serve as a marker for where you should place your hands.
Come to your feet and move into downward dog. Your hands should be placed in line with your marker, and your heels should be touching the wall. The positioning may feel awkward, but fight the urge to move your hands forward.
As you press firmly into your palms, begin to walk your legs up the wall. Continue to do so until your feet are at about hips height and you’ve created an ‘L’ shape with your body. Ensure that you keep your gaze back towards the wall, and that your wrists, shoulders, and hips are all in line.
Since your upper body will be completely perpendicular to the ground, this positioning can be a bit frightening. Continue to fight the urge to move your hands forward or walk your feet up. Maintain the ‘L’ shape of the posture. Hold for 30 seconds or longer, and then slowly walk your feet back down to release.
Half Handstand

Half Handstand will take you another step closer to a full handstand, by building upon the work you did in L-Pose.
Instructions:
Move into L-Pose, as described above. Begin to lift your left leg up towards the ceiling, stopping once your leg feels like it is in a vertical line from heel to palm.
Ensure that your hips are square to the ground, and extend through your left pointed foot. Hold this position for about 30 seconds, and then repeat with the opposite leg.
Full Handstand Breakdown

Once you feel confident and prepared with the poses outlined above, you can start moving into full handstand. As you are moving into the pose for the first time, practice near a wall so that you have support behind you while upside down that will keep you safe.
Instructions:
Line the mat up against the wall. Move into downward dog, with your hands about 5 inches from the wall. Walk your feet slightly forward to shorten your stance. Ensure that your fingers are spread wide on the mat, and that you are putting pressure into your thumb and index fingers.
Bend your right leg (or whichever feels more dominant) slightly and bring it closer to your torso, keeping the foot on the ground. Keep your left leg straight. Shift your weight slightly forward so that your shoulders are stacked over your wrists.
Begin to hop up towards handstand, by pushing through your right leg and sweeping your left leg up. Your left leg should remain straight, and you should be working towards straightening your right leg up once your left leg is vertical. As you do these hops, ensure that your core remains completely engaged, and that you are pushing through your palms.
You may at first not be able to stay up–if so, continue to work on these hops to test your balance and strength. If you do find that you are able to keep both legs hovering off the ground, slowly extend your right leg up to match the left. If you fall back towards the wall, carefully take on leg off and then the other, until you are balanced with all weight in your hands.
Once you are balanced in the pose, continue to lengthen through your feet and tailbone, and be sure not to sink too much into your shoulders. Squeeze your legs together, and keep your core engaged and your gaze towards the room, rather than down at the floor.
Work towards holding for a minute. To release, carefully guide one foot and then the other back down to the mat, remaining lifted through your tailbone so that you aren’t putting too much pressure into your shoulders.
While handstand is one of the more intimidating yoga poses, it is actually incredibly accessible with the correct preparation and dedication. Remember that you likely won’t get into the pose on the first try. Practice the prep poses as outlined above, and be patient with yourself as you build up the balance and strength necessary to get into a full handstand. In a matter of time, you will be able to incorporate the beneficial inversion into your normal yoga flow.
What's Your Reaction?
Yoga, meditation, and spirituality are at the top of the list for writer and former nutritionist Amanda Carter. This devoted practitioner enjoys writing about health and wellness just as much as she enjoys living it.


