Life in our modern times can easily become frenzied, and because of this, it can be incredibly difficult to garner a sense of inner peace and release. Achieving such a state is the primary focus of restorative yoga, a slow and steady practice that can help us to rest and reset both body and mind. Never before has this form of yoga been so important. With distractions just a click away both night and day, our technological age has made it quite challenging for us to let go and to surrender. Even when the body slows, the mind continues to race, caught up in a world that is moving faster than ever before. Amidst this feeling of being constantly on the go, restorative yoga might just be the perfect antidote we are looking for.
What is Restorative Yoga?

Restorative yoga is a nourishing form of yoga that involves deep, passive stretching and fewer poses held for longer periods of time. In contrast to some of the more active, or “yang,” forms of yoga, restorative yoga encourages us to slow down, to let go, and to cease activity, both physical and mental. In doing so, it is a practice that relaxes both body and mind, easing the divide between the two. In restorative classes, props are used to encourage maximum comfort as students are invited to melt deeply into each pose.
Judith Hanson Lasater popularized the practice in the United States in the 1970s. Her practice and offerings stemmed from teachings of the well-renowned B.K.S. Iyengar whose use or props inspired Lasater’s own teachings. Lasater met Iyengar in 1974 and then went on to study yoga with him for the next 25 years.
Of the practice, Lasater writes, “We work very hard in our lives, and while we may sleep, we rarely take time to relax. Restorative yoga poses help us learn to rest deeply and completely.” By consciously bringing a sense of peace and stillness to the body, restorative yoga helps us to uncover our innate ability to be at ease with the present moment. There is no other primary goal in restorative yoga but to relax, truly and completely.
Restorative Yoga vs. Yin Yoga

Restorative yoga and yin yoga are often confused with one another. While there are many similarities between the two, they are not identical practices. Both forms carry “yin” energy, meaning that they are slow practices that work on releasing tension stored deeply within the body. Both are passive practices that guide students to sink deeply into poses, and for this reason they often have a similar overall feel and effect on students by the end of class.
The primary differences come down to comfort level and purpose. In restorative yoga, poses are meant to be completely comfortable whereas some discomfort in a yin practice is acceptable. Restorative poses focus on rest and relaxation whereas yin yoga works specifically with ligaments, joints, fascial tissue, and bones.
Yet despite their differences, inner balance and stillness are common to both practices. Students who love one of these two often love the other.
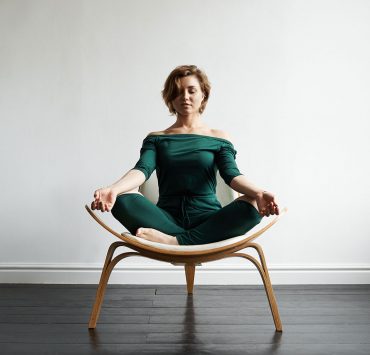
What to Expect in Practice

Restorative yoga classes carry a quiet vibe of calm and peace. Yoga instructors of this variety also tend to carry this energy innately within them. Restorative classes are held in quiet rooms with dimmed lights and are often (but not always) accompanied by soft music or intermittent bells.
Props are a fundamental component of restorative practice. At the beginning of any restorative class, students tend to prepare their space by grabbing a blanket, bolsters, blocks, a strap, and an eye mask and placing them within reach for later use. Warm clothes are also advisable. Since poses are held in complete stillness for long periods of time, body temperature does not ramp up the way it tends to in other more active yoga classes. Socks are also welcome in restorative classes to help ensure the body stays warm throughout the entire class.
Throughout the class one can expect to slowly move towards a state of peace and tranquility. When the session is complete, students tend to feel completely nourished and rejuvenated.
Benefits of Restorative Yoga

The benefits of restorative yoga are all encompassing, reaching the physical, mental, and emotional bodies. On a physical level, this practice helps to balance the nervous system, improve sleep, and facilitate physical healing. It is beneficial for facilitating recovery of many forms of injury; however, it is important to consult with a healthcare practitioner or advanced yoga instructor before practice in case contraindications exist between any pose and your condition.
On a mental and emotional level, restorative yoga helps to quiet the mind, reduce stress, and regulate emotions. One of the ways it does this is through activating the parasympathetic nervous system, also known as our “rest and digest system.” As we deepen the breath, drawing it further into the belly, and as we sink more deeply into each pose, we initiate the relaxation response, which causes the parasympathetic nervous system to kick in. This causes a decrease in the production of stress hormones, letting both body and mind know that it can rest easy.
Restorative yoga is a break away from the chaos of the everyday. It promotes overall wellbeing by offering the opportunity to step back from everything that captivates our energy and attention. It is an act of self-love that restores the body on numerous levels, freeing up and rebalancing our energy stores.
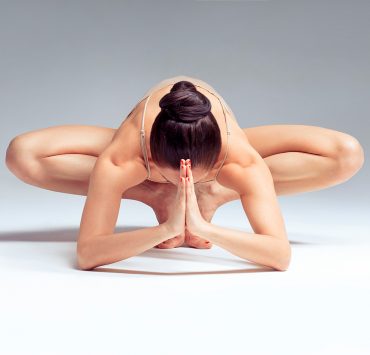
Restorative Yoga Poses
The following is a set of six restorative yoga poses that can help to bring relaxation to both body and mind. Before beginning any new practice, consult with a healthcare practitioner to ensure that the poses offered are right for you.
Salamba Balanasana — Supported Child’s Pose

For this pose you’ll need one bolster and a blanket or two.
- Place your bolster lengthwise on your yoga mat. For extra height, you may add a folded blanket on top of the bolster.
- Come to a kneeling position at the bottom of the bolster and then bring your knees just beyond hip-distance apart. Place another blanket beneath the tops of your feet for support. Draw your bolster towards your pelvis and allow your torso to come to rest on top of it.
- Bring your stomach, chest, and one cheek to rest on the bolster. Arms should be naturally bent and will come to rest on the floor alongside your bolster.
- Adjust the bolster in any way necessary until the pose is completely comfortable. Hold for five minutes or longer, swapping resting cheek halfway through to promote balance.
Viparita Karani — Legs-Up-the-Wall Pose

For this pose you will need a bolster and/or a blanket.
- Find an open wall for this pose and come to a seated position beside it, your left side body in contact with the wall. Feet are planted on the floor in front of you.
- Gently bring your back and head down to the floor. Lift your feet and pivot your body to bring the backs of your legs against the wall. Feet can relax so that their soles face up towards the ceiling. Your sit bones should be as close to the wall as possible, but a slight distance between them and the wall is acceptable.
- Engage the core and raise the hips slightly to slide a bolster or blanket beneath your hips and buttocks for extra height. Make any final adjustments necessary to find comfort, perhaps covering your upper body with a blanket for warmth.
- Place your hands on your stomach or by your sides and close your eyes. Hold the pose for 5 to 10 minutes.
- To come out of the pose, engage your core once again, raise your hips, and slide the support out from beneath you. Gently come to one side, remaining here for a minute or two before bringing yourself up to a seated position.
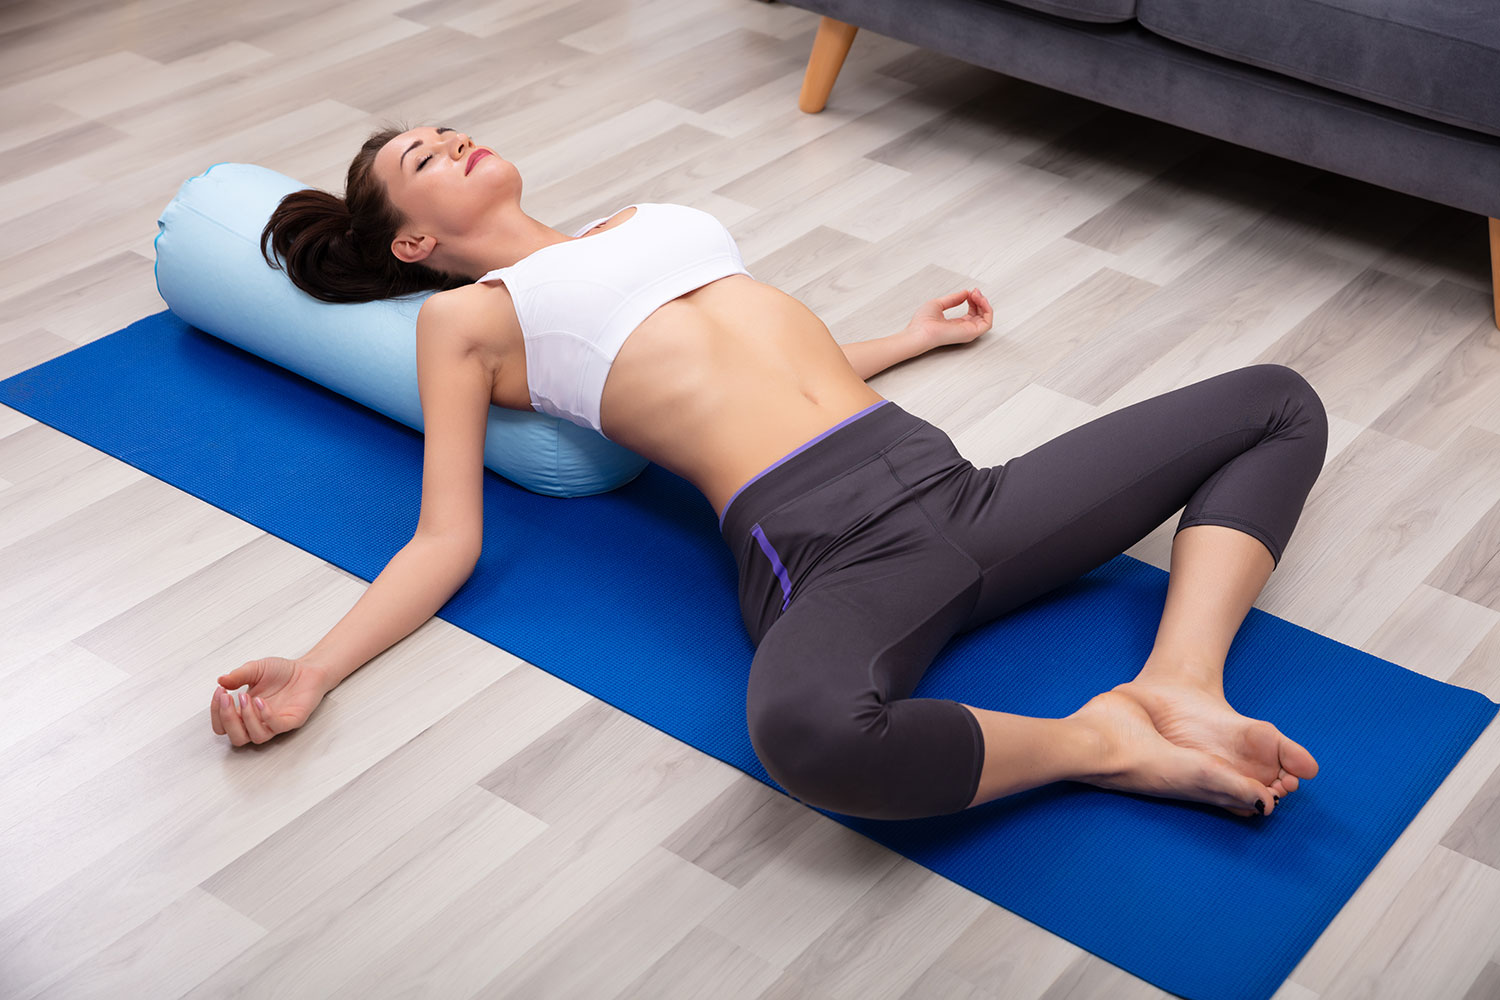
Side-Lying Savasana

There are a few versions of this pose, but for this one you will need one bolster and a blanket or two.
- Come to lie on your left side, placing a bolder lengthwise from your pelvic floor down. Bend your right knee and allow the inside of your right leg to rest on the bolster. Adjust as is necessary.
- Place a folded blanket beneath your head and bend your left arm. Place your forearm beneath your head, adding a second blanket beneath either your head or forearm if more cushioning is needed.
- Your right arm may rest on top of your right side body or may fall to the floor naturally. Choose whichever variation is most comfortable.
- Make any final adjustments and hold for 10 minutes or longer before carefully removing all props and returning to a seated position.
Baddha Konasana — Reclined Butterfly Pose

For this pose you will need one bolster and three blocks.
- Place a block at the top of your mat at a height that provides an incline that is most comfortable and stable to you. Rest your bolster lengthwise on your mat with the top end resting on the block. Come to a seated position, bringing your lower back to the bottom of the bolster and then gently lower yourself down so your head rests slightly higher than the rest of the body.
- Bend your knees and plant your feet on the floor, drawing them closer to the pelvic floor. Gently allow your knees to fall to either side, and then bring the soles of your feet to touch. Position one block beneath each knee for support.
- Make any final adjustments so that you are entirely comfortable. Let your arms rest on either side.
- Hold this pose for 5 minutes before reversing the motion to come out of the pose.
Matsyasana — Supported Fish Pose

For this pose you will require one bolster.
- Place your bolster lengthwise on your mat. If you find that the height is not comfortable for you, you can swap it for two folded blankets, one stacked on top of the other.
- Sit with your backside at the end of your bolster and slowly lean back, opening the chest as you settle. Your back and head should rest comfortably on the bolster.
- Bring your arms to a 45-degree angle away from the body, palms facing up. Maneuver as is required to find comfort in this position. Hold for 5 to 10 minutes or for as long as is comfortable.
- To release, gently roll to one side, coming to rest on the floor as you push the bolster away. Rest here for a few deep breaths before returning to a seated position.
Supported Savasana — Corpse Pose

For this pose you will need two bolsters, a block, and a blanket.
- Place your block near the top of your mat (at a height that is both stable and comfortable for you) and your bolster lengthwise, the top end resting on the block.
- Come to a seated position with the angled bolster behind you. Bring your sit bones to the edge of the bolster and carefully recline so that your head rests just about the spot where the block has added some height. Adjust your props and positioning as necessary for comfort.
- Stretch your legs out and place your second bolster beneath your knees. Cover yourself with a blanket for warmth and then allow your arms to rest by your side. If you have an eye mask, you can use this as well.
- Make any final adjustments necessary, close your eyes, and hold the pose for 10 to 15 minutes. To release, carefully remove the supports beneath you, roll to one side for a few deep breaths, and then slowly bring yourself back up to a seated position.
Conclusion
Restorative yoga is a gift for the entire body, encouraging full relaxation amidst a world that is otherwise constantly moving. It is a practice that provides profound benefits for both body and mind, offering a peaceful escape from our usual state of activity. Restorative yoga can be practiced at home, even without studio-quality bolsters and blocks. Use cushions and blankets in place of studio props to add support where it’s needed. As we open our hearts and bodies to this practice, we might wonder why it took us so long to sink into this.