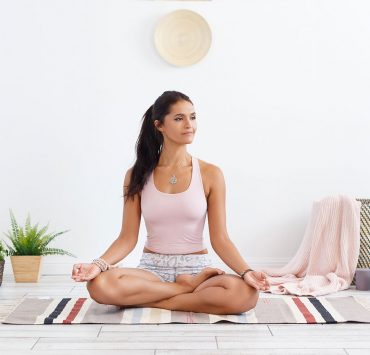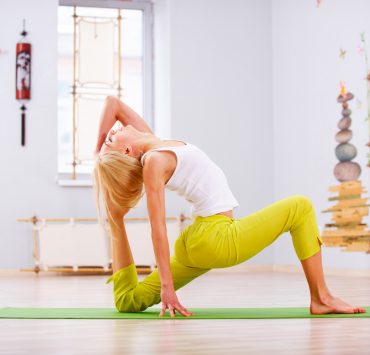
Whether they seem to completely defy the laws of gravity, require us to move our body against the way we think our limbs should bend, or just simply look a little funny, there are a lot of questionable yoga postures out there. This list gives you a look into 12 of the strangest yoga poses in the asana practice—as well as instructions for each, if you are looking to get a bit silly with your practice.
Karnapidasana — Knee-to-Ear Pose

Knee-to-Ear Pose, or Karnapidasana, takes the already funny-looking Plow Pose, or Halasana, and pushes it a step further. Considering the fact that your head almost disappears into your body, this one can look a bit creepy, but it provides an even deeper stretch through the spine than Plow Pose. Since your head is shielded from outside distractions, the pose can also be very relaxing.
Instructions:
From Plow Pose, begin to bend your knees towards your head and slowly lower your legs down towards the ground. You will want to guide your knees to either side of your head, but if they don’t touch the mat, keep your hands on your lower back for support.
If you are able to reach the ground with your knees, you can release your hands from your back and straighten your arms along the ground, so that they are extending away from your head. Come back up through Plow Pose to release, being mindful of putting any unnecessary pressure on your neck.
Viparita Parivrtta Surya Yantrasana — Super Soldier Pose

Even if you are crazy flexible, have super strength, and have insane balancing skills, Super Soldier Pose, or Viparita Parivrtta Surya Yantrasana, can be a hard one to practice—simply because it’s difficult to figure out exactly what is going on! This impressive pose is definitely for the advanced yoga practitioners, so only try it out if you are fully confident that it is something your body can handle.
Instructions:
Start in a forward fold. Slightly bend your right knee, and then hook your right shoulder behind it. Your right hand should be placed behind your right foot, and your left arm should extend out to the left, in front of your left leg.
Float your left foot off the ground as you bend your left leg, guiding the foot towards your right hip. With your left hand still on the ground, grab hold of your left foot with your right hand. Reach your left knee up towards the ceiling as you twist your torso to the left. Your spine should be long, and your right leg should be straight and engaged. Slowly release, and repeat on the opposite side.
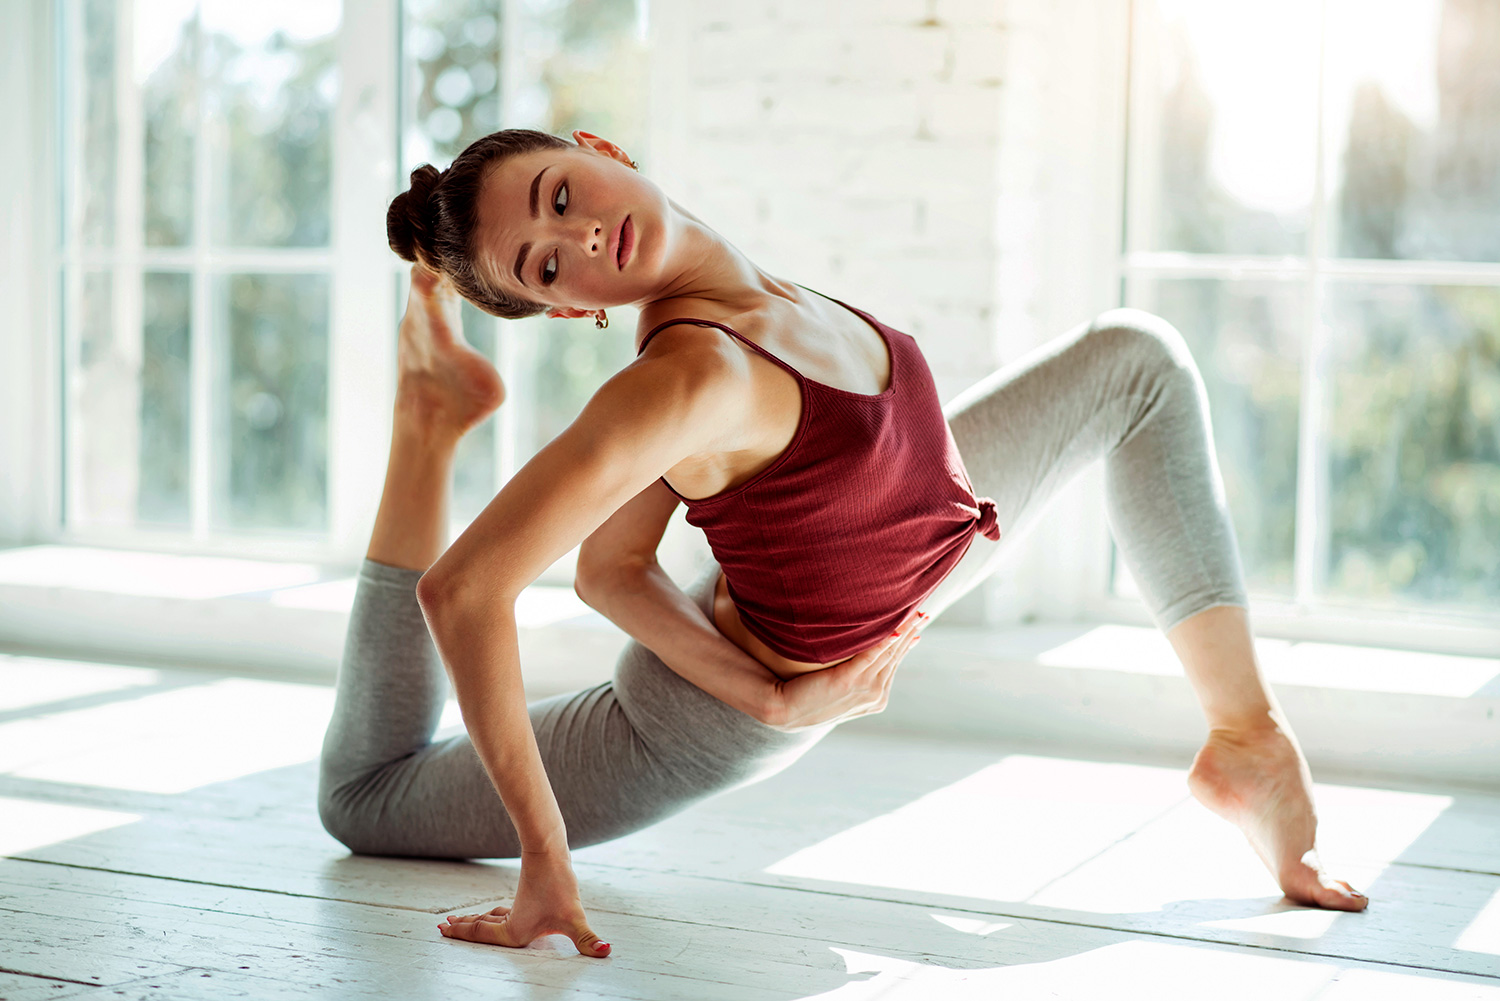
Matsyasana — Fish Pose

Fish Pose, or Matsyasana, requires you to puff out your chest in a way that looks a bit awkward—and it can feel awkward, too, for the practitioner who is trying the pose for the first time. As unusual as it may look and feel, this pose is actually great for opening up the chest and stretching out the neck.
Instructions:
Lie on your back with bent knees. Slightly lift your pelvis off the floor to slide your hands underneath your backside, and then release it back down. Straighten your legs. On an inhale, press the forearms into the mat and raise your upper torso and head.
Begin to arch your back and tilt your head backwards until you can rest the crown of your head on the floor. Avoid placing too much weight on your head so that your neck can be as comfortable as possible. To release, lower your back and chest, and then lift your head back up.
Utkata Konasana — Goddess Pose

Goddess Pose, or Utkata Konasana, is another one that just feels a little goofy. As funny as it might look, this pose is great for opening up the hips.
Instructions:
Stand with your feet about 3 feet away from each other. Bend your elbows and bring them up to shoulder height, extending out to your sides. Your forearms should be extended straight up, with your palms facing forward.
Turn the toes out 45 degrees, and then begin to squat down, bending your knees over your feet. Continue to press the hips forward as you push the knees back, and keep your arms active as you remain in the pose. Hold for 5 breaths, and then straighten the legs to release.
Sasangasana — Rabbit Pose

Rabbit Pose, or Sasangasana, has a similar look to Knee-to-Ear Pose. With your head tucked into your body, it looks like you are trying to escape inward rather than practice a beneficial yoga posture. However, Rabbit Pose is great for anyone needing a stretch in the back, as it creates space along the spine and allows the shoulders to spread.
Instructions:
Begin by sitting back on your heels. Reach back and grab your heels, with your thumbs on the outside of your feet.
On an exhale, roll down towards the ground and place the top of your head on the mat and towards your knees, so that your forehead is touching your knees.
While still holding onto your heels, begin to lift your hips and roll forward until your arms are fully straightened. Hold the position for about 30 seconds to a minute, and slowly bring your hips back down to your heels. Roll back up to release yourself from the pose.
Pindasana — Embryo Pose

In the family with Rabbit Pose and Knee-to-Ear Pose is Embryo Pose, or Pindasana.
Similar to Knee-to-Ear Pose, this posture requires you to bring your knees to your head, but instead has you wrapping up into a small ball by bending your knees and grabbing ahold of your legs.
Instructions:
Start in Upward Lotus, or Urdhva Padmasana. Keep your legs folded as they are, and begin to bring your knees down towards your ears until they are resting on the floor. Use your hands to hold onto your legs and keep them in place.
Keep your chin locked in place, and breathe deeply as you relax into the pose. Hold for at least 5 breaths, and then release through Upward Lotus.
Baddha Padmasana — Bound Lotus Pose

Bound Lotus, or Baddha Padmasana, takes the familiar criss cross applesauce from childhood to a whole new level. It opens up the chest, while also stretching the arms and legs.
Instructions:
Start in Staff Pose. Bend your right knee in towards your torso, and rest the top of your right foot in your left hip crease. Bend your left knee in, and do the same with your left foot on your right hip crease.
Reach behind your back with your left arm, and grab hold of your left big toes with your left hand. Reach behind your back with your right arm, and do the same with your right big toe. Extend through your spine and hold the position for at least 5 breaths.
Kala Bhairavasana — Destroyer of the Universe Pose

As if Side Plank wasn’t hard enough, Destroyer of the Universe Pose, or Kala Bhairavasana, adds a leg modification to make a stranger looking (and much more challenging) posture. The pose helps with balance and strengthening the entire body.
Instructions:
Begin seated with your legs out in front of you. Bend your right knee in, and grab hold of your right foot with your left hand. Place your right knee in the crook of your right elbow to lift the leg up further. Start to work your right foot up and over your head, so that your right knee ends up behind your right shoulder, with your ankle hooking behind your head.
Straighten through your spine, and push your right palm and left foot into the ground, turning to the side to come into a side plank. Extend your left arm up above you. Turn your gaze up towards your left hand, and hold. Release, and then repeat on the opposite side.
Eka Pada Galavasana — Flying Crow Pose

Flying Crow Pose, or Eka Pada Galavasana, may seem like it defies gravity, but it actually just requires a lot of core strength. This arm balance helps to strengthen the core and arms.
Instructions:
Start in Downward Dog. Bring your right knee towards your right tricep as you slightly bend your elbows. Rest your knee there as you start to shift your weight towards your hands.
Bend your elbows so that they make a right angle as you shift forward even more. Engage your core, and begin to lift your left leg off the ground, extending it up at a diagonal. Keep your core strong and your gaze out in front of you as you balance on your hands. Release back down and then repeat on the other side.
Ananda Balasana — Happy Baby Pose

Happy Baby Pose, or Ananda Balasana, is the classic strange yoga pose that every yogi gets to experience in just about every class. Of course, any adult practicing a posture that is named after the movements of a baby is going to feel funny, but this pose is excellent for stretching the hips, legs, and back.
Instructions:
Begin lying on your back. On an exhale, bring your knees into your chest. Separate your knees and bring them towards your armpits, and keep your feet apart.
Take hold of the outer edges of your feet with your hands. You can also hold onto your calves if you are unable to reach your feet. Ensure that both your tailbone and your head remain on the ground. Your shins should be about perpendicular to the ground. To release from the pose, bring your knees back into your chest, and then plant the soles of your feet on the ground.
Tittibhasana — Firefly Pose

Firefly Pose, or Tittibhasana, is a challenging arm balance that is not for the faint of heart. Besides requiring some intense core and arm strength, it requires you to extend your legs up above your almost-upright torso—not exactly something you see in your yoga class every day!
Instructions:
Start seated, with your legs out in front of you. Your feet should be about 2 feet apart. Fold slightly forward, and then bend your right leg in towards your chest. Start to work it behind your shoulder so that your knee is resting on your shoulder. Do the same on the left side.
Place your palms flat on the floor, and bend your elbows as you begin to shift your weight back so you are resting on your upper arms. Your feet will lift off the ground. Begin to straighten your arms, and then extend your legs as much as you can. Hold, and then release back down.
If you want to have a bit of fun with your practice, try out some of these strange looking yoga poses. Keep in mind that some are more challenging than others, so make sure you are appropriately warmed-up, and don’t push your body beyond its limits.
Yogadandasana — Yogi Staff Pose

Yogi Staff Pose, or Yogadandasana, is one of those postures that you look at and think, “I’m pretty sure my limbs aren’t supposed to do that…”. For people with extremely open hips, this pose should be pretty easy to access, but it can be trickier for those who aren’t as open. Regardless, you should always approach this pose with warmed-up hips.
Instructions:
From Staff Pose, or Dandasana, bend your right leg in towards your right side. Bend it past your right side so that you can hook your right foot into your armpit, with the sole of your foot pressing up into it.
Bend you left leg, with the sole of your foot pressing into the mat and your knee pointing up. Extend your left arm forward, resting it on your left knee and making the Gyan Mudra. Hold for at least 5 breaths, and then repeat on the opposite side.