Paving the way for yogic living in Nebraska, Jacqueline Roberts…
In yoga, we often focus on the health of the spine. Our spine is the highway that allows for communication and movement. For some, this neural highway has taken a bit of a turn and might need some extra special care.
Scoliosis occurs when the spine curves in the shape of an ‘S,’ most often presenting in young girls around puberty. While most cases are mild and do not cause major issues, more severe cases can impact the functioning of the lungs and cause postural issues. Even in mild cases, over time this imbalance of the spine can cause general pain and mobility issues.
As with many musculoskeletal issues, yoga offers reliable therapeutic benefits. Yoga’s ability to open the spine and chest, increase flexibility, relieve pain, and promote healthy breathing patterns are priceless for those who suffer from scoliosis. A regular practice can help to stabilize the back and even reverse the curvature of the spine.
Yoga is a safe, accessible practice for most people. However, if you suffer from scoliosis and are considering taking up a therapeutic yoga practice, it is recommended to speak with your primary care physician to make sure yoga fits within your health plan. It is also a good idea to let your yoga teacher know you are practicing with scoliosis so they can help you make any appropriate or beneficial adjustments.
Pranayama Practice

Deep, full, focused breaths. This is a hallmark of yoga and meditation, but for those with scoliosis, this aspect of yoga is crucial. Because of the curvature of the spine in scoliosis, the chest cavity can become cramped. Less space is available for the lungs to take in air and shallow breathing can result. Pranayama breath work helps to open the chest and fill the lungs with air.
How To:
There are many types of pranayama or breath work to try. One particularly useful one for scoliosis is called Dirga Pranayama. This consists of three phases of breath work. First, inhale and fill the lungs so that the belly expands. Exhale and repeat for 5 breaths. Then, inhale filling the belly like before, but increase your breath to then fill and expand the chest cavity. Exhale in reverse, allowing the chest to deflate then the belly, drawing the navel into the spine. Repeat for 5 breaths. In the third phase, inhale to expand the belly, chest, and all the way up to the upper chest – the collarbone and heart space. Exhale and release the upper chest, ribcage, and finally the belly. Repeat the full three phases 10 times.
Virabhadrasana I — Warrior I Pose

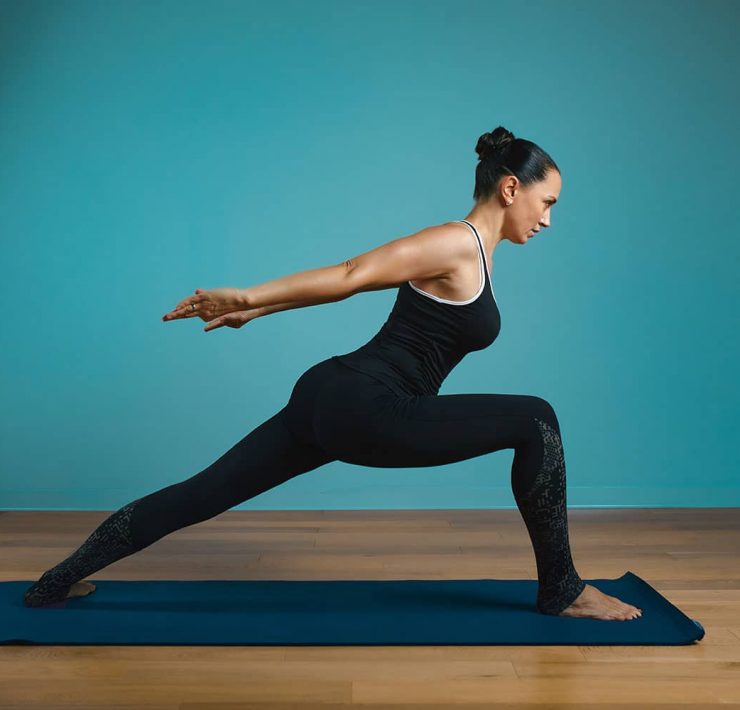
Warrior I is an amazing pose to release the Psoas muscle that can contribute to the curvature of the spine. By releasing this muscle, we can help to release the tension pulling on the spine and begin to bring the spine into a more stable position.
How To:
Begin in a standing position or Mountain pose. On an exhale, step your feet about 3-4 feet apart. Lift your arms above your head, parallel to each other. Try not to left your shoulders up, but rather draw your shoulder blades down to the coccyx. Turn the right foot out 90 degrees to the right, and the left foot in 45-60 degrees to the right. Exhale and swivel the hips forward to the right so you are now facing the same direction as your right foot. Square your hips and strengthen your stance. Then slowly bend the right knee and sink into Warrior I. Continue reaching with your arms and engage your leg muscles to stabilize the spine. Arch your back slightly for a good stretch. Repeat on the opposite side.
Virabhadrasana II — Warrior II Pose

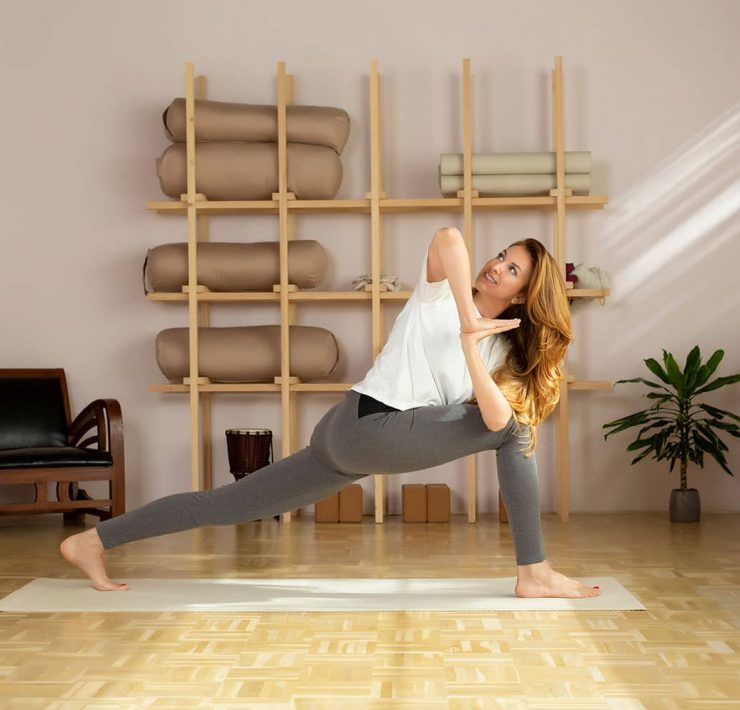
Like Warrior I, Warrior II helps to elongate the Psoas allowing for a more relaxed spine.
How To:
Begin in a standing position or Mountain pose. On an exhale, step your feet about 3-4 feet apart. Raise your arms and extend them out to the sides, parallel to the floor. Reach through your fingers to lengthen them further. With your heels on the same line, turn your right foot out to the right slightly and the left foot to the left 90 degrees. Bend the left knee over the left ankle while pressing into the right heel for stability. If possible, bend the left leg until it is parallel to the ground. Slightly stretch the left arm forward without moving the torso forward. Rest here for several breath cycles, then repeat on the right side.
Ustrasana — Camel Pose

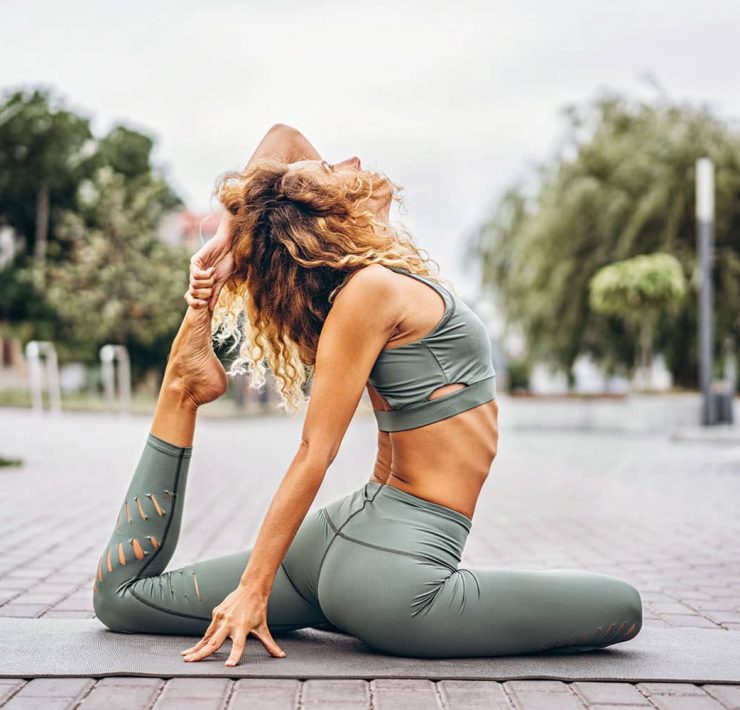
You’ve likely heard that having a strong core is crucial for overall wellness. Strong core muscles help to stabilize the spine and prevents injury. When working with scoliosis, a strong core is crucial for maintaining strength and flexibility in the spine. Camel pose is an amazing way to keep the core strong and active.
How To:
Begin by kneeling on your knees on the floor, with legs and hips perpendicular to the ground. Press your shins and tops of the feet to the floor while keeping your thighs and hips soft. Rest your palms on the back of your pelvis with fingers pointing down along your buttocks. Inhale and open your chest, press shoulder blades together and lean backwards. If you are able to, drop your hands one at a time to grab on to your ankles or feet. Feel the stretch and strengthening of your back muscles. Keep your neck neutral. Rest here for a few breath cycles. Bring your hands to your front pelvic bones and gently draw yourself forward to an upright position to release the pose.
Salabhasana — Locust Pose

Locust pose is also a great core strengthener. In addition, it provides a release for all of the muscles of the back, as well as the glutes and hamstrings.
How To:
Lie face down with your arms against your sides and your legs extended. Turn your big toes towards each other. Inhale and lift your head and chest up while raising your arms parallel to the floor at your sides. Tighten and engage your buttocks, thighs, and heels. Engage the muscles of your core and back while keeping your neck long as you look forward. Stay here for 30-60 seconds or as long as you are comfortable.
Phalakasana — Plank Pose

While you may think of Plank pose as an arm strengthening exercise, it actually strengthens the core and back muscles, while also balancing out the shoulder joints. Practice either the traditional plank, or mix it up with a low plank.
How To:
Begin in Downward Dog. From here, send your torso forward so that your shoulders are aligned over your wrists with arms perpendicular to the floor. Your torso should be parallel to the floor. Lengthen your tailbone towards your heels and your head away from the base of the neck so as to open and stretch the entire spine. Stay in plank for as long as is comfortable, but a few breath cycles is great. Exhale and slowly lower knees to the ground.
Hamstring and Calf Stretches

Just as having a strong core is helpful for improving scoliosis, having strong legs will also take strain off the back. Hamstring and calf stretches are a great way to build up your strength and protect the spine.
How To:
A few different stretches can be done to strengthen the legs. Start with a seated forward bend. Place your legs in front of you and slowly bend until you feel slight resistance. It is important to not push through pain, but you should feel a good stretch here. You can also practice calf lifts, squats, or lunges.
Gomukhasana — Cow Face Pose

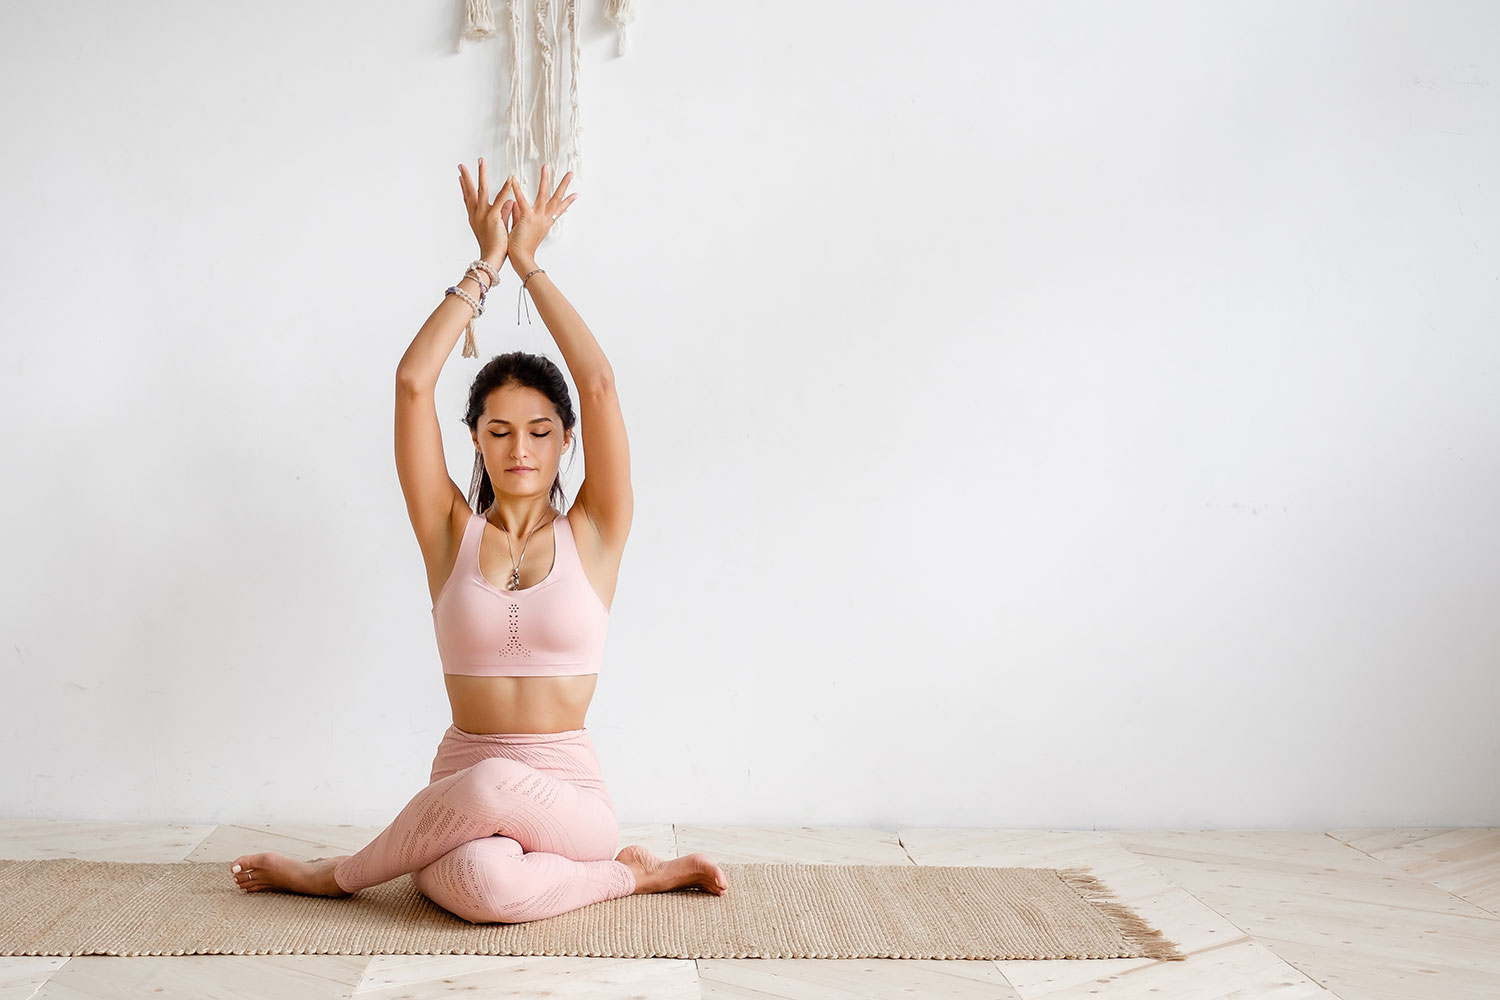
Now, let’s open up the upper back with Cow Face Pose. This pose is a great way to stretch the chest, shoulders, and the upper back. Practice this pose daily to help improve overall posture and tension.
How To:
Begin in a seating position, with your legs straight out in front of you as in Staff Pose. Bend your knees and place your feet on the floor. Slide your right leg under your bent left knee, then place your left leg on top of your right so that the knees are stacked and your feet sit by your hips. Send your right arm straight out to your right side, then rotate it so the thumb points downward and your palm faces behind you. Sweep the arm down and behind you, resting it near the bottom of your left shoulder blade. The left arm extends straight in front of you, with palm facing the sky. Inhale, bringing the arm up overhead. On an exhale, bend the elbow and bring the left hand down to meet the right hand, linking them if possible. Lift the left elbow toward the ceiling, and drop your right elbow towards the floor. Engage your upper back and breath deeply and evenly in this pose for 1-3 minutes. Then reverse the pose by switching your knee and arm placement.
Ardha Matsyendrasana — Seated Spinal Twist Pose

The Seated Spinal Twist improves flexibility of the spine and relieves tension that may be caused my the curvature. This is a great daily pose, especially first thing in the morning as part of your wake up routine.
How To:
Start in a seated position on the floor, with your legs straight in front of you. Bend your knees and rest the feet on the floor. Slide your left leg under the bent right knee. Let the left leg rest on the floor beneath the right leg and twist your torso to the right. Place your left elbow on the outside of the right knee, and your right arm down to your side by your right hip. Breathe in, lift your chest and head up, then deepen your stretch with each exhale. Make a conscious effort to feel the expansion in your chest with each breath. Repeat for 5-8 breath cycles. Repeat this pose on the opposite side, placing your left foot on the outside of the right knee, the right elbow to the left knee, and the left hand to the left hip.
Savasana — Corpse Pose

A favorite pose to end any yoga practice, Corpse pose can help us to do more than just relax and seal our session. Corpse pose helps us to tune in to our bodies and really focus on our self-awareness. Use this pose to check in with your spine and see if you can notice any particular areas where you feel blocked, tight, weak, or out of balance. Check in with your posture and make conscious adjustments. Do a full body-scan while in Corpse and visualize your spine straightening and relaxing.
How To:
Lay flat on your back with your legs extended. Release any tension in your muscles and allow your feet to turn out. Pull your shoulders down away from your ears and allow your arms to lay. Gently by your sides with palms facing upwards. Rest here for 3-5 minutes.
Spine Solutions

Yoga offers us a wide range of possibilities when addressing our health and wellness. For those who suffer from scoliosis, or any type of back problem, yoga can be an accessible therapy to incorporate into your health care routine. Not only can yoga help to release tension and even help alleviate pain caused by scoliosis, but it can even help to reverse the curvature and prevent the condition from worsening over the years.
As with all practices, it is important to understand your condition and limitations before jumping right in. Be sure to pay attention to how your body feels and responds to yoga and make any adjustments necessary. Stick with yoga poses that are known to help with scoliosis and ask your yoga teacher to help you make modifications in class. The real therapeutic value comes from a consistent practice, so make these poses part of your daily back care routine.
What's Your Reaction?
Paving the way for yogic living in Nebraska, Jacqueline Roberts is adored by her students as a constant source of support and inspiration. A knack for writing allows her to share what she has learned with the world.


