Susan views the world through a lens of spirituality, health,…
If you’re on the move all the time but still want to get in a few minutes of yoga practice in your hectic schedule, this simple 20-minute sequence is enough to get your blood pumping to energize and revitalize you for the rest of your day. Just roll out your mat and spend a few minutes being present with nothing else but yourself and you will still be able to reap all the benefits of a regular yoga practice even with just a few minutes a day.
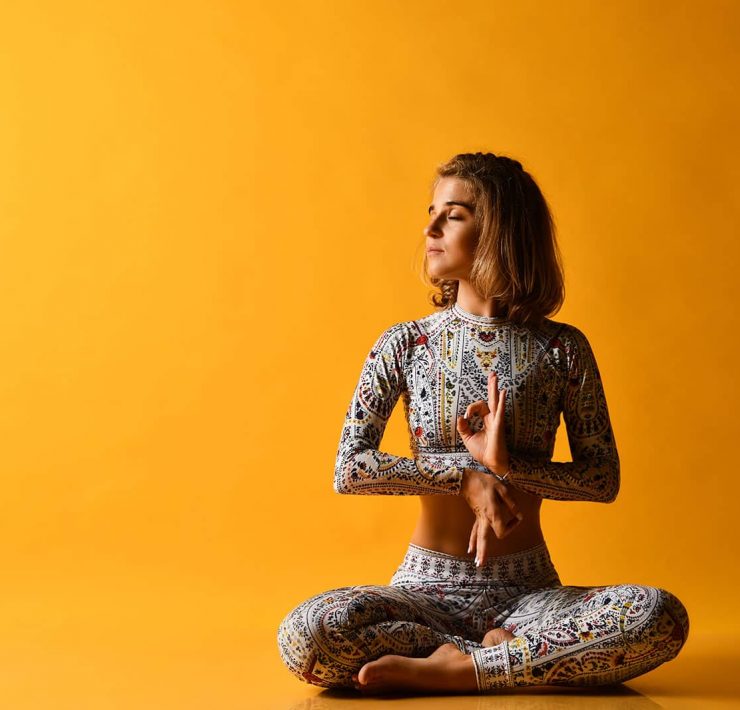
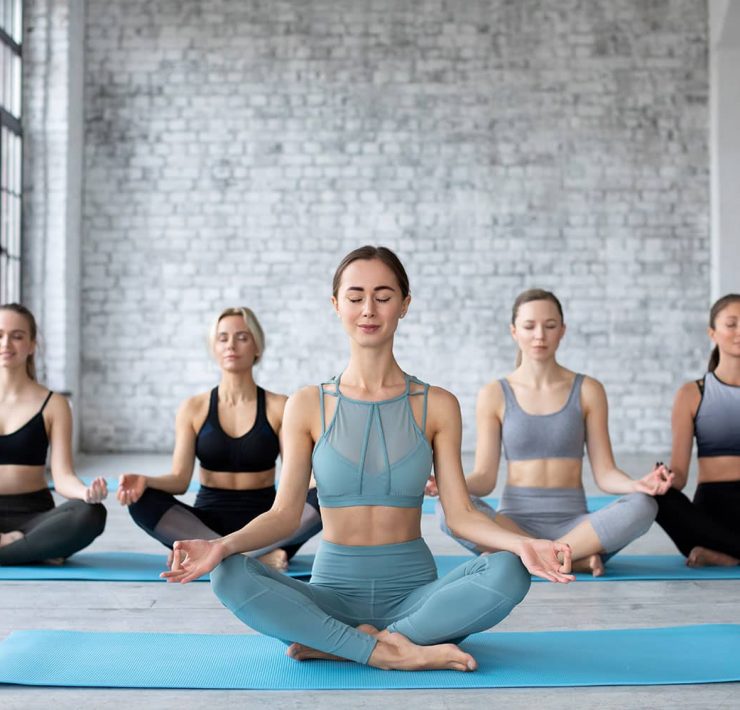
Sukhasana — Easy Seated Pose

Start your practice in a seated position that literally means “Easy Pose.” In one of the verses of Patanjali’s Yoga Sutras, one of the quintessential vedic texts followed by most modern yoga schools, he wrote:
sthiram sukham asanam
Although each word in Sanskrit can have a multitude of meanings and context, the most basic translation of this line is, “a steady and comfortable seat.” It is a reminder that no matter what pose you are holding in yoga, you must feel steady, stable, and strong, but also comfortable, easeful, and joyful.
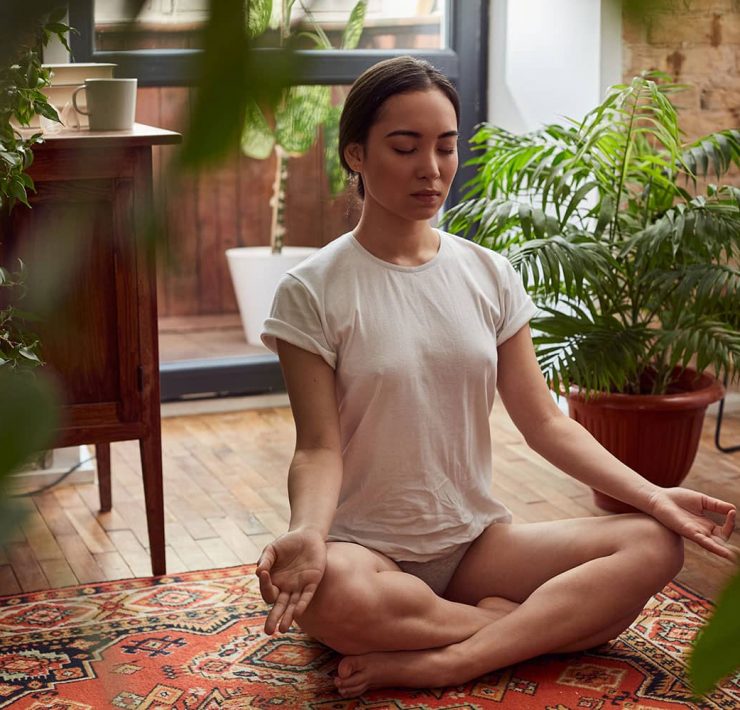
For Sukhasana, sit cross legged on the floor. If needed, sit on a block or pile some pillows under your knees for comfort. Allow your spine to stand tall and extend all the way up through the crown of your head. Let your arms relax with your palms either facing up or down on your thighs or knees. Stay here for ten long, slow, deep breaths, or for three minutes.
Ardha Matsyendrasana — Seated Twist Pose

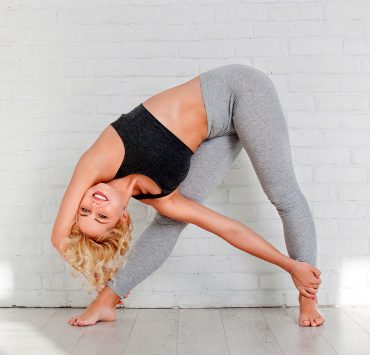
Twists are a great way to start your practice to decompress your spine and relieve your whole body of pressure before going into bigger movements throughout your asana practice.
For simple seated twists, from however you are seated, inhale and raise your arms to the side and and exhale twist your spine to face the left, keeping your back straight, and bringing your right hand on your left knee, and your left hand to help support your spine on the floor at your back. Continue breathing slowly and steadily here for ten inhales and exhales.
After ten breaths of twisting to the left, come back to center, change the cross of your legs, and twist to the right side for another ten deep, slow breaths.
Neck Relaxing

In a world full of cellphones and laptops, our necks get put under a lot more strain than they were designed to hold. Allowing the cervical spine to relax and decompress allows more easeful flow of breath and will also help relax and open up the shoulder girdle at the same time.
To help with relaxing the neck muscles, from your seated position, keep your right heel by your groin and extend your left leg to the left side (or more towards your front, depending on your flexibility level). Bring your left arm on the floor with palms facing up in front of your left calf or knee. Keep your left arm relaxed – no pressure will be put on this arm.
Bring your right hand to your right knee and get a good hold of it. This will be your anchor. Inhale your spine straight up, and exhale relax your neck so that your left ear goes towards your left shoulder, feeling the stretch on the right side of your neck. Straighten your right arm to extend the stretch even on your right collarbone. Your body will tilt towards the left but this is not a right side stretch. The stretch will come from relaxing the neck muscles to relieve them of tension.
Stay for ten breaths, then inhale to come back to center. Bring your left heel towards your groin and extend your right leg out to the right side. Do the same neck relaxation for the left side of your neck for another ten breaths.
Reclined Core Series

Now that you’ve got your spine and neck mobile and ready for more movement, it’s time to get a fire burning to energize your for the rest of the practice. The core is the engine of the body and a strong core will help with many other mobility and flexibility issues so doing some abdominal work will benefit your yoga practice and overall health immensely.
To gently work the core without putting too much strain on your body to perform in any way, lay down on your back and bring both feet up in the air. Push your heels towards the ceiling and as you inhale and exhale, pint and flex your toes to synchronize with your breath. This will help to stretch your hamstrings as well.
Find a position where you can keep your legs straight, feeling the stretch on the backsides of your legs. Grab the sides of your mat with your palms, or position them facing down underneath your sacrum for support and stability in the next movements.
Keep your toes spread out and foot pointed – almost looking like the foot of a Barbie doll – and cross your left ankle over your right ankle. Inhale here to start, and as you exhale, slowly and with control, lower both your legs, keeping them straight, towards the floor. Whether you are able to lower them one centimeter, or lower them so that they are only one centimeter off the floor, is already reaping benefits for your body. Follow the mobility and strength of your own body to determine how low you can lower your legs.
On your inhale, raise both your legs back up and switch the cross of your ankles. Exhale, and lower your legs again. Do these repetitions 5, 10, or perhaps even 20 times, depending on your own energy level. Remember, this core sequence is not meant to make your core burn or tire you out. Imagine you have coal in your core, gently burning orange and you want to keep these slow embers burning without too much power or pushing. This will help to energize you without tiring you.
Classical Sun Salutations – 3-5 Rounds

Now that you’ve got some energy in the engine that is your core, it’s time to get that energy moving throughout your entire body. These Classical Sun Salutations are a bit different from the more widely known Surya Namaskar A and B from Ashtanga Yoga, but they are sure to get you moving with your breath.
Start by standing in Tadasana at the top of your mat. Inhale and raise your arms up to the sky.
Exhale, hinge from your hips, keeping your legs strong and back straight, into Uttanasana (Forward Fold).
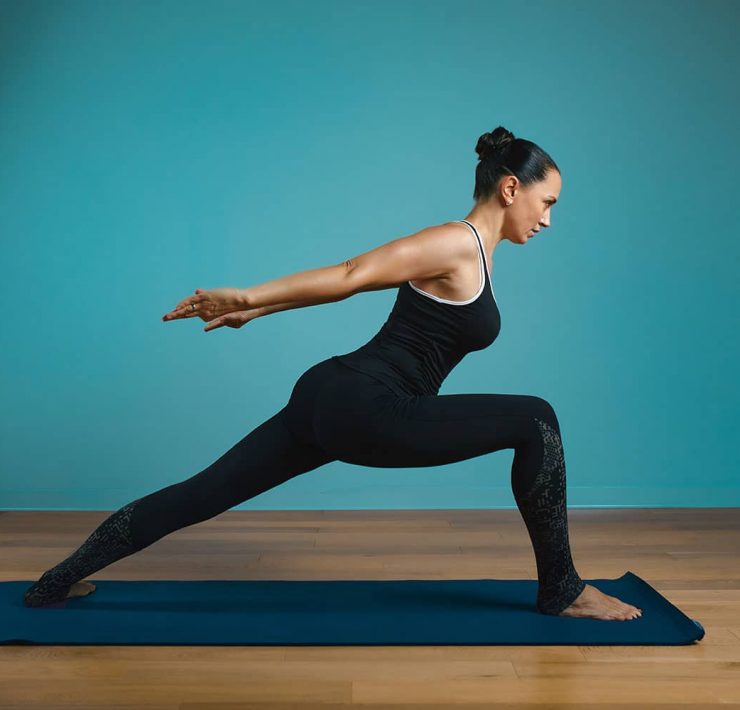
Inhale, step your left foot back and point your left toes to the back of the room. Lower your left knee to the floor and, still on the same inhale, raise your arms up to Crescent Lunge.
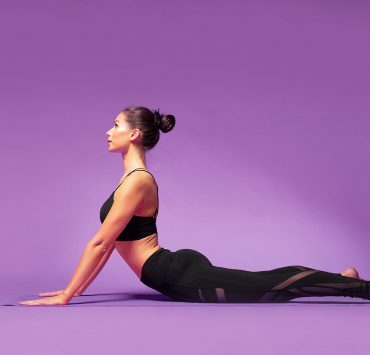
Exhale, bring both palms down to frame your left foot and step back to push your hips back and up to Arha Mukha Svanasana (Downward Facing Dog).
Inhale, step your right leg forward (notice that we will not hold for a few breaths in Downward Facing Dog like typically practiced with Surya Namaskar). Point your left toes back and your left knee will lower to the ground, like earlier. Still on the same inhalation, raise your arms up into Crescent Lunge.
Exhale, bring your arms down so your palms frame your right foot. Step your left leg forward and relax your spine over your legs in Forward Fold.
Inhale, engage your core to keep your spine straight as you lift your torso up to Tadasana. Raise your arms above your head at the top of your inhale.
Exhale, bring your palms together in front of your chest in Namaskar mudra, then relax your arms by your side.
Repeat this Classical Sun series for at least three to five rounds.
Warrior Flow

This short series will go through some variations of Virabhadrasana (Warrior Pose) which help develop both strength and stability in the legs and arms, as well as grace and fluidity through each movement.
From Tadasana, transition into Virabhadrasana 1 (Warrior 1) by stepping your left foot back and lowering your heel. Let your left toes turn 45 degrees to the outside of your mat. Bend your right leg but do not let your right knee go over your right toes. Check that both your hip bones are facing the front of the room. Lift your arms up over your head and look forward for five to ten breaths.
Transition to Warrior 2 by shifting the position of your heels and opening up your hips. Extend your arms out to each side with your palms both at the same height as your shoulders. Look over your right fingertips and hold the pose for five to ten breaths.
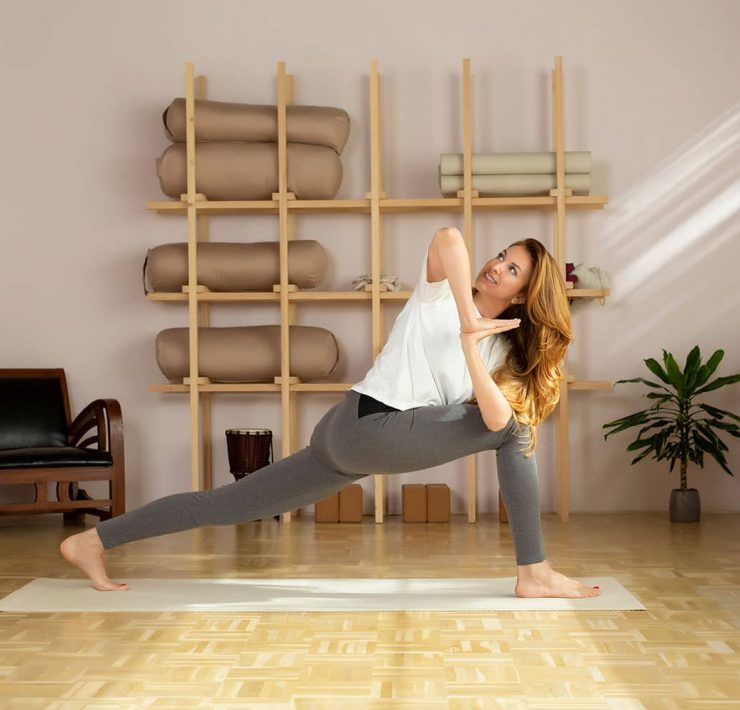
Move into Side Angle Pose by reaching forward with your right fingertips and lowering your forearm to your right thigh. Extend your left arm over your head with your arm close to your left ear. Keep your neck relaxed (not looking up or over your fingertips to prevent strain on your cervical spine). Hold the asana for five to ten breaths.
Transition into Reverse Warrior by coming back into Warrior 2 first. Reach your right fingertips towards the front of the room again first, then as you exhale, bring your right fingers up and towards the back of the room. Let your left hand rest anywhere it lands on your left leg. Stay in Reverse Warrior for five to ten breaths.
For the last variation in this Warrior Flow series, reposition your heels and hips again to return to Warrior 1. Interlace your fingers behind your back at your sacrum. Inhale to lengthen your spine up towards the sky and exhale, bend forward so that your right shoulder is either resting on your right knee, or if flexibility allows, on the inside of your right knee. Extend your interlace fingers up and behind you, imagining that one day you will be able to reach the floor above your head with the extension. Hold this Humble Warrior Pose for five to ten breaths.
To end this sequence, inhale back into Warrior 1 from Humble Warrior, and step your left foot forward into Tadasana. Allow yourself to pause and focus on your breathing here. After a few breaths to settle, do the whole series again, this time stepping back with the right leg into Warrior 1 to begin.
Kapalabhati Breath

Sit or kneel on your mat and keep our spine straight. Hold your knees with the palm of your hands. Kapalabhati Breath is a pranayama, or breathing exercise, that energizes and also helps to detox your body at the same time. The focus of the pranayama will be more on the exhales. On each exhale, pull your diaphragm in, visualizing that you are pushing the air out of your lungs with strong, short bursts. Do two sets of 20 to 50 exhales out through the nose this way (you might want to keep tissue hand just in case).
Pawanmuktasana — Knee to Chest Pose

Lie down on your back and hold both knees towards your chest. You may either interlace your fingers over your knees or grab hold of opposite elbows – whichever is more comfortable for you. Just remember to not forcefully push or pull anything.
Supta Matsyendrasana — Reclined Spinal Twist Pose

Keep your knees towards your chest and extend your arms to your sides. Lower both knees to your left side, creating a twist. Don’t worry if your right shoulder lifts off the floor, it’s more important to allow both legs to rest completely on the ground. Hold this twist for ten breaths and hug your knees back to the center of your body before switching over to lower your legs to the right side of your body for another ten breaths.
Savasana — Corpse Pose

Final Savasana, or Corpse Pose, is the most important pose in the entire yogasana library. It is in this pose that we embody the spaciousness that we want to unite with through yoga. Physically, in complete relaxation, the body enters a rest and rejuvenation state which benefits muscle repair, digestion, and increases immunity.
Conclusion
Even in just 20 minutes, you can practice this quick yoga sequence that will refresh and energize you. Although it is a “quickie” yoga practice, still be mindful of your breath and movements and always stay present in each moment of your practice which will have tremendous benefits for you even when you roll up your mat.
What's Your Reaction?
Susan views the world through a lens of spirituality, health, and compassion. Her positive outlook on life shines through her writing, which is heavily focused on yogic living, meditation, and conscious eating.


